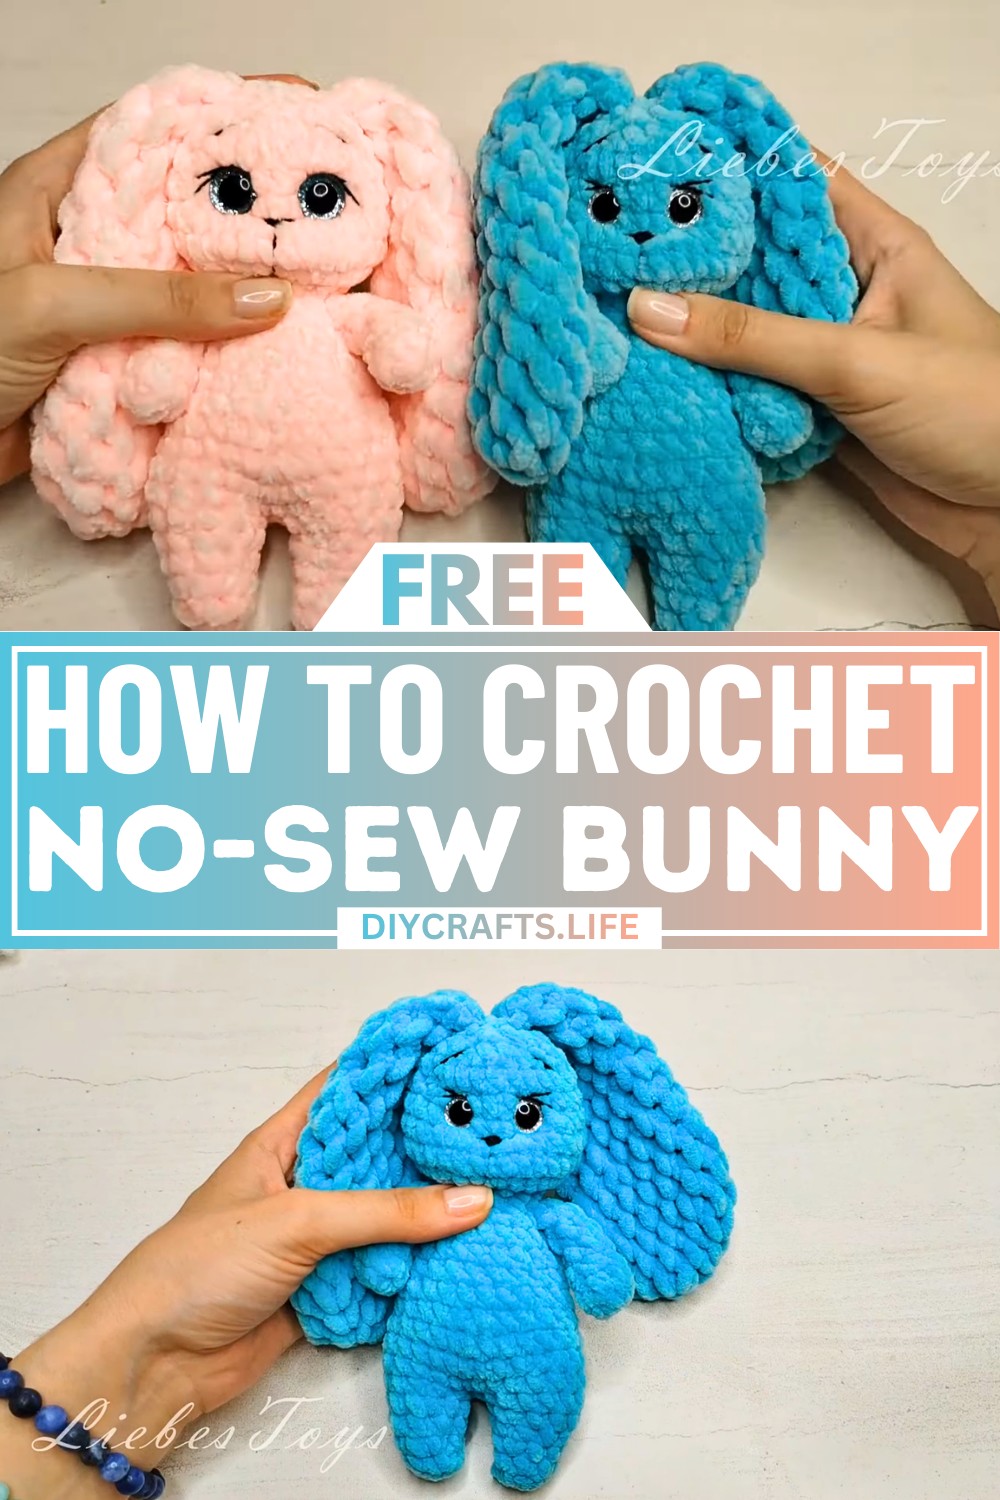
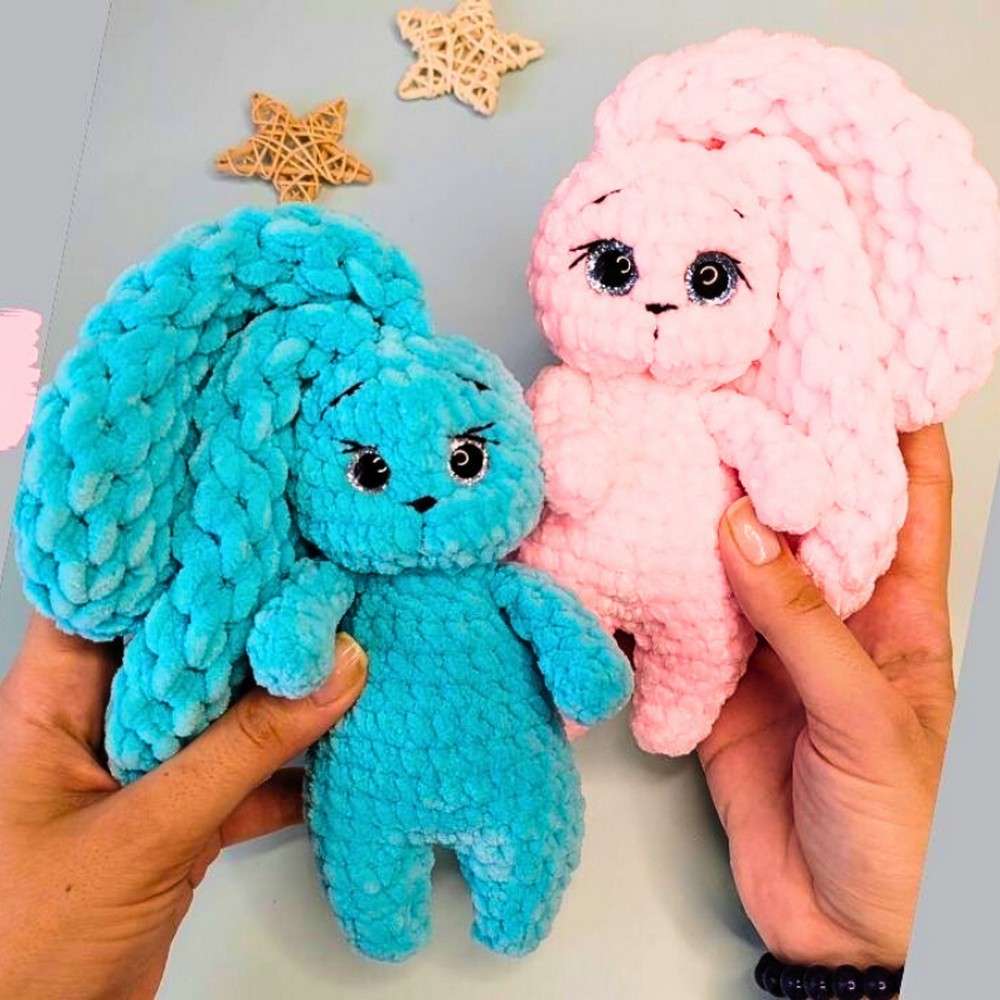
This crochet bunny is soft, cuddly, and completely made in one piece! Its no-sew design makes it super simple and beginner-friendly. It’s the perfect little friend to gift to kids, use as a decoration, or simply hug when you need a smile. Whether you’re new to crocheting or just love quick, rewarding creations, this bunny is sure to bring joy.
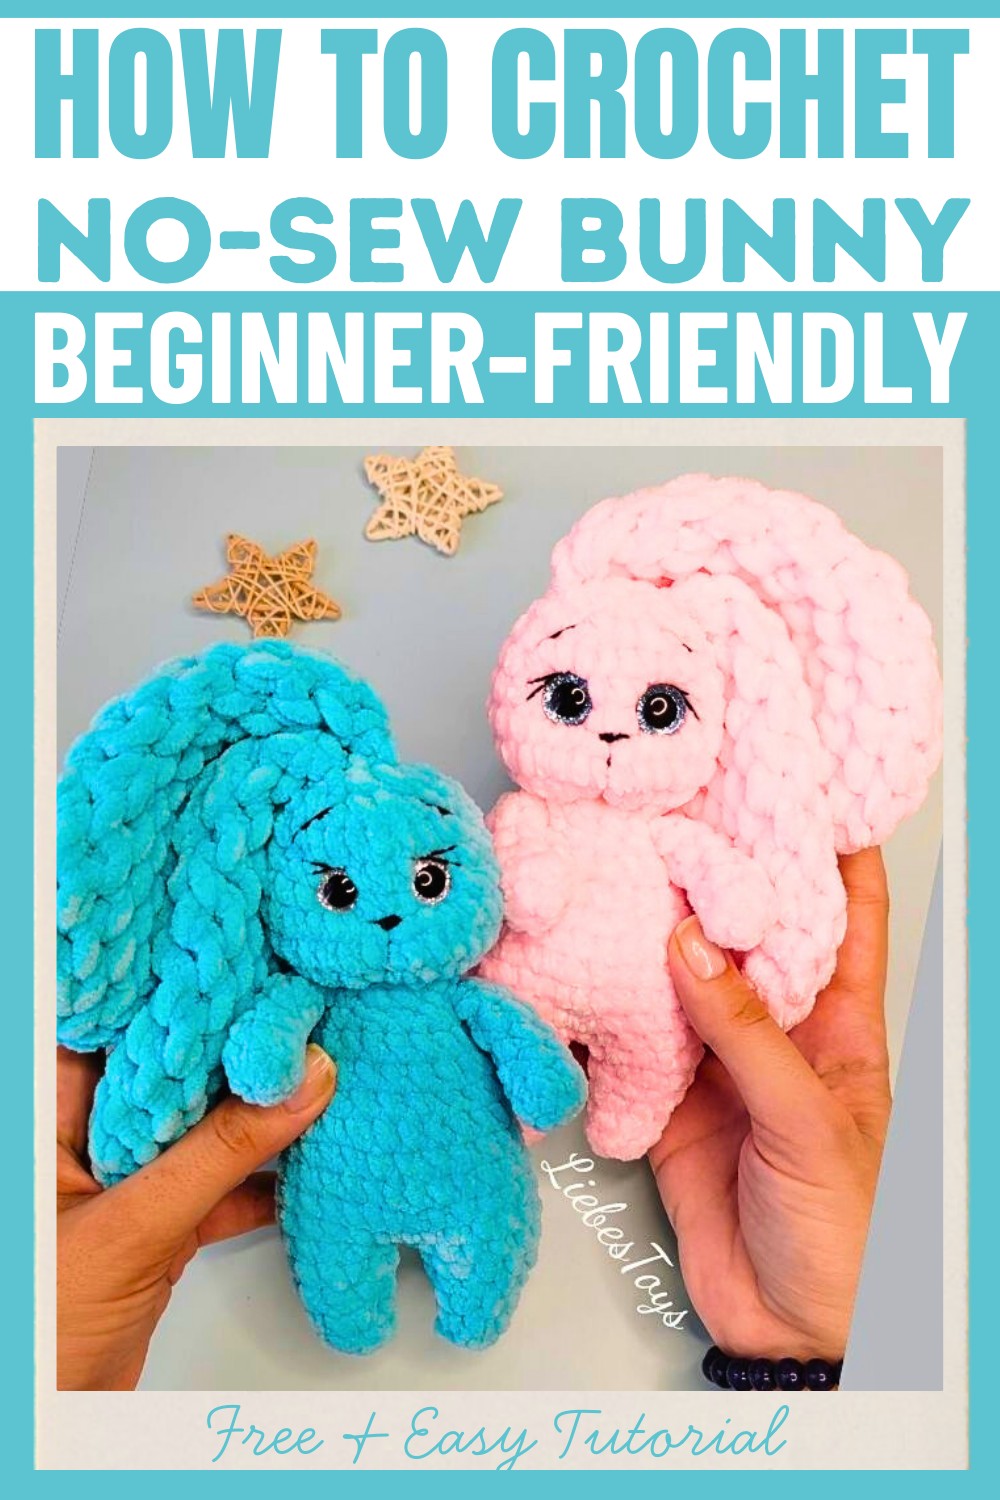
You will crochet the arms, ears, and tail directly onto the body, making it super simple without needing any sewing. The blush yarn gives a cozy and plush look, and safety eyes make the bunny extra sweet. Customize your bunny with your favorite yarn colors, and add little details like eyelashes or a tiny embroidered nose to make it unique. It’s simple to make, and your bunny will be ready to hop into someone’s life in no time!
Credit Lyubov / LiebesToys
Materials & Tools Needed:
- Yarn:
- Plush yarn (Weight and type: 100g, 80m skein). Use any color of your choice.
- A small amount of thin cotton yarn for embroidery (eyebrows, eyelashes, and nose).
- Hook Size:
- 4mm crochet hook.
- Stuffing:
- Fiberfill for stuffing the toy.
- Safety Eyes:
- 12mm or 14mm (as per your preference).
- Additional Tools:
- Yarn needle for finishing touches and embroidery.
- Crochet marker (to keep track of your rounds).
- Scissors.
Finished Size & Customization Ideas:
- The bunny's finished height is approximately 17-18 cm.
- You can vary the size by:
- Using a bulkier yarn and larger hook for a bigger bunny.
- Using a fine yarn and smaller hook for a miniature version.
- Customize by:
- Changing colors for the ears, arms, or body.
- Adding accessories like a bow tie, a scarf, or a small dress.
Pattern Abbreviations & Terminology:
- sc: Single crochet
- hdc: Half double crochet
- inc: Increase (2 stitches in the same stitch)
- dec: Decrease (invisible decrease is used)
- sl st: Slip stitch
- ch: Chain
- st: Stitch
- MR: Magic Ring
- (x times): Repeat the sequence in parentheses the specified number of times.
- R: Round
This pattern uses US crochet terminology.
Step-by-Step Crochet Instructions:
Ears:
- Start with ch 2.
- R1: Work 6 hdc into the second chain from the hook. (6 sts)
- R2: Work 6 inc (2 hdc in each stitch). (12 sts)
- R3: Work [3 hdc, 1 inc] x 3 times. (15 sts)
- R4-6: Work 15 hdc (3 rounds with no increases).
- R7: Work [3 hdc, 1 dec] x 3 times. (12 sts)
- R8-9: Work 12 hdc (2 rounds with no decreases).
- R10: Work [2 hdc, 1 dec] x 3 times. (9 sts)
- R11-12: Work 9 hdc.
- R13: Work [1 hdc, 1 dec] x 3 times. (6 sts)
- R14: Work 6 hdc. Fold the ear flat and close it with 3 sc across.
Repeat for the second ear.
Arms:
- Start with a MR or ch 2 and work 7 sc into the ring. (7 sts)
- R1: Work 7 sc.
- R2: Work [2 sc, 1 dec] + 3 sc. (8 sts)
- Lightly stuff the arm.
- R3-4: Work 6 sc for both rounds.
- Fold in half and close the arm with 2 sc across.
Repeat for the second arm.
Legs:
- Start with ch 2.
- R1: Work 6 sc into the second chain from the hook. (6 sts)
- R2: Work 6 sc.
- R3: Work [1 sc, 1 inc] x 3 times. (9 sts)
- R4: Work 9 sc.
- R5: Work [2 sc, 1 inc] x 3 times. (12 sts)
Repeat for the second leg. For the first leg, cut the yarn. Do not fasten off after the second leg as you will continue working the body.

Body:
- For the body, join both legs with a slip stitch.
- R6: Work 11 sc around the first leg, inc (in the chain between legs), then 12 sc around the second leg, finishing with inc in the chain. (28 sts)
- R7: Work 28 sc. Fix gaps between the legs with a tail.
- R8: Work 27 sc, then make a puff stitch (tail) in the last stitch. *(puff: 5 half-finished dc, close loops together).
- R9: Work 28 sc.
- R10: Work [5 sc, 1 dec] x 4 times. (24 sts)
- R11: Work 24 sc.
Stuff legs and body tightly as you work.
- R12: Work [4 sc, 1 dec] x 4 times. (20 sts)
- R13: Work 20 sc.
- R14: Work [5 sc, 1 dec, 8 sc, 1 dec, 3 sc]. (18 sts)
- R15: Work [1 sc, 1 dec] x 6 times. (12 sts)
- In the next round, attach the arms:
- Work 2 sc, attach the first arm with 2 sc, work 4 sc, attach the second arm with 2 sc, finish with 2 sc. (12 sts)
Do not cut the yarn. Continue to the head.

Head:
- R1: Work 12 inc (2 sc in each stitch). (24 sts)
- R2: Work [2 sc, 1 inc] x 8 times. (32 sts)
- R3-4: Work 32 sc (2 rounds with no increases).
- R5: Work [6 sc, 1 dec] x 4 times. (28 sts)
- R6: Work [5 sc, 1 dec] x 4 times. (24 sts)
- R7: Work 24 sc.
Stuff head tightly and place safety eyes between R5 and R6 with 5 stitches apart.
- R8: Work [2 sc, 1 dec] x 6 times. (18 sts)
- Attach the ears to the head:
- Work dec, attach an ear with 3 sc, work 4 dec, attach the second ear with 3 sc, finish with 3 sc. (12 sts)
- Last round: Work 6 dec. (6 sts)
Finish off and tighten the remaining stitches using a yarn needle. Hide the thread.

Finishing Techniques:
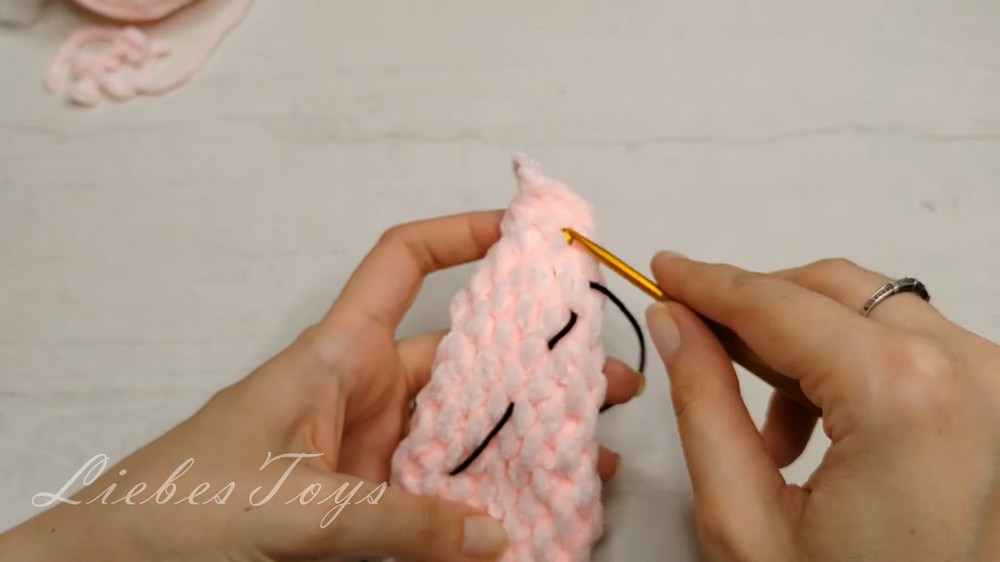
- Face Sculpting:
- Use a long thread to tighten the area around the eyes and shape the face.
- Embroidering Details:
- Use cotton yarn (or embroidery thread) to embroider the nose, eyebrows, and eyelashes.
- Final Touches:
- Hide all loose threads. Adjust and fluff the stuffing as needed.