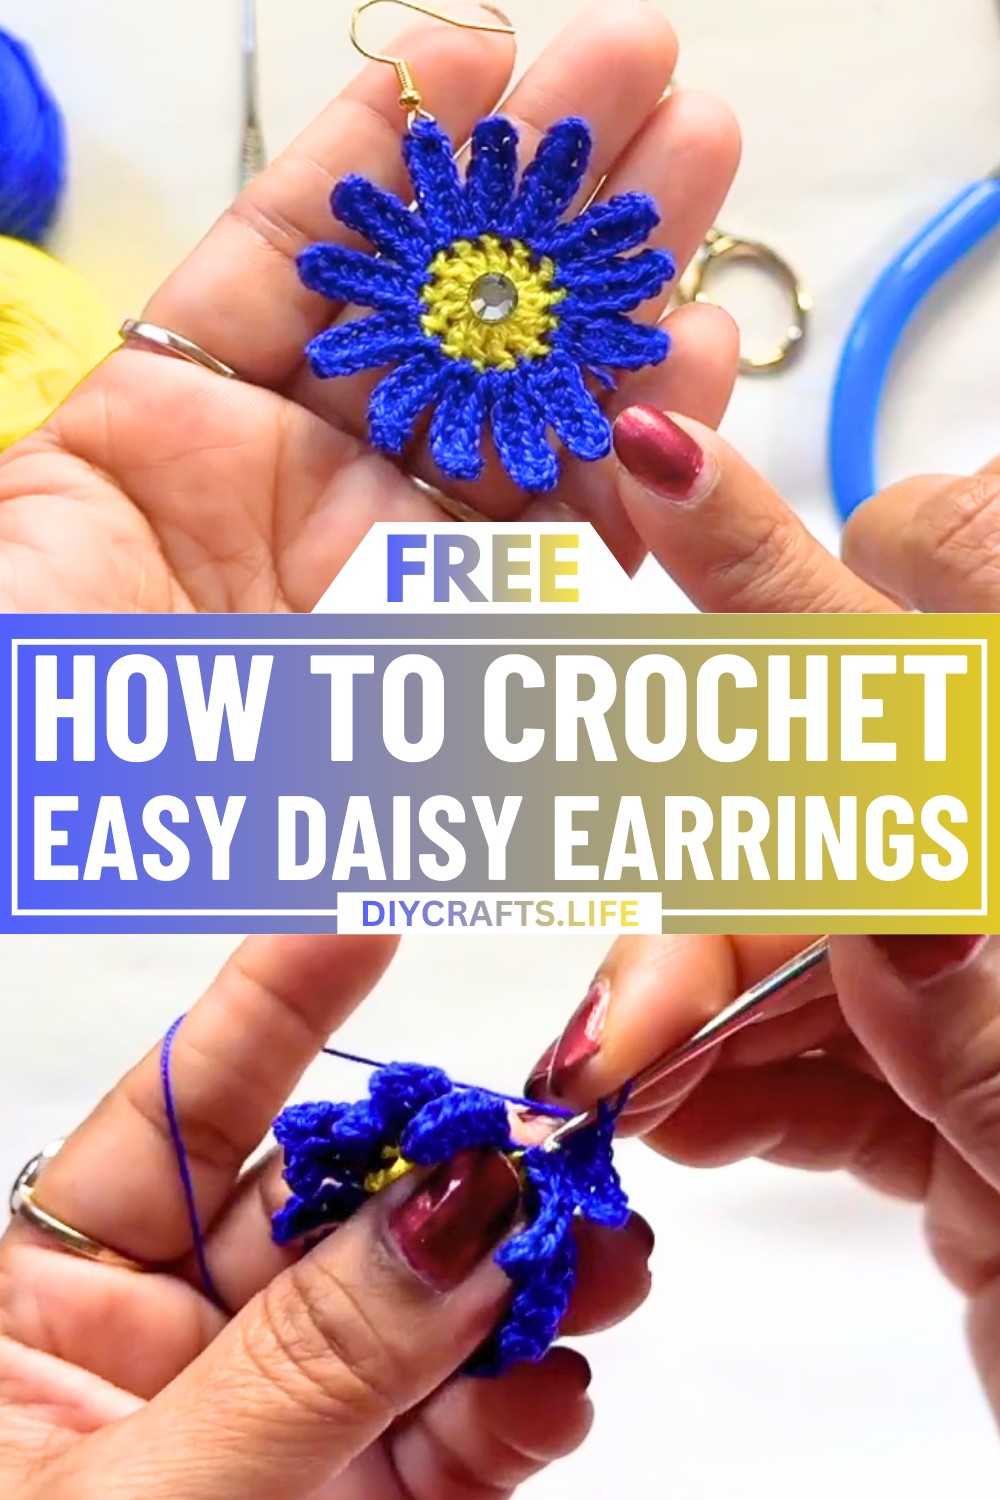
Transform a simple idea into wearable art with these charming crochet daisy earrings! Combining soft, detailed petals with a sparkly centerpiece, this design brings the delicate beauty of flowers into an accessory that’s adorable, lightweight, and perfect for everyday wear or special occasions. These earrings are a testament to how simple materials can create tiny masterpieces that express elegance and joy, making them ideal for anyone who loves unique handmade treasures.
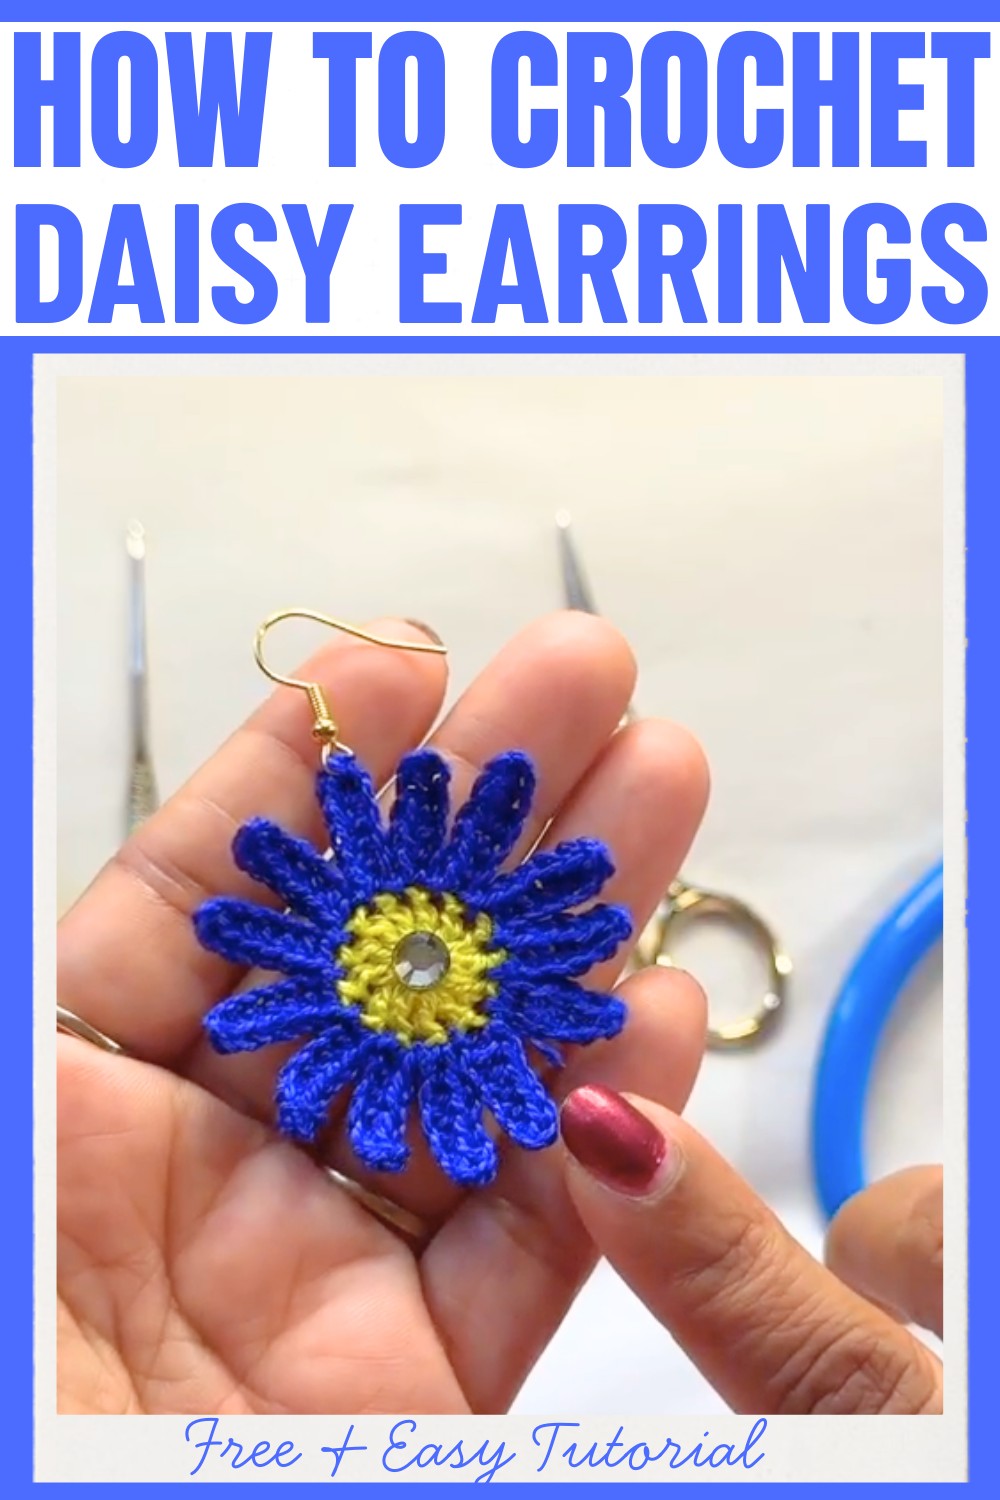
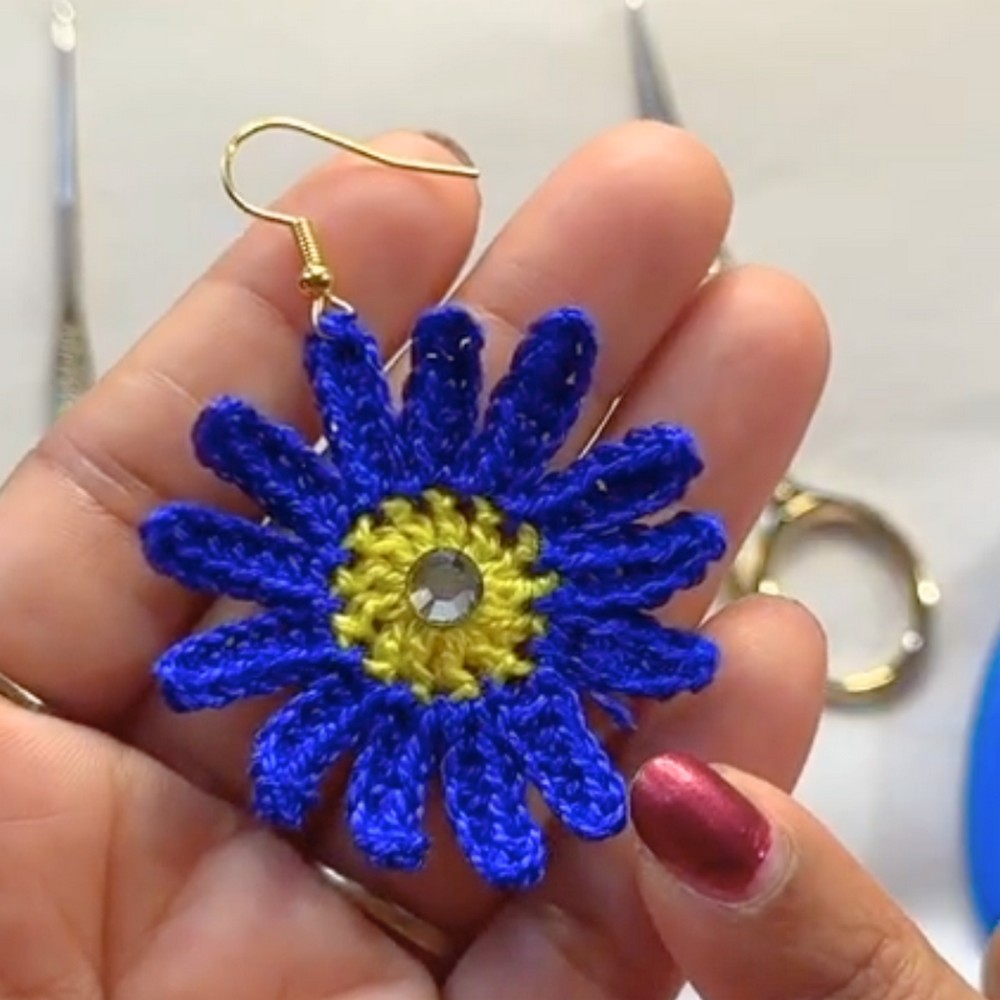
This crochet pattern stands out with its finely detailed petals created using a mix of vibrant yarn and a simple yet thoughtful design. The daisy’s form is topped off with a shining white stone in the center, adding a subtle touch of sparkle. Paired with an earring hook, the design effortlessly combines practicality with artistry. Whether you're looking to showcase a timeless floral look or craft a heartfelt handmade gift, these earrings strike the perfect balance between style and creativity.
Credit MAMA’S CRAFT
Materials & Tools Needed
Here is a list of materials for making crochet daisy flower earrings, including helpful details:
- Yarn:
- Two colors of thin crochet thread (e.g., size 10 thread).
- Recommended colors: Yellow (for the center) and White (for the petals). You can change colors based on personal preference.
- Two colors of thin crochet thread (e.g., size 10 thread).
- Crochet Hook:
- 1.25 mm crochet hook (small hook suitable for delicate thread crochet projects).
- Earring Hooks:
- Standard earring hooks. You need one for each earring.
- White Stone/Gem (optional):
- A small flat-backed white craft stone to place at the center for added elegance.
- Glue:
- Any strong fabric or craft glue to adhere the stone securely.
- Scissors:
- For cutting the thread neatly.
- Plier:
- To attach the earring hooks to the crochet daisy.
Finished Size & Customization Ideas
- Approximate Size:
The finished daisy is approximately 2 cm in diameter (this may vary slightly depending on your tension and thread material). - Customization Ideas:
- Change Yarn Weight: Use a thicker or thinner yarn/thread for larger or smaller flowers. Adjust the crochet hook size appropriately.
- For a larger daisy, try using DK weight yarn with a 3mm crochet hook.
- For a smaller daisy, switch to embroidery floss and a smaller hook (e.g., 0.75mm).
- Add Longer Straps: Attach chain stitches or crochet straps to dangle from the earrings for added style.
- Experiment with Color: Mix and match colors for a unique look. Try pastel, metallic, or monochrome shades.
- Change Yarn Weight: Use a thicker or thinner yarn/thread for larger or smaller flowers. Adjust the crochet hook size appropriately.
Pattern Abbreviations & Terminology
(US Crochet Terms Used in the Pattern):
- ch: chain
- dc: double crochet
- hdc: half double crochet
- sl st: slip stitch
- MR: magic ring
Step-by-Step Detailed Crochet Instructions
This pattern consists of two main parts: the center of the flower and the petals.
1. Middle Part (Circle)
- Start with yellow yarn (or your chosen center color).
- Make a Magic Ring (MR).
- Round 1: Work 14 double crochets (dc) into the magic ring. (Count carefully to make sure you have 14 stitches.)
- Join into the first stitch with a slip stitch (sl st) to form a circle.
- Tighten the magic ring and cut the yarn. Pull through and secure.

2. Petals
- Take your second color (e.g., white) and attach it to any stitch in the circle.
- Petal:
- Chain 7 (ch).
- Skip 1 ch (the closest chain), and starting in the second chain, work:
- 6 hdc (half double crochets) (one in each of the next 6 stitches).
- Once the 6 hdc are complete, return to the circle and make a slip stitch (sl st) into the next stitch.
- Repeat the above step (Petal) for all 14 stitches in the circle:
- Each petal begins with 7 chains, 6 hdc along the chain, and a slip stitch to secure it to the next stitch in the circle.
- At the end of the round, make a final sl st into the starting stitch. Your flower should now have 14 petals.
- Tie off the yarn, leaving a secure knot. Use a needle or your crochet hook to weave in any loose ends.
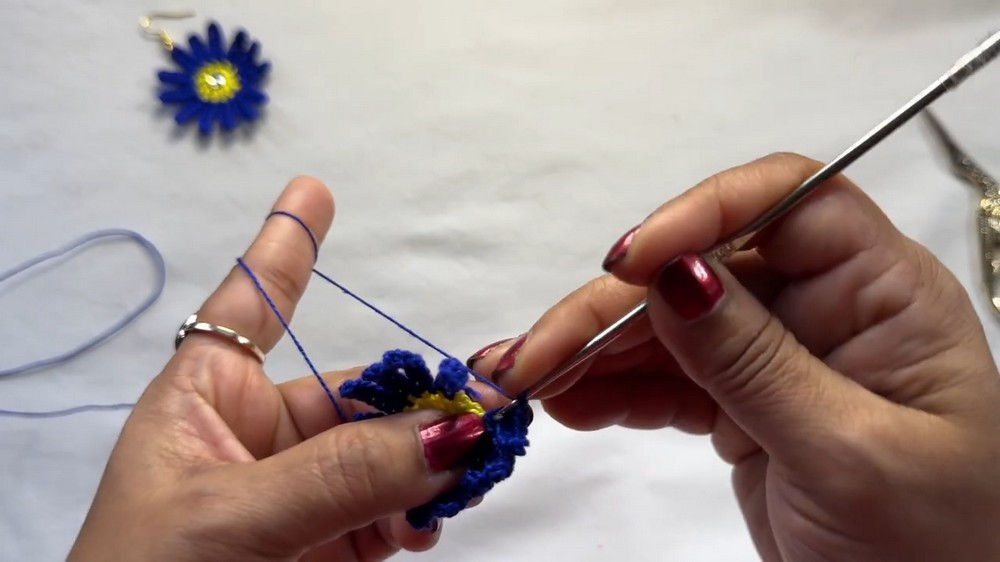
3. Finishing & Assembly
- Straighten the Petals: Adjust the petals gently by shaping them with your fingers to make them uniform and neat.
- Attach the Earring Hook:
- Open the small loop on the earring hook using a plier.
- Slide one daisy petal into this loop and close the earring hook securely.
- Glue the Stone (Optional):
- Add a small dot of glue to the center of the flower. Press the white stone or gem onto it firmly. Let it dry completely according to the glue instructions.
Final Thoughts
Your beautiful Crochet Daisy Flower Earrings are complete! Enjoy your handmade accessory or give it as a thoughtful gift. If you'd like, experiment with different yarn types, bead embellishments, or even layer your daisies for a fuller look.