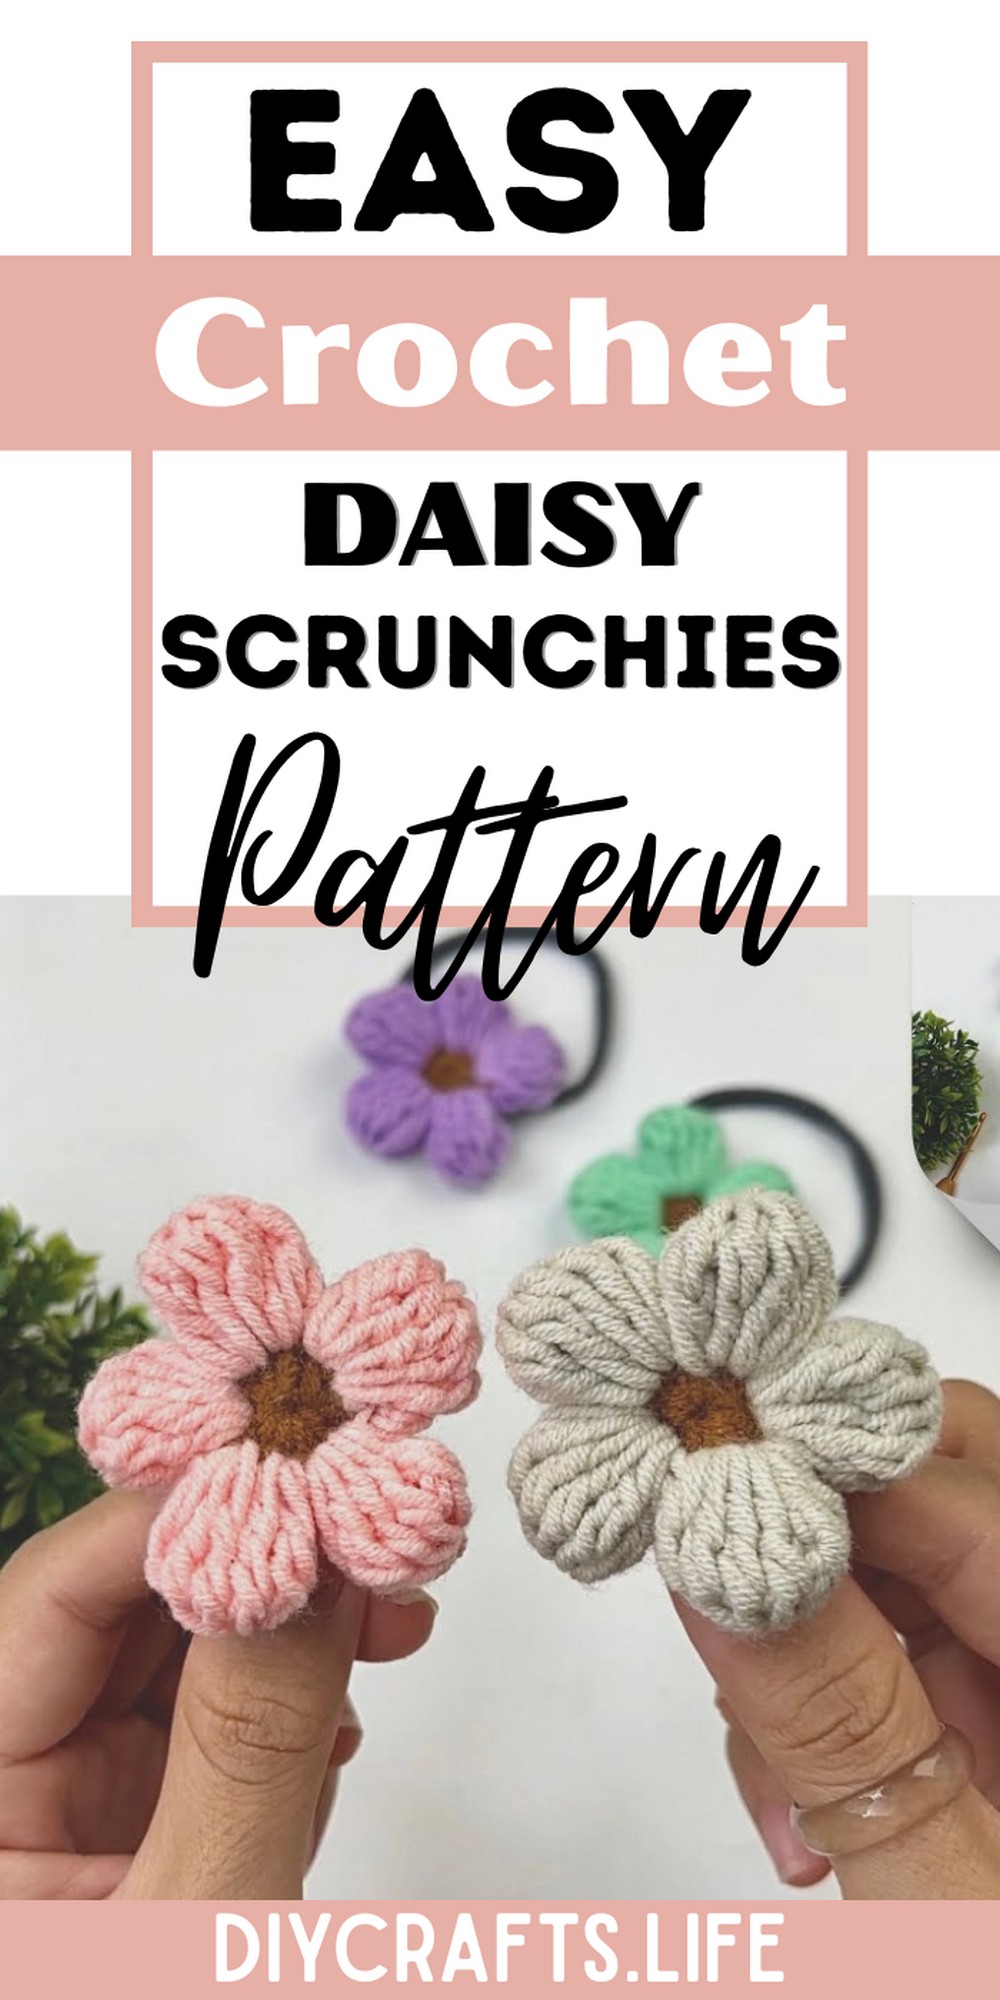
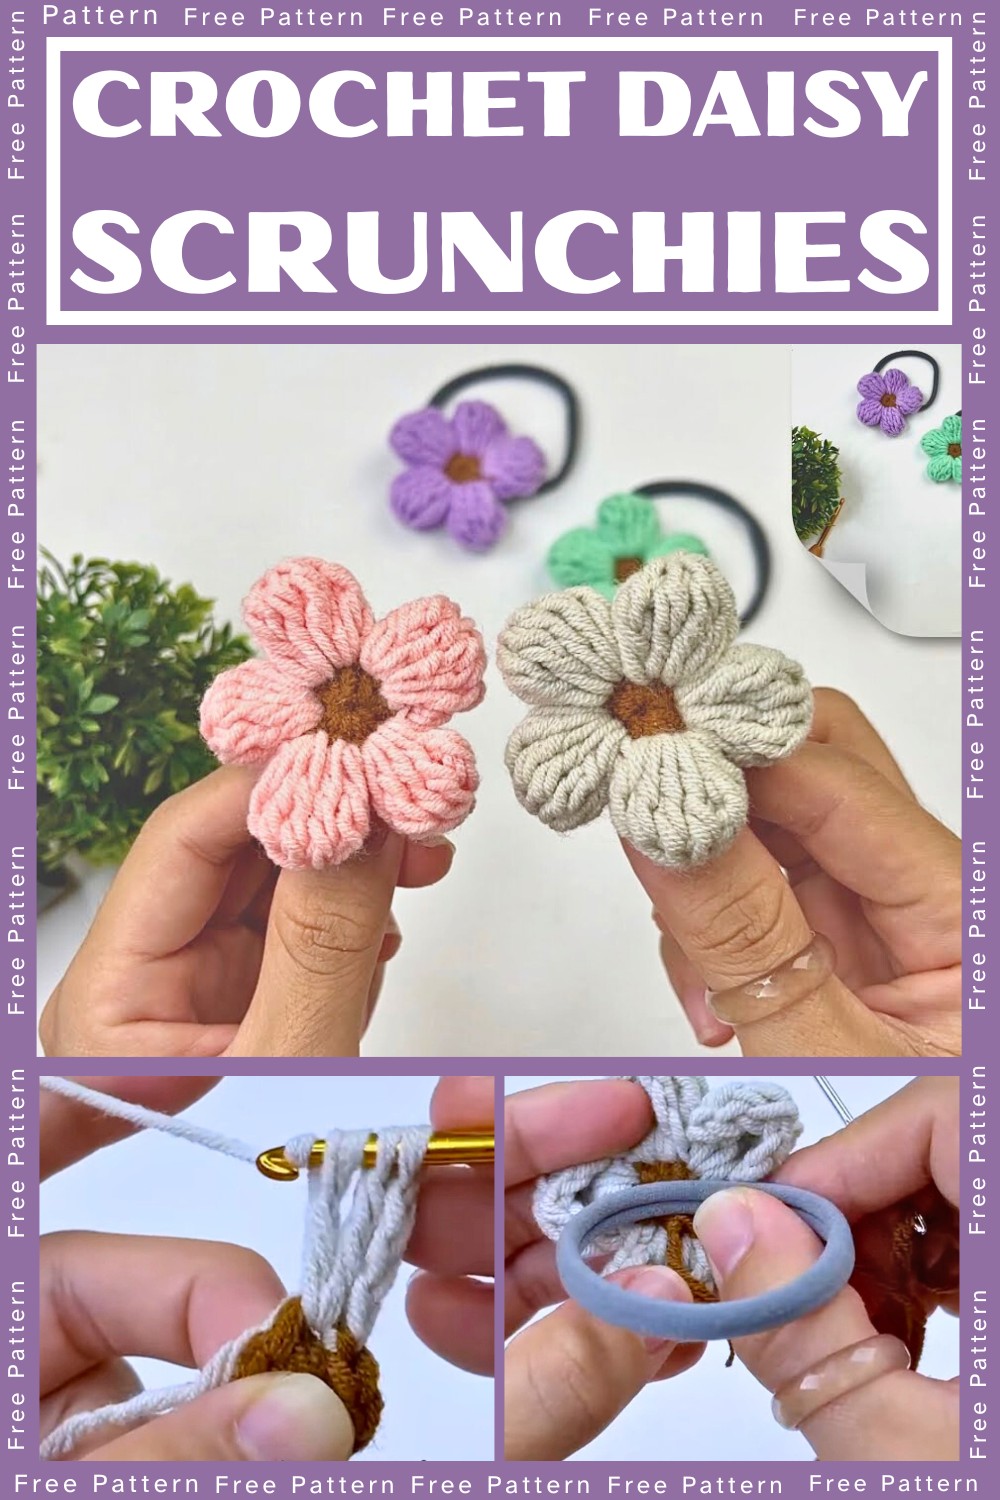
Add charm to your everyday look with Crochet Daisy Scrunchies—a simple yet elegant project perfect for beginners. These floral scrunchies combine beauty, functionality, and versatility, making them perfect for any occasion. Follow along to bring this delightful accessory to life.
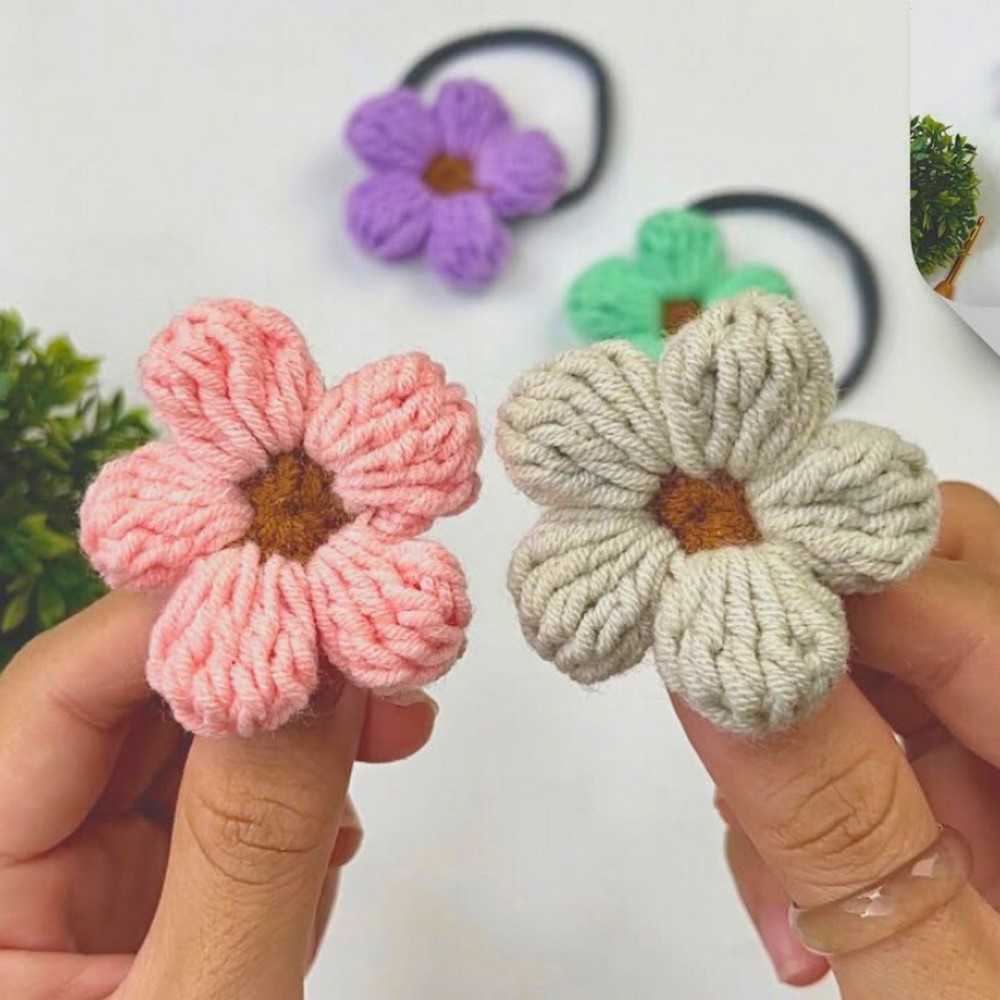
Crochet Daisy Scrunchies are not only stylish but also durable and practical. They work as a trendy hair tie while adding unique flair to hairstyles. Lightweight and made with milk cotton yarn, these scrunchies can be customized in colors, offering long-lasting usability for both casual and formal settings.
Crochet Daisy Scrunchies
Looking for a fun and easy crochet project? These Daisy Scrunchies are perfect for beginners and seasoned crocheters alike! With just a few materials, this customizable and charming accessory lets your creativity blossom. Whether making one for yourself or gifts for friends, this project is as rewarding to make as it is to wear.
Materials and Preparation
To craft your Crochet Daisy Scrunchies, you’ll need:
- Milk Cotton Yarn (125g, 5-ply)
- Crochet Hook: 4mm
- Scissors
- Hair tie
- Yarn needle
Abbreviations and Notes
Here are the crochet abbreviations used in this pattern:
- SC: Single Crochet
- CH: Chain
- TR: Triple Crochet
- SL ST: Slip Stitch
Important Notes:
- The Daisy Scrunchie starts with a magic ring to form the flower’s center.
- For the petals, you'll use incomplete Triple Crochet stitches to achieve their shape.
- Pull the yarn tail firmly to close the ring completely.
Gauge, Approximate Size, and Pattern Notes
Gauge: Not critical for this accessory. However, using the recommended yarn and hook size ensures proper proportions.
Approximate Size: The finished Daisy Scrunchie flower measures approximately 3–4 inches in diameter, depending on yarn tension.
Pattern Notes: A gauge swatch isn’t necessary. This project is easy to adjust based on personal preference—more stitches can be added for larger or smaller flowers.
Step-by-Step Pattern
Step 1: Create the Flower Center
- Hold your yarn however you feel comfortable and begin with a magic ring.
- Make CH 1, then crochet 10 SC inside the ring.
- SL ST to close the circle. Pull the yarn tail tightly to close the magic ring completely.
Step 2: Attach a New Yarn for the Petals
- Switch to a new yarn color for the daisy petals.
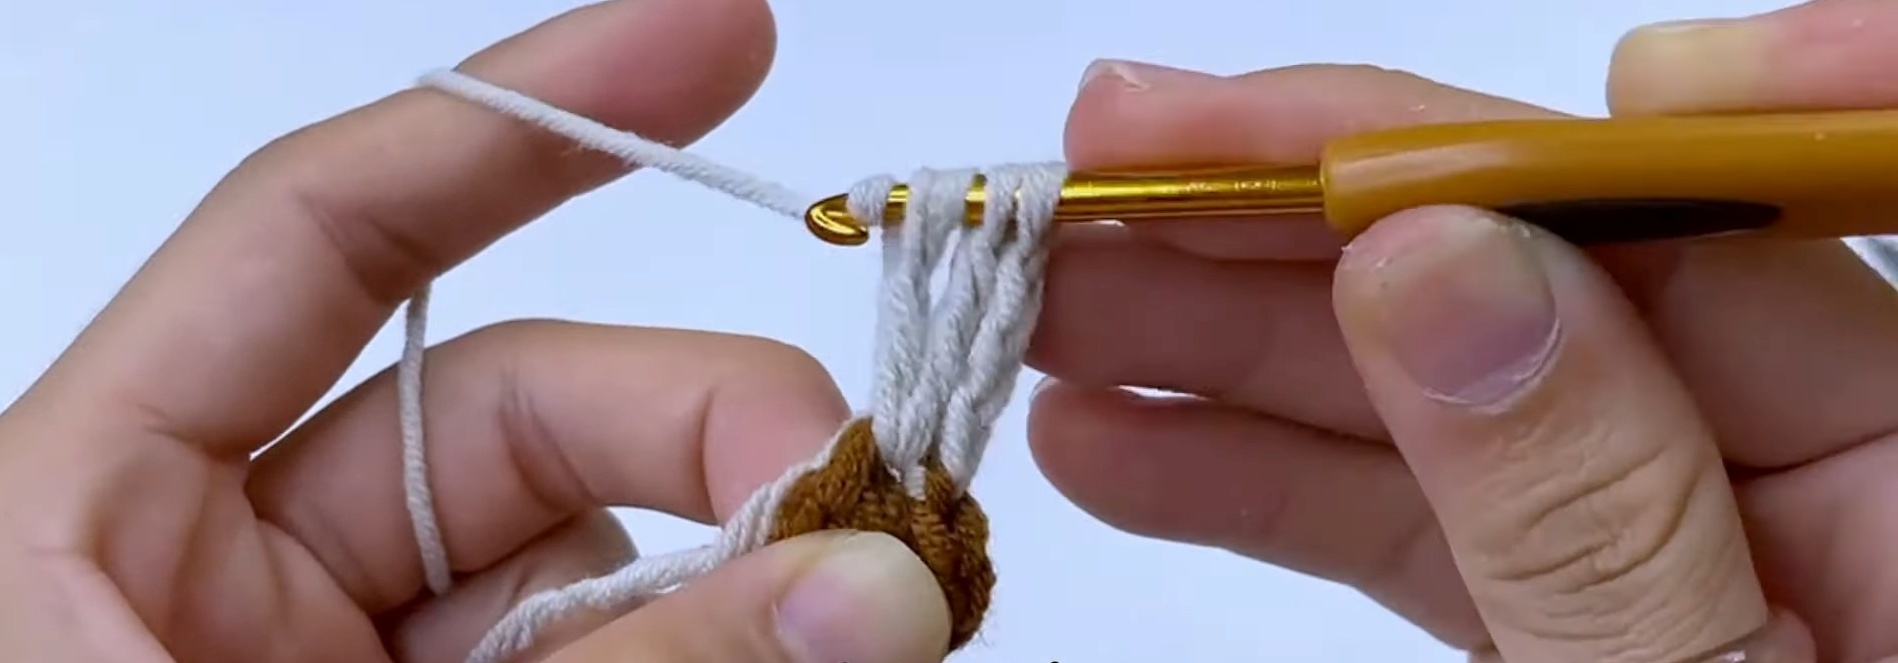
Step 3: First Petal
- CH 3 (serves as the start of the petal).
- Work 3 incomplete TR into the first stitch.
- Crochet 3 TR into the next stitch.
- SL ST, then CH 3, and SL ST again into the next stitch.
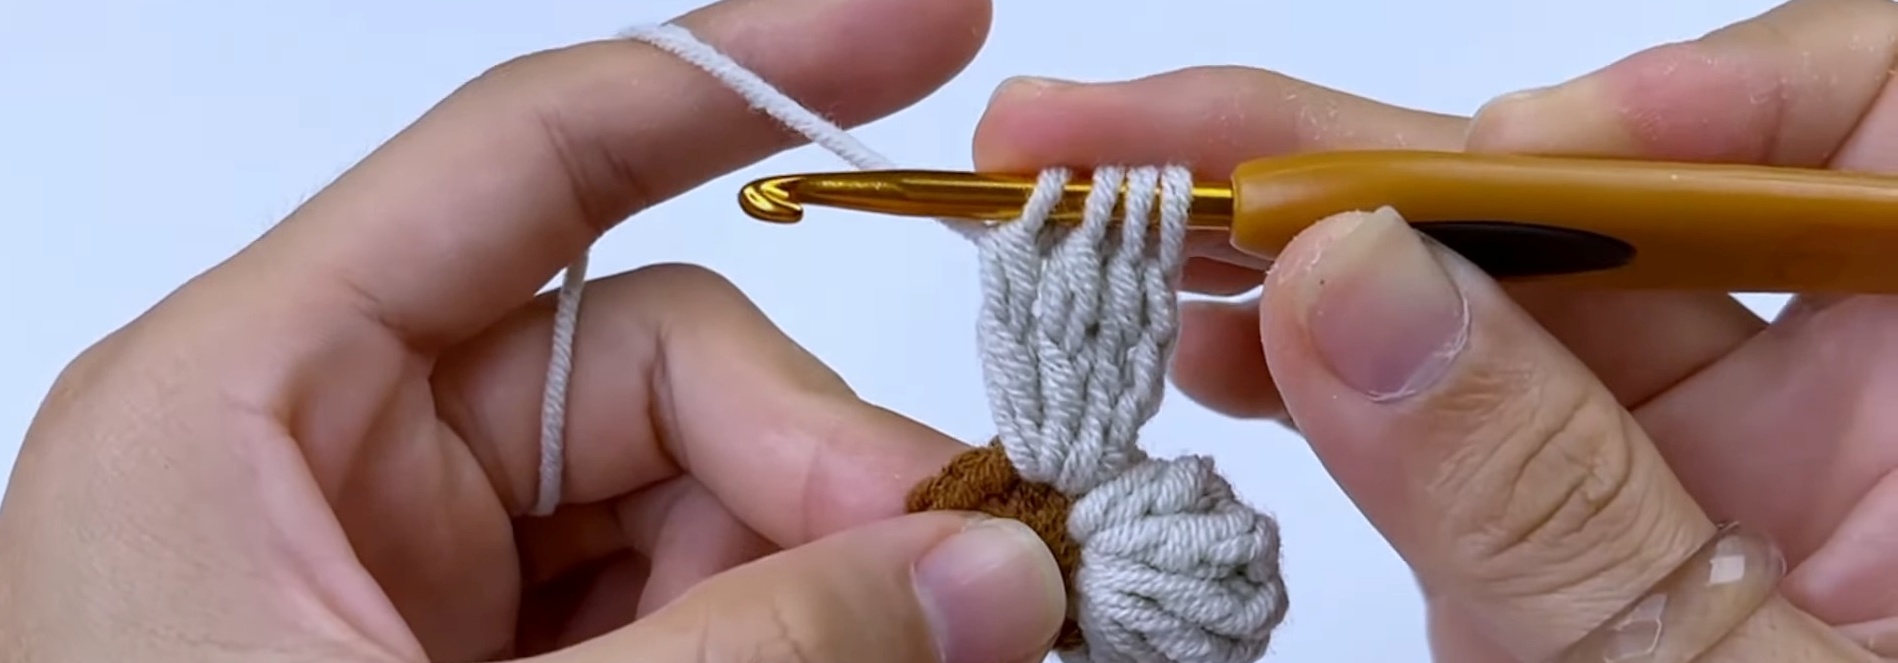
Step 4: Repeat for Remaining Petals
- Repeat the process to make the following petals:
- CH 3.
- Work 3 incomplete TR into the first stitch of the petal.
- Crochet 3 TR into the next stitch.
- SL ST, then CH 3, and SL ST into the next stitch.
- Continue this pattern until all petals are completed.
Step 5: Finishing the Flower
- Sew the yarn tails into the center, trimming any excess for a clean finish.
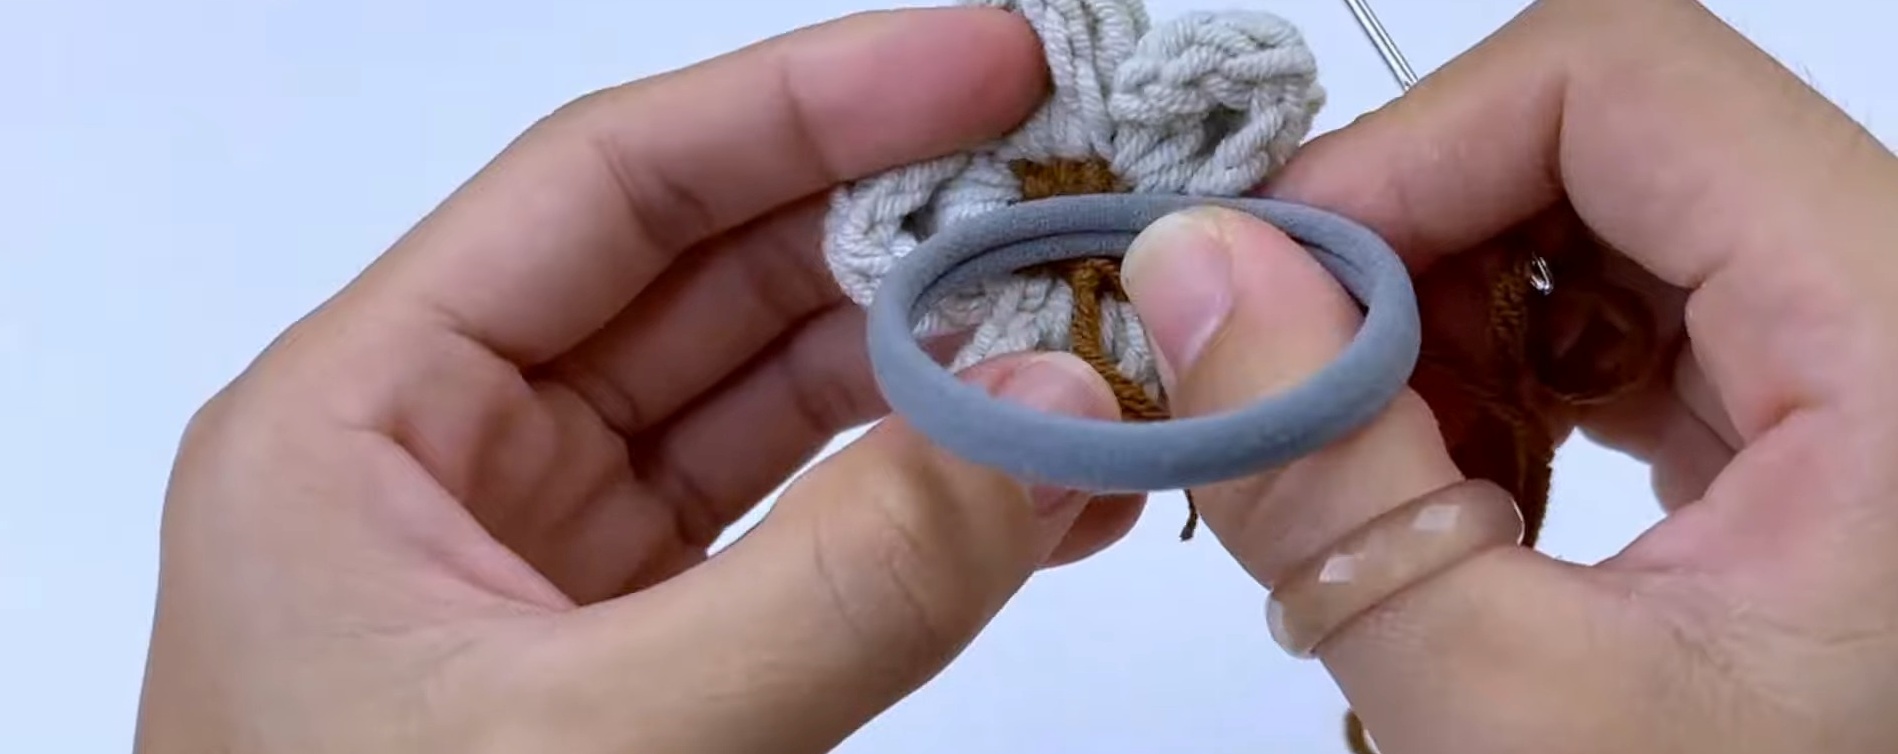
Step 6: Attach the Hair Tie
- Place the flower on the hair tie.
- Use the yarn needle to sew the flower securely to the hair tie.
Step 7: Final Touches
- Tug gently on all petals to shape them evenly.
- Trim stray yarn threads, if needed.
Pattern Question:
Q: Can beginners easily learn this pattern if they’re new to crochet?
A: Absolutely! The tutorial provides step-by-step guidance, and the techniques—magic ring, single crochet, triple crochet, and slip stitch—are beginner-friendly. With a little practice, anyone can create these beautiful scrunchies.
Conclusion
Creating Crochet Daisy Scrunchies is both rewarding and fun, offering a chance to make unique, handcrafted accessories while learning new skills. Perfect for personal use or gifting, this project showcases the joy and creativity of crochet, making it a must-try for enthusiasts of all skill levels.


