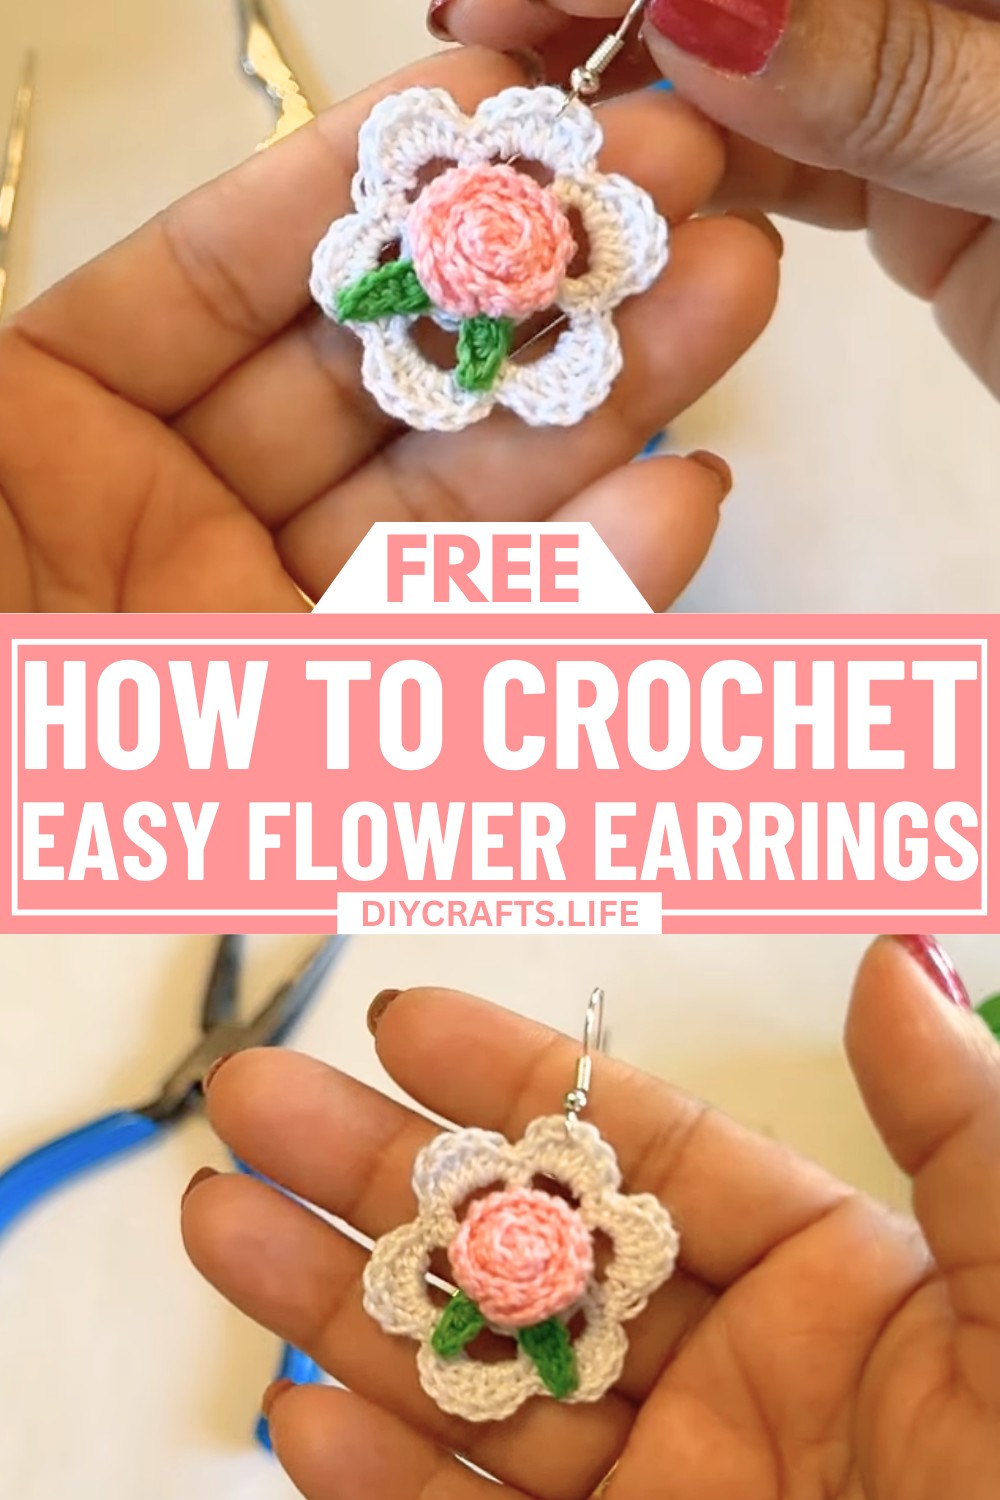
Feel the allure of elegance with these stunning crochet flower earrings, where artful skill meets fashion-forward creativity. This design marries vibrant colors and delicate craftsmanship, turning simple threads into a wearable garden of beauty. Imagine the gentle drape of petals, each one a loving testament to the time and care you’ve invested in bringing this accessory to life. Let the glow of handmade elegance light up your presence with every step you take.
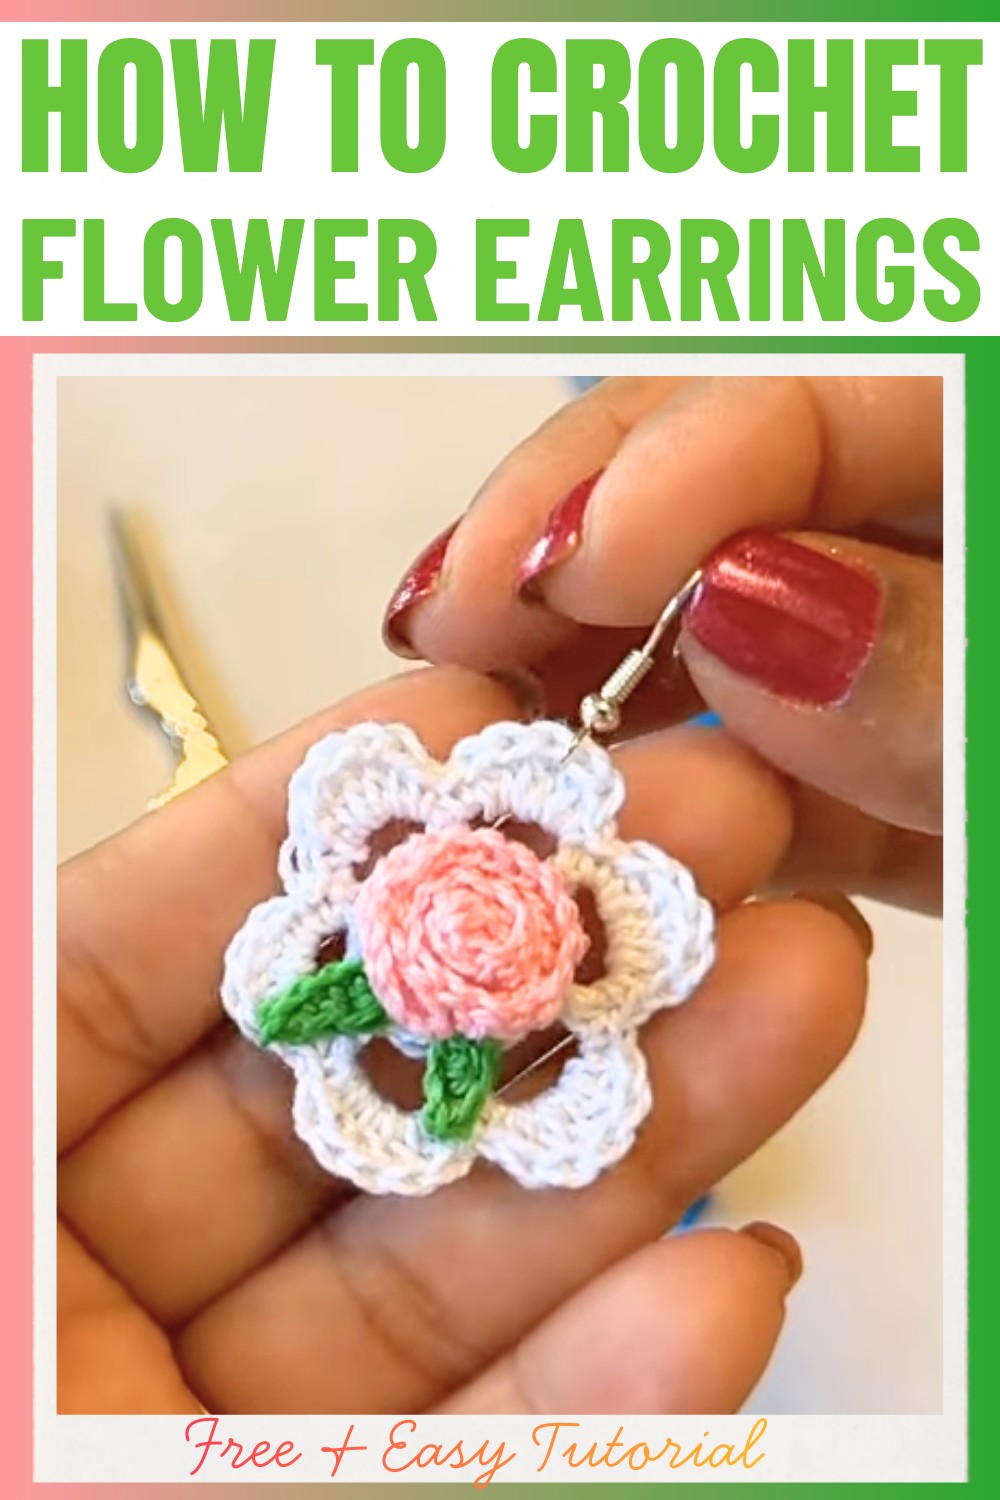
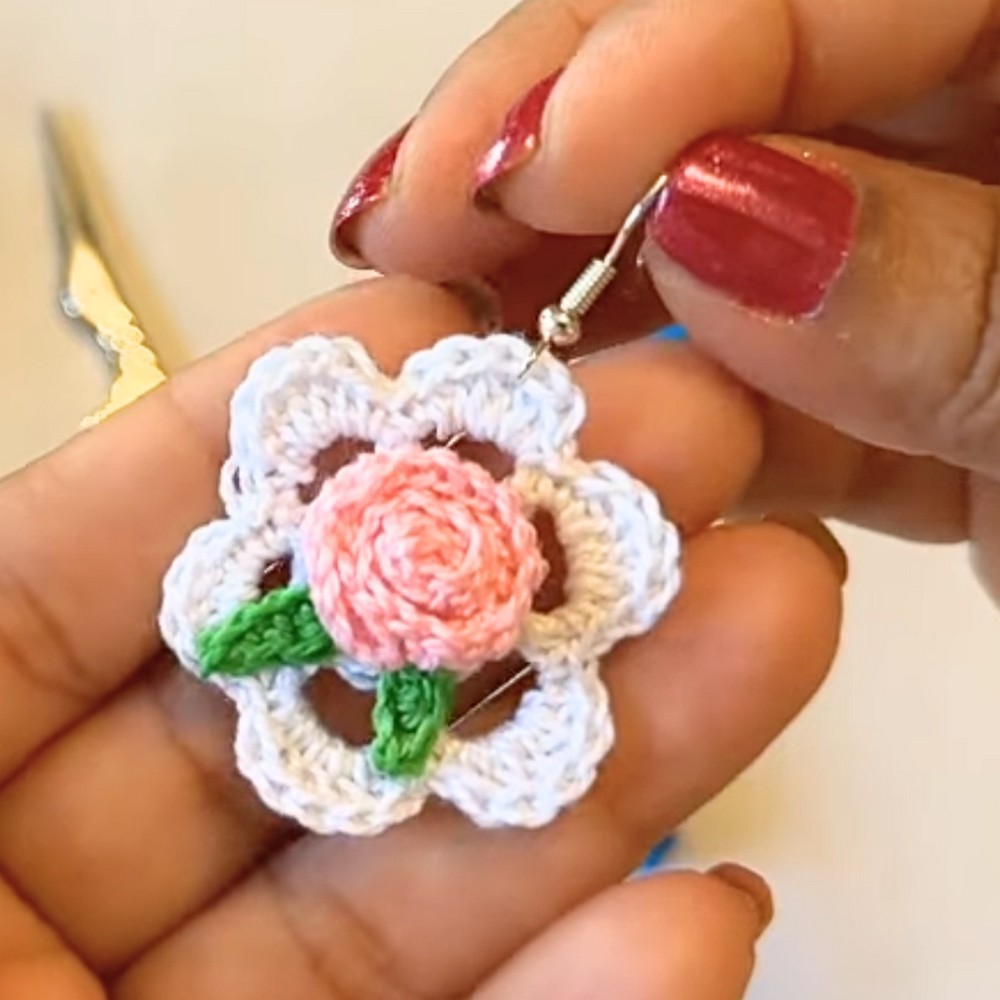
These crochet flower earrings stand out for their intricate, three-part design: a detailed rose set upon a circular base with accompanying leaves. The pattern cleverly uses just a few materials to create something truly special—7mm yarn in three colors, a crochet hook, and an earring clasp. What sets this design apart is how it cleverly transforms simple stitches into a tactile experience of nature, offering endless potential for personal style. Whether you prefer a bold, vibrant look or a subtle pastel palette, these earrings offer the perfect canvas for expressing your individual flair.
Credit MAMA’S CRAFT
Materials & Tools Needed
- Yarn (3 colors):
- Base color: For the earring foundation.
- Flower color (e.g., pink): For the rose flower.
- Leaf color (e.g., green): For the leaves.
- Recommended: Use lightweight cotton or crochet thread for a delicate finish.
- Crochet Hook:
- 7 mm hook (adjust size depending on the yarn used—smaller hooks for finer threads).
- Earring Hook:
- Standard earring hooks (found at craft stores or online).
- Scissors:
- For cutting yarn.
- Pliers:
- To open and close the earring hook.
- Glue:
- Craft glue for attaching components securely (rose, leaves, and base).
Finished Size & Customization Ideas
Approximate Finished Size:
- The earring size will vary based on the yarn weight and hook size. With a 7 mm hook and lightweight yarn, the diameter of the base will be around 1–1.5 inches, and the height including the flower and leaves will be about 2–2.5 inches.
Customization Suggestions:
- Size:
- For smaller earrings: Use thinner crochet thread (e.g., size 10 cotton) and a smaller hook (e.g., 1.75–2 mm).
- For larger earrings: Use thicker yarn and a larger hook.
- Style:
- Change the base or flower color for seasonal or themed looks.
- Use metallic or glitter yarn for special occasions.
- Add beads or embellishments to the base or flower for extra sparkle.
- Straps/Chains:
- For a dangling effect, crochet longer chains to hang the flower below the earring hook.
- Layering:
- Combine multiple small flowers on the base for a fuller design.
Pattern Abbreviations & Terminology
- sc - Single Crochet
- dc - Double Crochet
- ch - Chain
- sl st - Slip Stitch
Step-by-Step Detailed Crochet Instructions
Part 1: The Base
- Start with a Magic Ring:
- Create a magic ring.
- Chain 1.
- Round 1:
- Work 12 double crochets (dc) into the magic ring.
- Pull the ring tight and join with a sl st to the first dc.
- Cut the yarn and fasten off.
- Round 2:
- Attach the yarn to the base.
- Chain 3 (this counts as the first dc), work 1 dc + chain 3 in the same space.
- Skip one stitch, then work (1 dc + chain 3) into the next stitch.
- Repeat this pattern (dc + ch 3 in every second stitch) around the circle.
- Join with a sl st to the top of the initial chain.
- Round 3 (Petal Design for the Base):
- In the first chain-3 space:
- sc into the space, then work 5 dc, and end with a sc.
- Repeat for each chain-3 space (sc + 5 dc + sc).
- Join with a sl st to finish the round.
- Cut the yarn, weave in the ends.
- In the first chain-3 space:
Part 2: The Rose Flower
- Foundation Chain:
- With the flower's yarn color, chain 15.
- Add 2 chains for turning.
- Rose Petals:
- Skip the first 2 chains, work 2 dc in each stitch across the chain.
- After finishing all stitches, cut the yarn and leave a tail.
- Shaping the Rose:
- Starting from one end of the crochet strip, roll it tightly into the shape of a rose.
- Use craft glue to secure the base of the rolled-up rose.
- Set aside to dry.

Part 3: The Leaves
- Foundation Chain:
- With the green yarn, chain 4.
- Create the Leaf:
- Start in the 2nd ch from the hook:
- In the same stitch: sl st, sc, sc.
- Next stitch: sc.
- Last stitch: sl st.
- Start in the 2nd ch from the hook:
- Second Leaf:
- Chain 5.
- Repeat the steps of the first leaf.
- Fasten off and weave in loose ends.

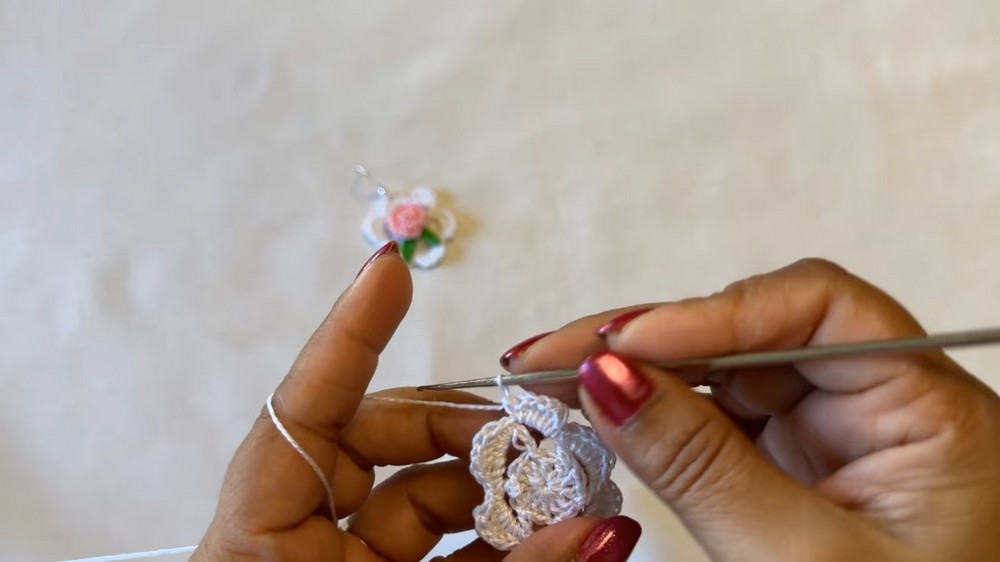
Part 4: Assembly
- Attach the Leaves to the Base:
- Add a small amount of glue to the center of the base.
- Arrange both leaves where they will peek out from behind the rose.
- Attach the Rose to the Base:
- Add glue to the center of the attached leaves and press the rolled rose flower into place.
- Allow time for the glue to set and dry.
- Attach the Earring Hook:
- Use pliers to open the loop of the earring hook.
- Insert the hook through the base (or chain space on top) and secure it by closing the loop with pliers.
Finishing Notes
- Make sure all components are securely glued and dry before wearing the earrings.
- If gifting, consider packaging them in a small jewelry box or pouch for presentation.