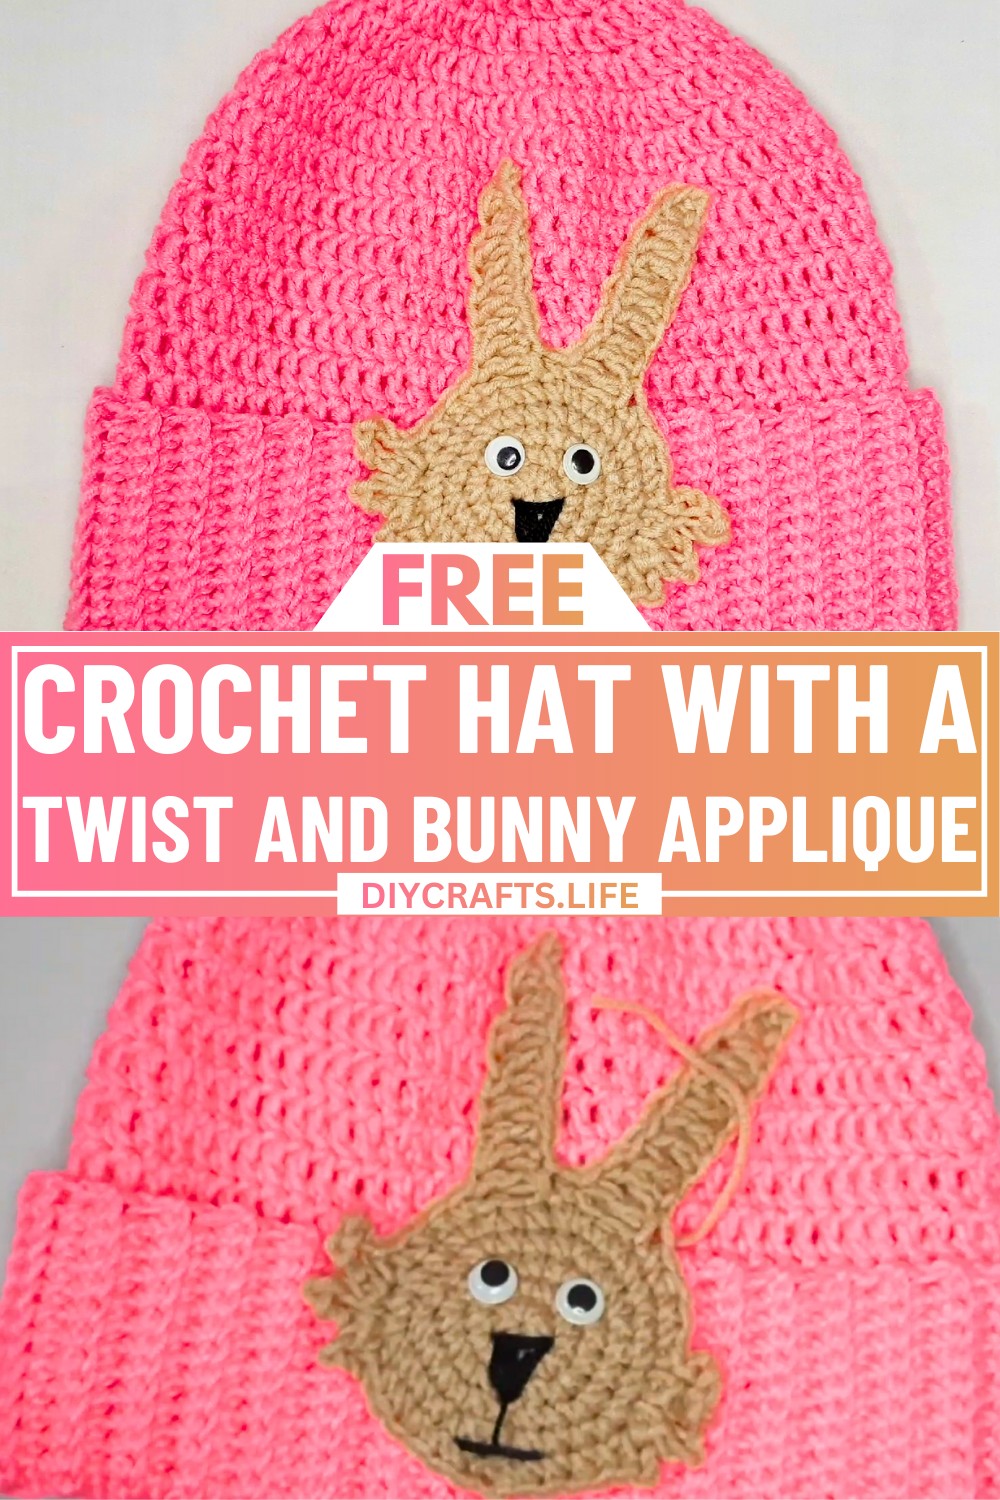
This crochet hat with a twist and a bunny applique is the perfect combination of fun and creativity. The hat has a unique textured finish that stands out, while the adorable bunny design adds an extra layer of charm. It’s not only a cozy and stylish winter accessory but also a sweet way to add a playful touch to any outfit. You can customize it with your favorite colors and make one for kids, teens, or adults. It’s a heartwarming gift or an everyday item to keep you warm and bring smiles!
Creating this hat is fun and beginner-friendly! The pattern starts with simple crochet rounds to shape the hat, and a cute ribbed edging adds a special twist at the bottom. To finish, you can attach a pre-made bunny applique (or follow along to make your own!) for the perfect touch of cuteness. This hat can be worn on chilly days or given as a handmade gift for family and friends. Whether it’s a cozy addition to your wardrobe or a thoughtful present, this hat is full of personality and style.
Credit Vima's Crochet
Materials & Tools Needed
- Yarn:
- Type: Hobby Store Bobby Pink, 4 Medium-weight, 100% Acrylic.
- Quantity: 100g (1 ball sufficient for an adult-size hat).
- Hook: 5.5 mm crochet hook.
- Measuring Tape: To measure the size and height of the hat.
- Yarn Needle: For sewing the applique onto the hat and finishing stitches.
- Scissors.
Finished Size & Customization Ideas
- Approximate Size:
- Hat diameter: 7 inches.
- Hat height: 9 inches (for adult size).
- Customization Ideas:
- Different yarn colors or textures.
- Swap the bunny applique with other animal motifs.
- Add decorative elements like pom-poms or buttons for further personalization.
Pattern Abbreviations & Terminology
- ch: Chain
- dc: Double Crochet
- sc: Single Crochet
- sl st: Slip Stitch
- inc: Increase (two stitches worked into the same stitch)
- blo: Back Loop Only
(All terms conform to U.S. crochet terminology.)
Step-by-Step Detailed Crochet Instructions
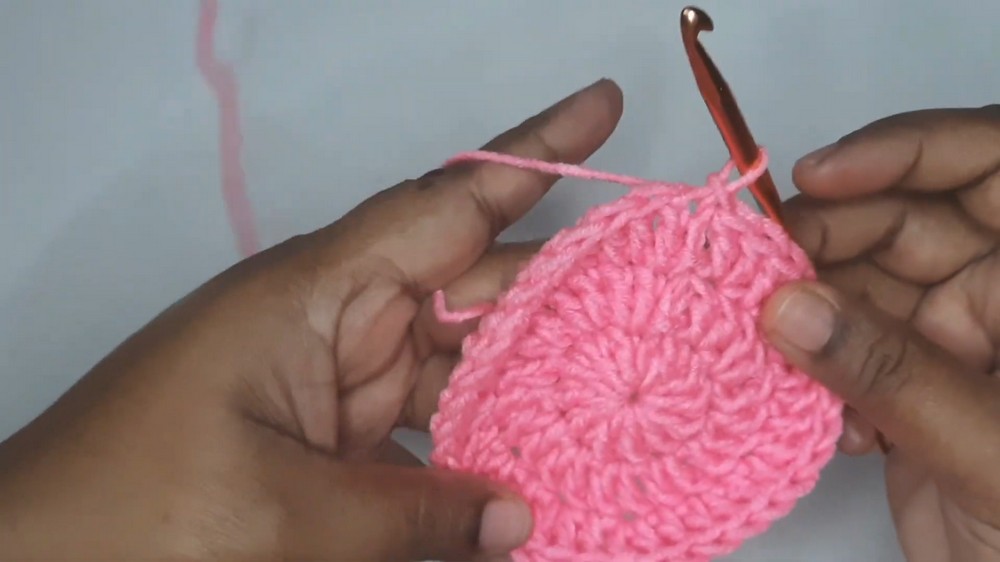
Hat Base
Round 1:
- Start with a magic circle (or "S circle").
- Chain 1 to secure the circle.
- Work 12 dc into the magic circle. (Yarn over, insert hook, pull through, and complete dc stitch.)
- Pull the tail to tighten the circle closed.
- Sl st into the top of the first dc to join the round.
- Total stitches: 12
Round 2:
- Chain 1.
- Work 2 dc into each stitch from the previous round (increase in every stitch).
- Sl st into the top of the first dc to join the round.
- Total stitches: 24
Round 3:
- Chain 1.
- Repeat the sequence:
- 1 dc in the first stitch.
- 2 dc (increase) in the next stitch.
- Sl st into the top of the first dc to join.
- Total stitches: 36
Round 4:
- Chain 1.
- Repeat the sequence:
- 1 dc in the first stitch, 1 dc in the second stitch.
- 2 dc (increase) in the third stitch.
- Sl st into the top of the first dc to join.
- Total stitches: 48
Round 5:
- Chain 1.
- Repeat the sequence:
- 1 dc in the first stitch, 1 dc in the second stitch, 1 dc in the third stitch.
- 2 dc (increase) in the fourth stitch.
- Sl st into the top of the first dc to join.
- Total stitches: 60
Round 6:
- Chain 1.
- Repeat the sequence:
- 1 dc in each of the next four stitches.
- 2 dc (increase) in the fifth stitch.
- Sl st into the top of the first dc to join.
- Total stitches: 72
- Measure the diameter of the hat—it should be approximately 7 inches for an adult-size hat.
Body of the Hat (No Increases):
- After joining Round 6, work 1 dc in each stitch around for every subsequent round.
- Continue to work rounds of dc until the hat height reaches 9 inches (from the center to the brim).
- Slip stitch at the end of each round to join.
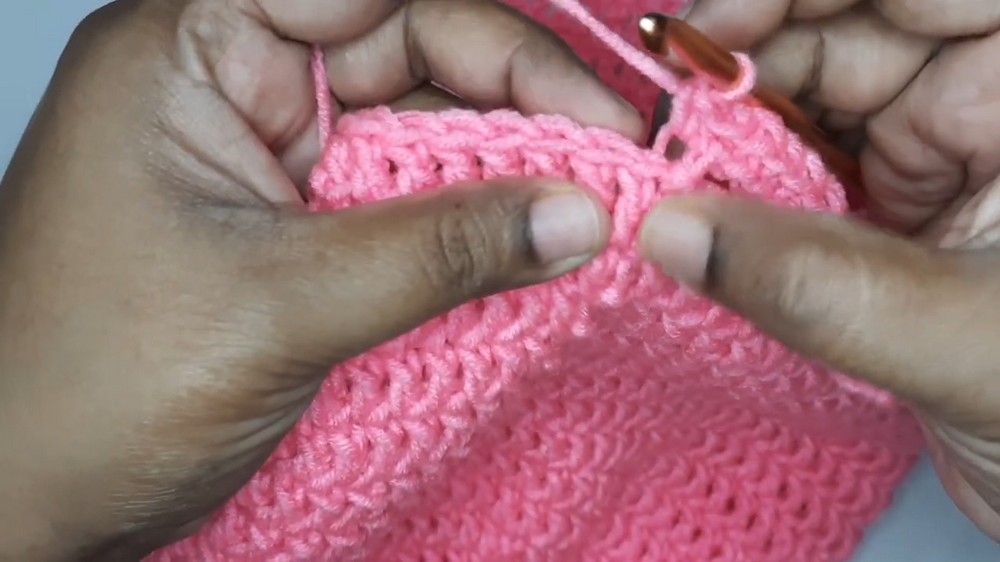
Twist Detail (Ribbed Edge)
Step 1: Create the ribbing:
- Chain 13 for the brim.
- Starting in the second chain from the hook, work 12 sc (into the back loop of each chain).
- Sl st into the next dc on the hat base (to attach the ribbed brim edge).
- Rows Repeat:
- After finishing a ribbing row, slip stitch into the next stitch to anchor and turn your work.
- Work single crochet into the back loop only for all rows to create the twist texture.
- Rows Repeat:
Step 2: Repeat until the brim goes completely around the hat:
- Continue working ribbing rows (12 sc back loop + slip stitch to join).
- Once all rows are complete, join the starting and ending sides of the ribbing using slip stitches in the back loops of both edges for a seamless finish.
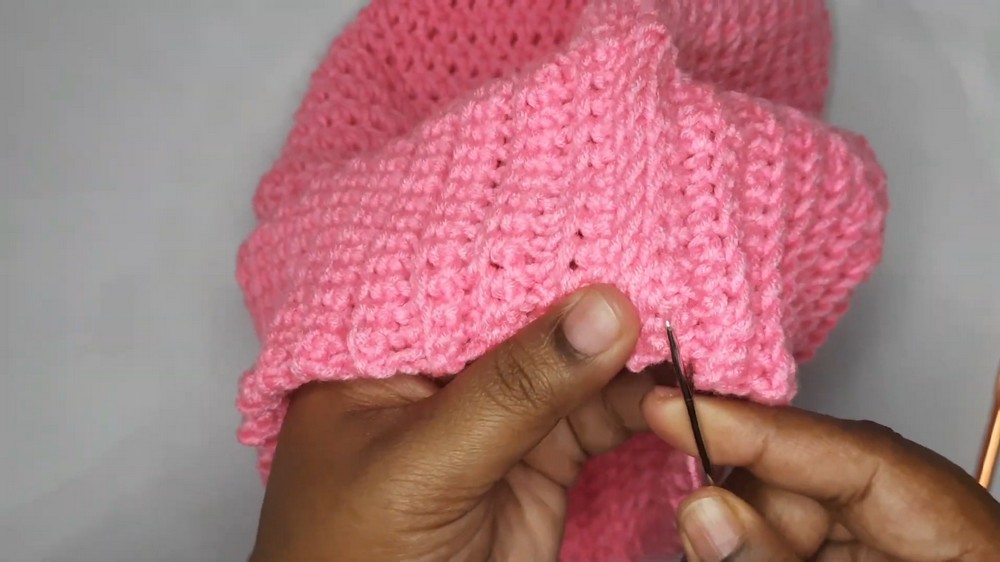
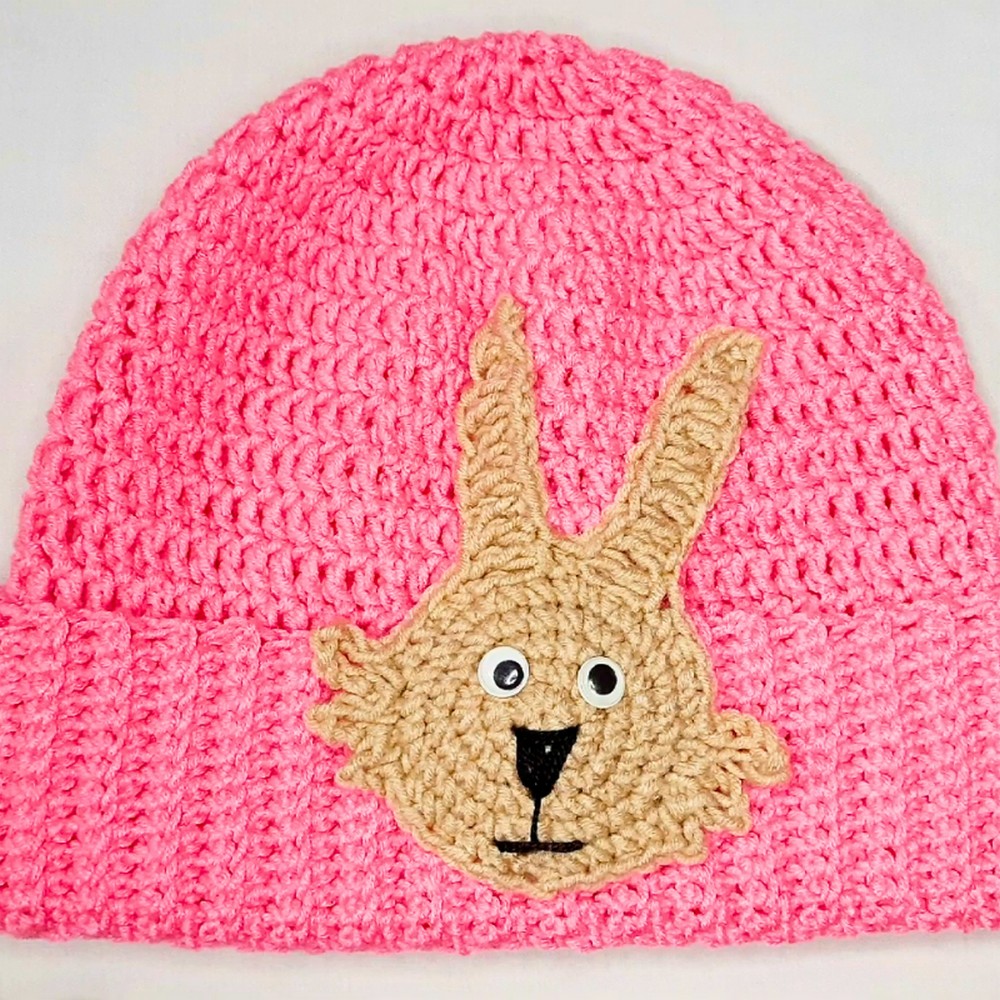
Bunny Applique Attachment
- Position the bunny applique on the hat using pins to hold it in place.
- Use a yarn needle and matching yarn to sew the applique onto the hat:
- Stitch along the edge, ensuring to pick up both the applique and the surface of the hat.
- Secure loose ends and weave them into the inside of the hat.
- Repeat for the bunny ears if they are separate from the applique body.
Finishing Techniques
- Final Adjustments:
- Ensure all ends are sewn in securely.
- Turn the hat right-side out to check all seams and stitches.
- Optional Additions:
- Add lightweight stuffing under the applique for a 3D effect.
- Incorporate fabric glue as an alternative for applique attachment.
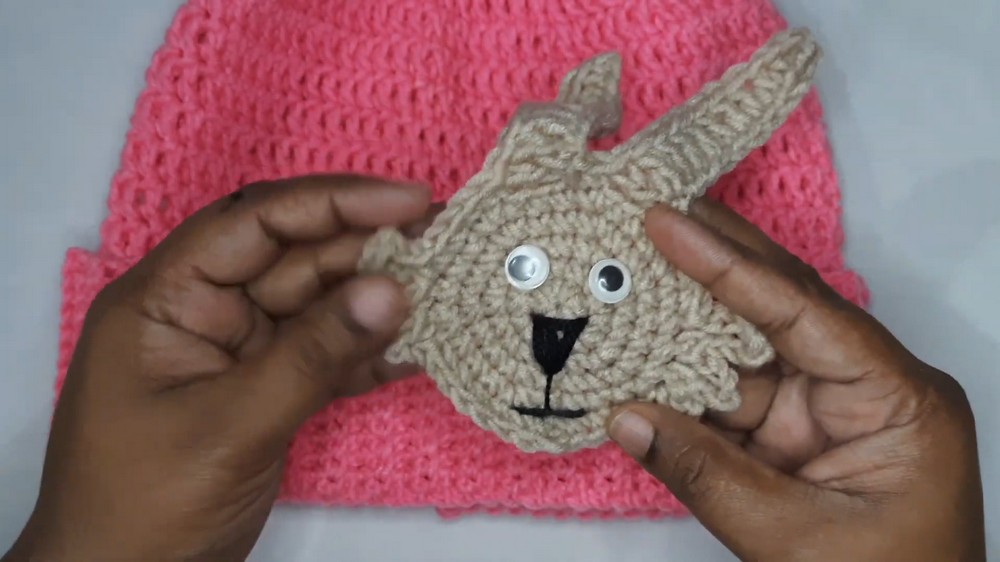
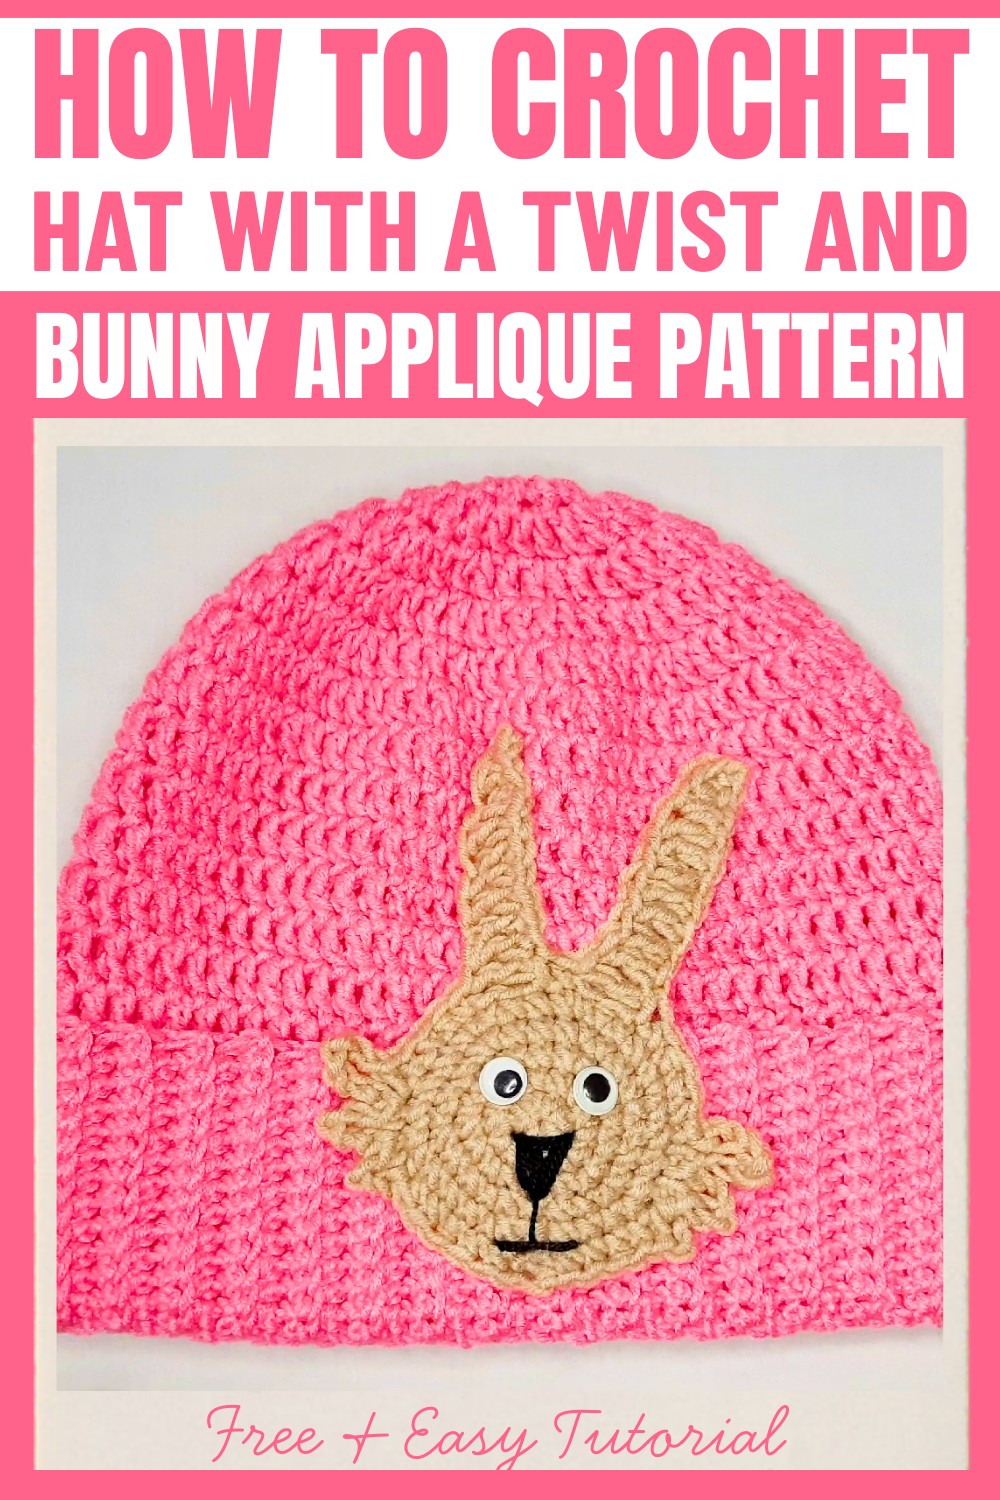
Your Finished Crochet Hat
You now have a beautiful crochet hat with a twist, topped with a playful bunny applique! Great for gifting or personal use, this hat combines simplicity with creative flair.