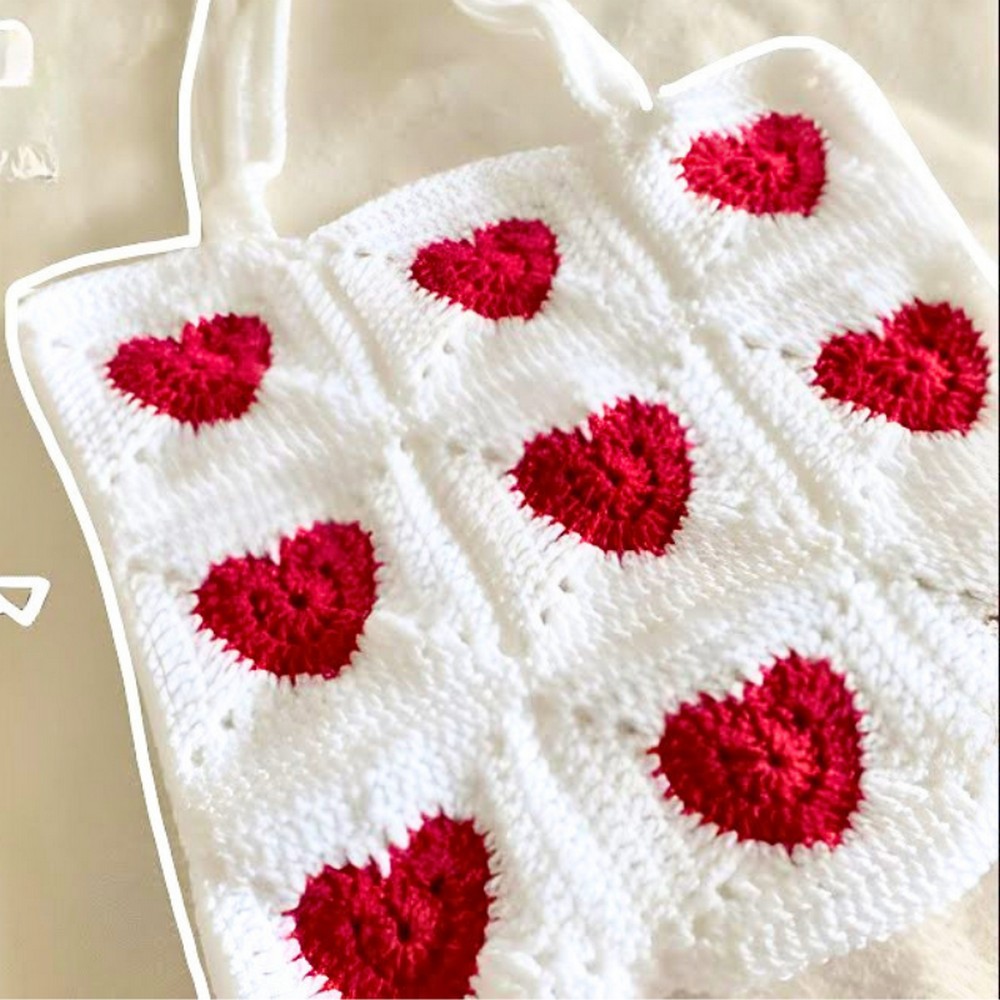
This crochet heart granny squares bag is a wonderful mix of beauty and usefulness. Made from heart-shaped granny squares, it’s perfect for carrying everyday essentials or as a thoughtful handmade gift for someone. The heart design makes it extra special. Whether for groceries, books, or a casual outing, this crochet bag is as functional as it is eye-catching.
Crochet Heart Granny Bag Pattern
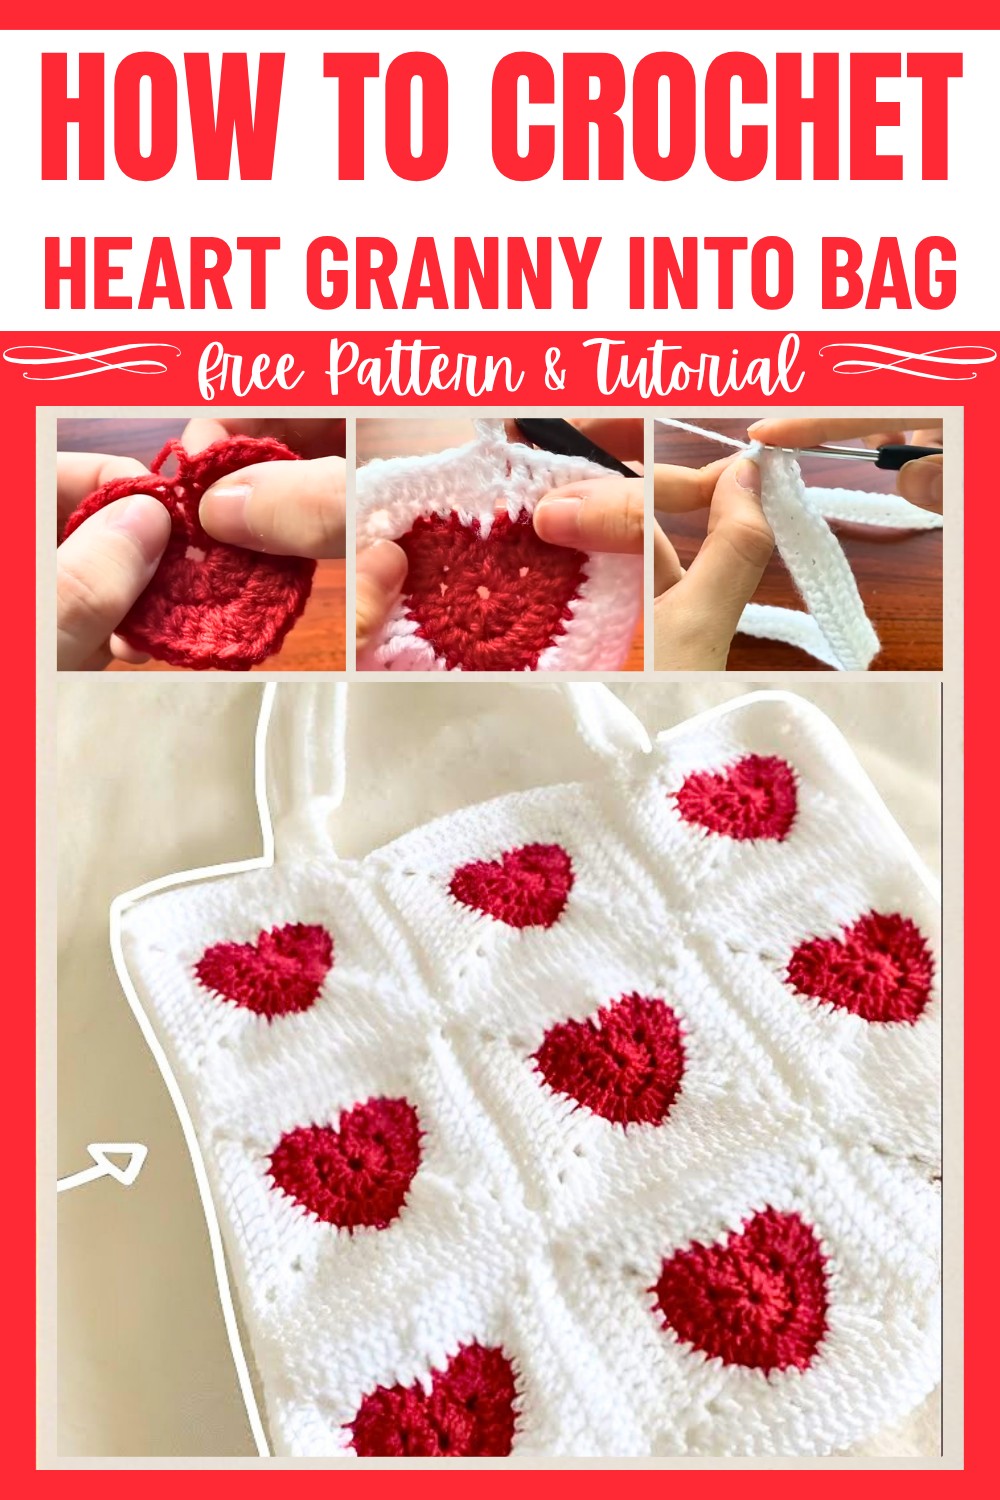
First, you crochet heart-shaped granny squares, which are joined together to create the base of the bag. No need to worry about the details, and the bag will take shape nicely. Finally, adding a strong handle makes it ready to carry all your items. It’s simple enough for beginners to try but also a fun and rewarding idea for experienced crocheters.
Credit chrochetavenue
Materials & Tools Needed
- Yarn:
- Red yarn (for the central heart motif)
- White yarn (for the granny square border)
- Hook: The appropriate crochet hook size matching your yarn (typically 3.5mm–4.0mm for medium-weight yarn).
- Scissors
- Tapestry needle (for weaving in ends)
- Pins or stitch markers (optional, for assembly)
Finished Size & Customization Ideas
- Recommended Size: The bag requires 18 granny squares, assembled into two panels (9 squares each). Handles can be customized to your desired length by adjusting the number of chains.
- Customization Ideas:
- Use additional colors to make multicolored granny squares.
- Adjust yarn weight and hook size to make larger or smaller squares.
- Add embellishments like tassels or appliqués to the bag.
Pattern Abbreviations & Terminology
The pattern follows US crochet terminology:
- ch: Chain
- sl st: Slip stitch
- dc: Double crochet
- hdc: Half double crochet
- sc: Single crochet
- tr: Treble crochet
- quadr: Quadruple crochet
- rep: Repeat
- st: Stitch
- YO: Yarn over
Step-by-Step Detailed Instructions
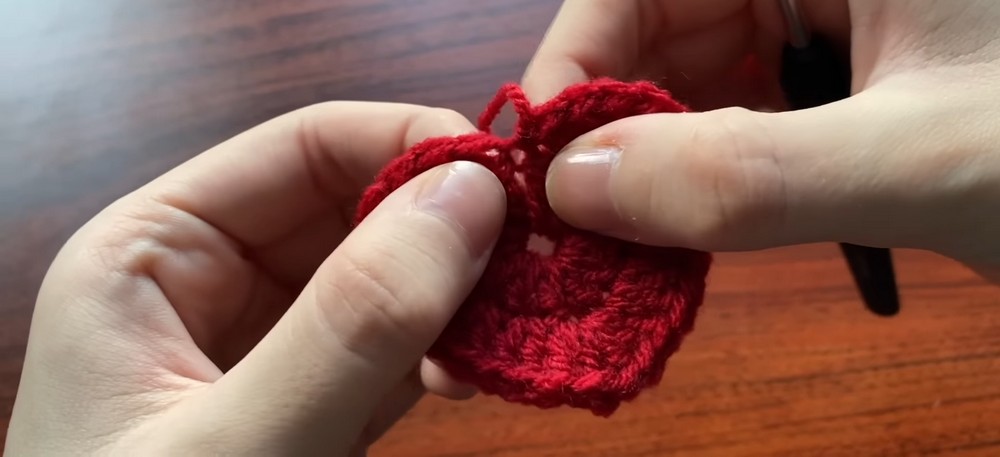
Heart Motif (Centerpiece of Granny Square)
Round 1:
- Make a slip knot and chain 4.
- Join with a sl st into the first chain to form a ring.
- Chain 3 (counts as 1 dc).
- Work 12 dc into the ring. Join with a sl st to the third chain of the starting ch-3. (Total: 13 dc including the ch-3).
Round 2:
5. In the second stitch, work 7 tr:
- YO twice, insert hook into the stitch, pull through, then YO and pull through the first two loops. YO, pull through the next two loops. YO, pull through last two loops. Rep for 7 tr.
- Work 1 dc into the next st.
- Work 2 dc into the next st, 2 dc into the next st, and 2 dc into the next st.
- Sl st into the front loop of the last dc made.
- Continue with 2 dc into the same stitch, 2 dc into the next st, 2 dc in the next st, 1 dc in the next st, and 7 tr in the next stitch.
- Skip 2 stitches, then join into the 3rd st with a sl st.
- Fasten off red yarn.
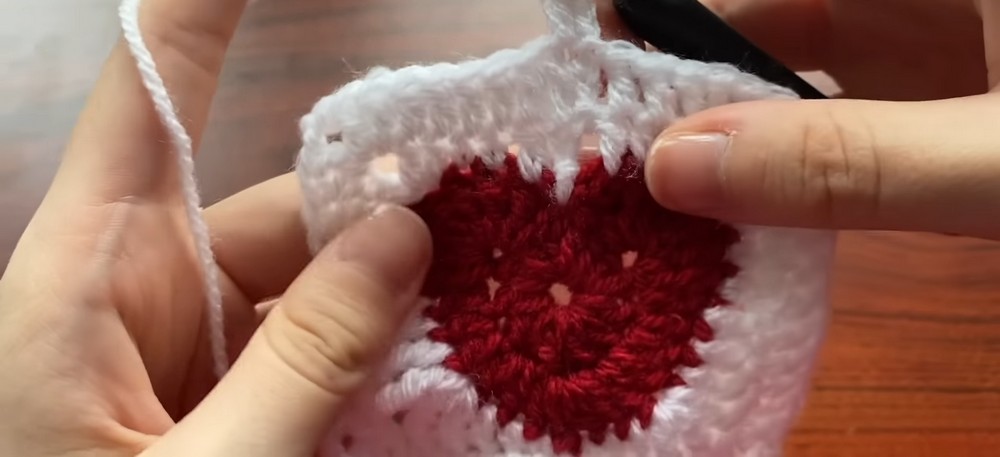
Creating the Granny Square Border
Switch to white yarn.
Round 1 (White Yarn):
- Make a slip knot and join white yarn with a sl st into the base of the last sl st of the heart motif.
- Chain 3, and work:
- 1 dc in the next st
- 1 hdc in the next st
- 1 sc in the next st
- 2 dc in the next st
- Chain 2, then work 1 dc into the same stitch (creates a corner).
- Work:
- hdc in the next 3 sts
- 1 dc in the next st
- 1 dc again in the next st
- 1 tr in the next st
- 1 quadr in the next st
- Chain 2, 1 quadr, 1 tr in the same st.
- Continue:
- 1 dc in the next st
- 1 hdc in the next st
- 1 sc in the next st (the center bottom of the heart).
- In the slip stitch at the bottom, work sl st, then continue back up:
- 1 sc in the hidden st
- hdc, dc, tr, quadr in the subsequent sts as symmetrical patterns repeat.
- Work corners similarly (ch 2, 2 dc, etc.) until you complete the round. Join with a sl st into the beginning ch-3.
At this stage, finish all rounds of the border granny square using methods shown to achieve sharp corners and consistent stitches.
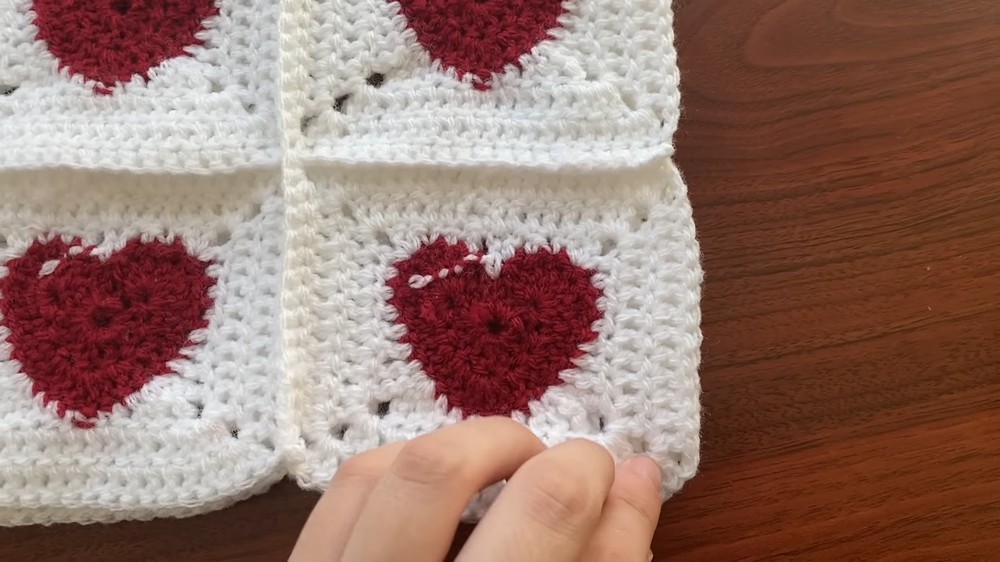
Creating and Joining the Granny Squares
- Crochet 18 granny squares, making sure each square has its own Heart motif and borders.
- Layout: Arrange 9 granny squares per panel with the front sides facing up.
- Joining:
- Place two squares with front sides facing. Use sc into corresponding dc stitches along edges for neat joins:
- Insert into a st from Square 1 and corresponding st from Square 2, create sc. Repeat across.
- Adjust as needed when stitch counts differ (skip a st where needed).
- Place two squares with front sides facing. Use sc into corresponding dc stitches along edges for neat joins:
Repeat until all squares are joined (first into rows, then columns).
Assembling the Bag
Join the two panels, front sides facing, using the same technique of sc seam joining. At corner junctions, work 4 sc into corners for durability.
Turn the bag inside out for neat finishing.
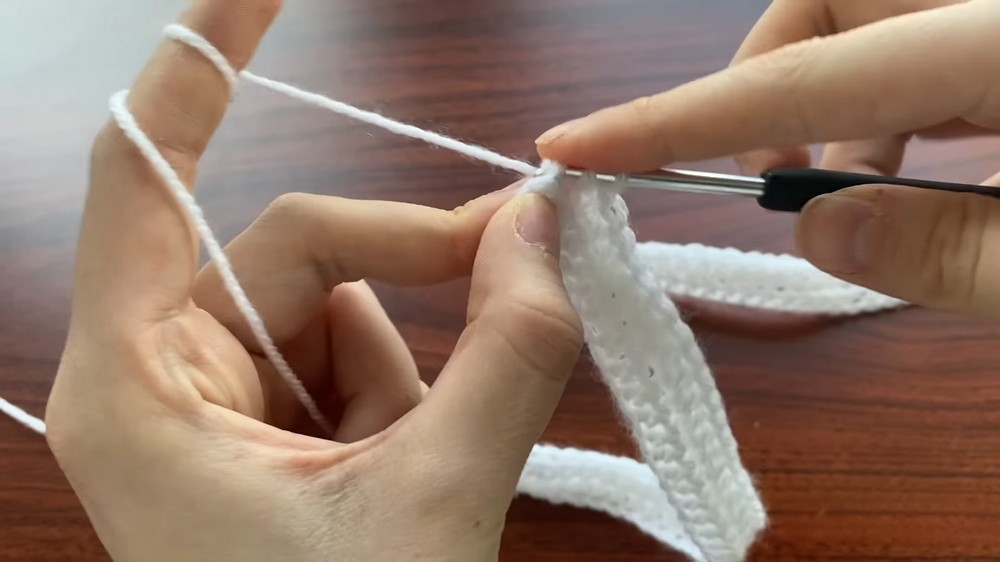
Crochet Handles
- Chain 96 (or desired length for handles).
- Skip 2 chains, work hdc across all remaining chains.
- Chain 2, turn, and work hdc across all sts.
- Repeat for 2–3 total rows based on desired thickness.
Attaching the Handles
- Sew each handle to the inside of the bag, attaching securely at the desired length.
- Ensure both handles are evenly spaced and aligned.
Finishing Touches
- Secure all loose ends with a tapestry needle.
- Steam block or shape the bag for a polished look.
- Your Crochet Heart Granny Bag is complete!
Tips for Success
- Use stitch markers for corners to ensure alignment.
- Test handle length before final fastening.


