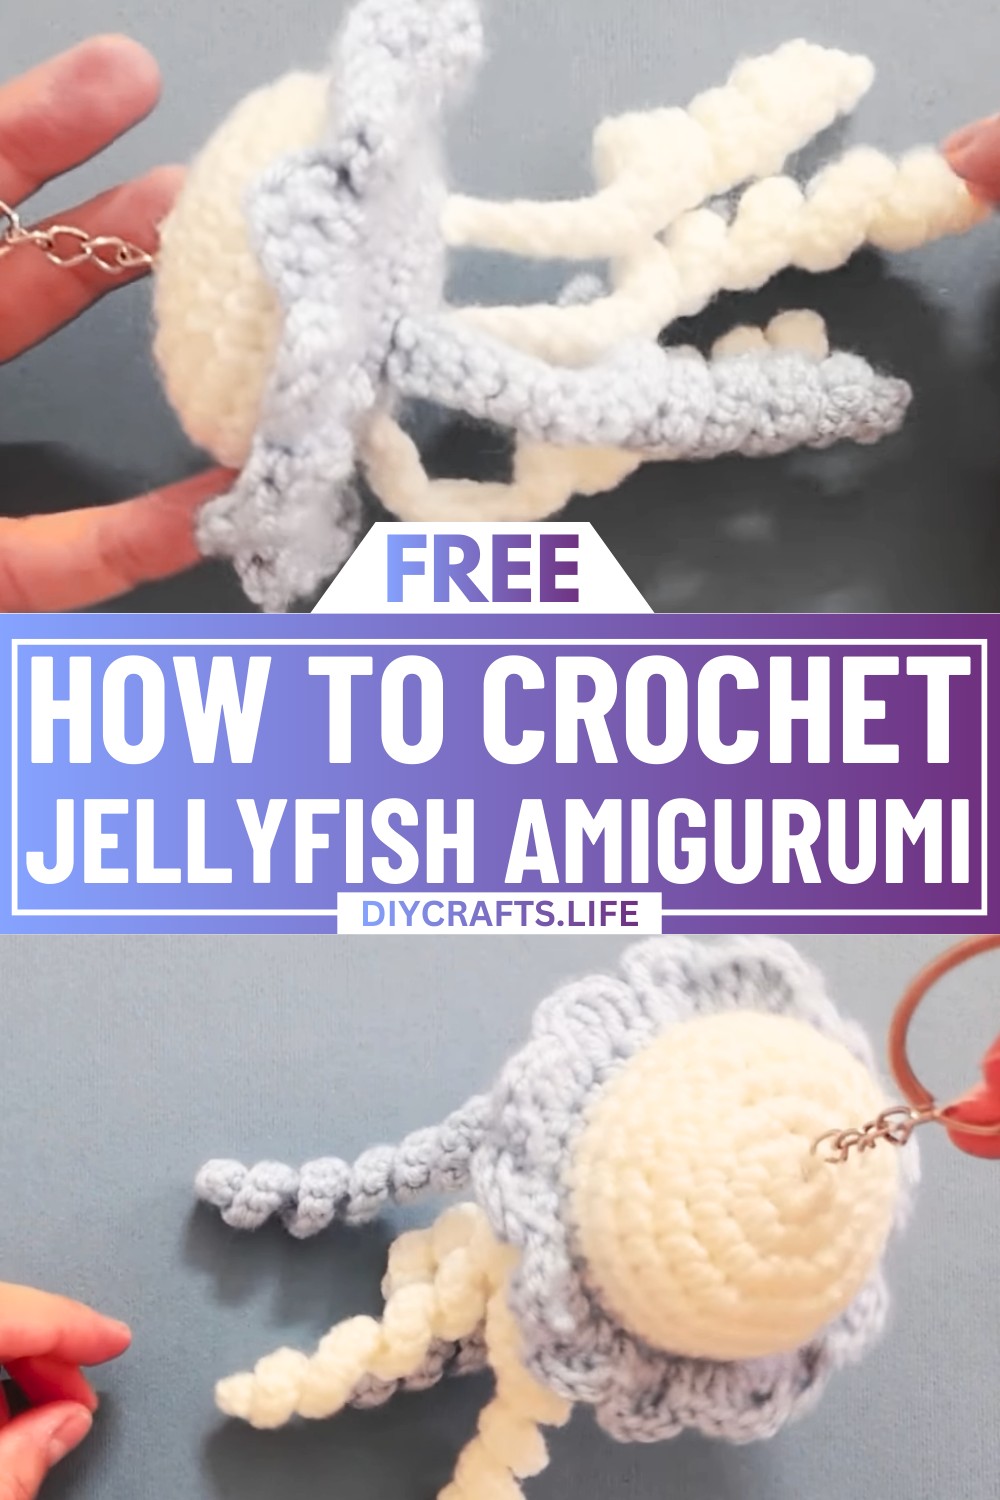
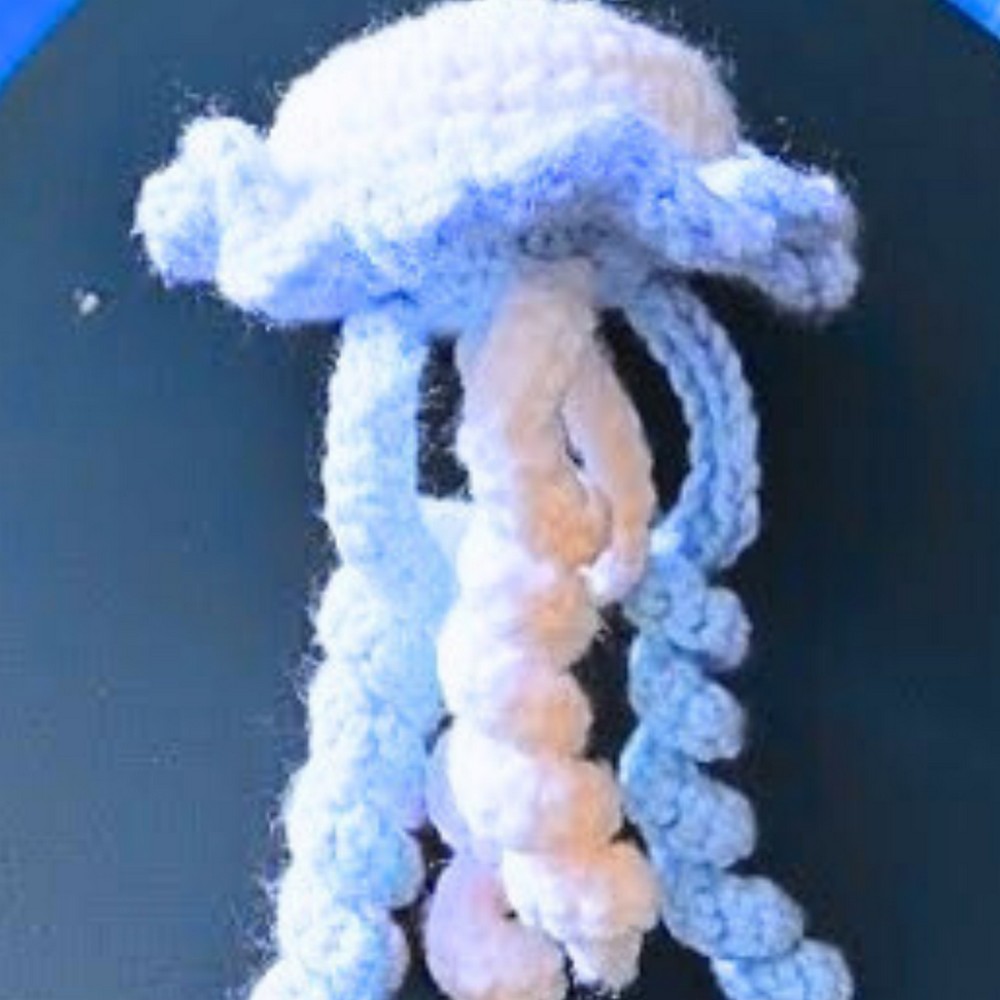
Add a whimsical touch to your crochet collection with this charming jellyfish design! Whether you're a seasoned crocheter or just starting out, this enchanting jellyfish amigurumi will quickly become your go-to for creative projects. Its playful tentacles and delicate, cheerful shape bring a sense of fun and uniqueness that’s sure to brighten any craft table—or even a keychain.

What makes this jellyfish truly special is its delightful blend of simplicity and elegance. Designed with a structured base, curly tentacles, and a decorative edging, it offers the perfect mix of creativity and functionality. Switch up the colors to match your personal style or gift it as a sweet handmade treasure. This little jellyfish is an adorable way to combine art and craft into something memorable!
Credit qp's Crochet Creations
Required Materials
To crochet the jellyfish, you will need:
- Two colors of yarn (white and blue or any combination you prefer).
- 2.5 mm crochet hook.
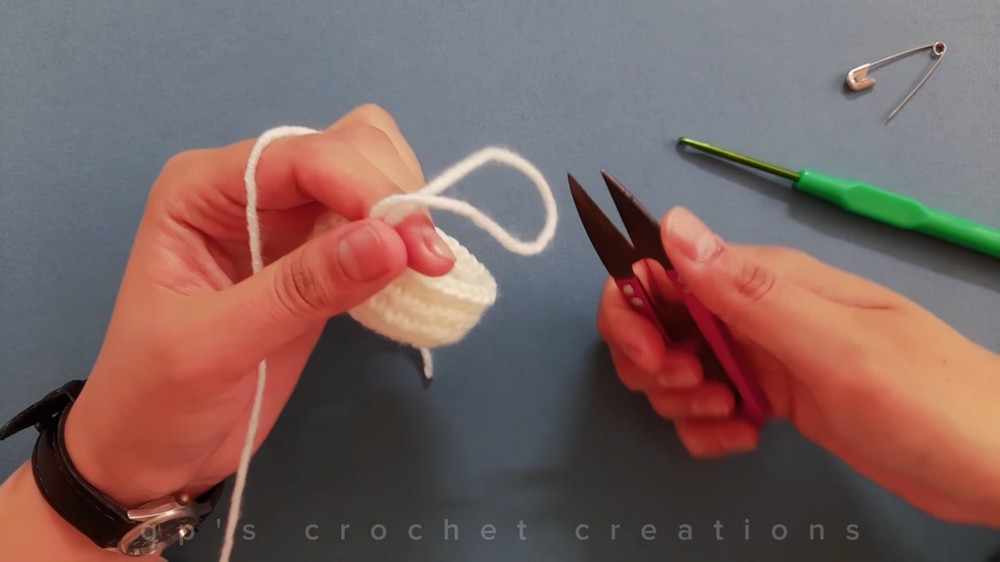
- Scissors.
- Stitch markers.
- Stuffing material (for filling the jellyfish).
- Decorative eyes (optional).
- Keyring with chains (optional if you want the jellyfish as a keychain).
Important Notes
- Always mark the first single crochet of each row with a stitch marker to keep track of stitch counts.
- Use stuffing material during the assembly process to ensure your jellyfish maintains its shape.
- If adding decorative eyes or converting into a keychain, do so after completing the crochet steps.
- Each section (body, base, tentacles) needs to be carefully attached to ensure the final result looks clean and polished.
Detailed Step-by-Step Instructions
Crocheting the Body
- Row 1:
- Start with a magic ring.
- Chain one, secure the ring, and crochet 8 single crochets into the ring.
- Close the magic ring.
- Row 2:
- Remove the stitch marker from the first stitch.
- Crochet 2 single crochets in each stitch (total: 16 single crochets).
- Row 3:
- Remove the stitch marker.
- Crochet in the following pattern:
- 1 single crochet in the first stitch.
- 2 single crochets in the next stitch.
- Repeat until row ends (total: 24 single crochets).
- Row 4:
- Continue using the pattern:
- Single crochet in next three stitches.
- 2 single crochets in the following stitch.
- Repeat until reaching 30 single crochets.
- Continue using the pattern:
- Row 5–7:
- For the next 3 rows, simply crochet 1 single crochet in each stitch.
- Ensure every row maintains 30 single crochets.
- Finish row 7 with a slip stitch and cut the yarn. The body portion is complete.
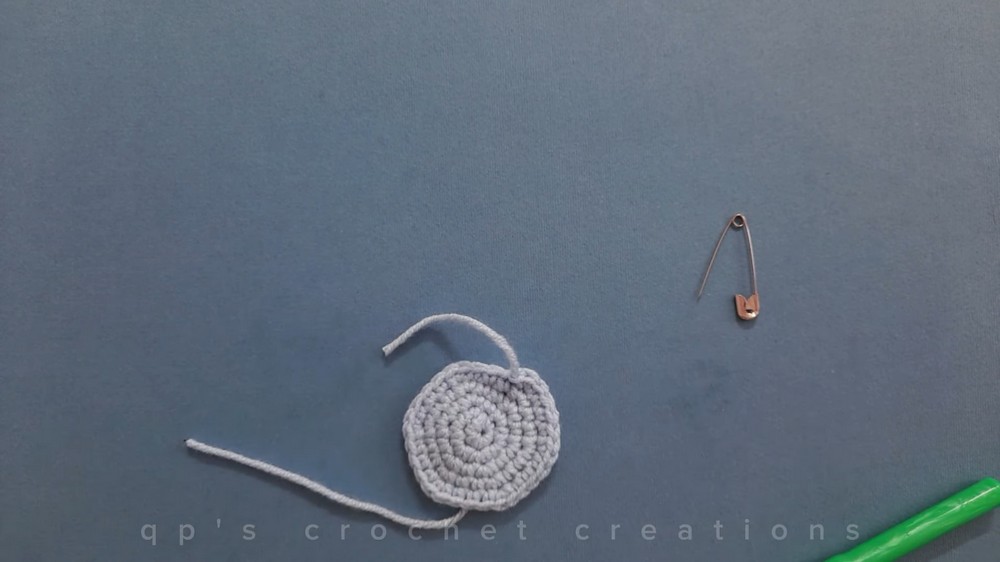
Crocheting the Base
- Row 1:
- Create a magic ring.
- Chain one; crochet 6 single crochets into the ring.
- Close the magic ring.
- Row 2:
- Remove the stitch marker.
- Crochet 2 single crochets in each stitch (total: 12 single crochets).
- Row 3:
- Use the pattern:
- 1 single crochet in the first stitch.
- 2 single crochets in the next stitch.
- Repeat to get 18 single crochets at the end of this row.
- Use the pattern:
- Row 4:
- Use the pattern: 1 single crochet in next two stitches, 2 single crochets in following stitch.
- Repeat until row ends (total: 24 single crochets).
- Row 5:
- Crochet with the pattern: 1 single crochet in next three stitches, 2 single crochets in the fourth stitch.
- Ensure the row totals 30 single crochets.
- Finish with a slip stitch and cut the yarn.
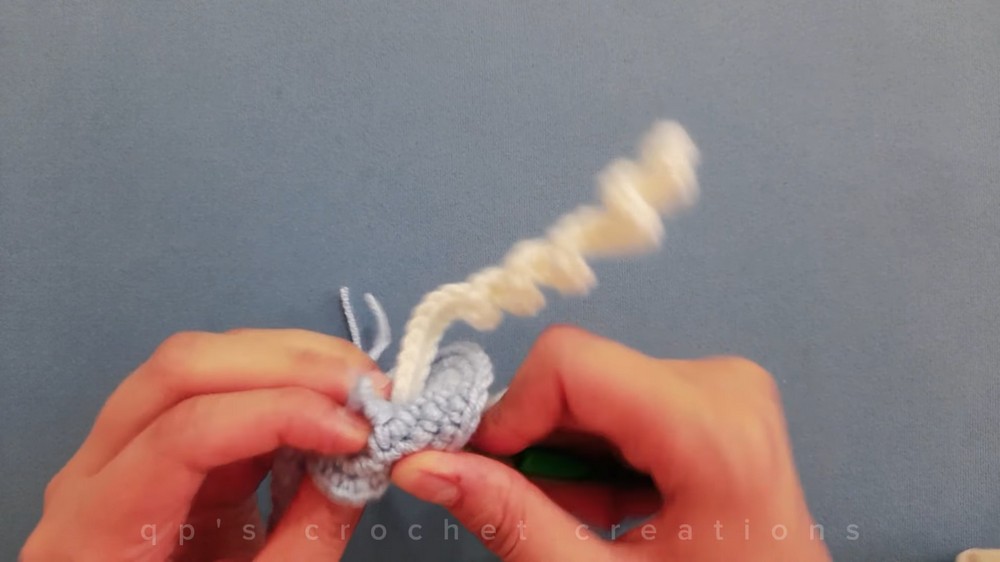
Crocheting the Tentacles
- Make a slip knot and chain 30 stitches.
- Skip the first chain and work 2 single crochets into the second stitch.
- Continue crocheting 2 single crochets in each stitch for the next 24 stitches.
- This will make the tentacles curly.
- Crochet 1 single crochet in each of the last 5 stitches, cut the yarn, and secure the end.
- Repeat this process to make 5 tentacles (or more as preferred).
Assembly Instructions
- Attaching Tentacles to the Base:
- Use the yarn ends to attach each tentacle to specific points on the base.
- Pass the yarn ends through the base and tie them securely.
- Attaching the Base to the Body:
- Attach the two pieces by crocheting single crochets all around their edges.
- Before completing the row, fill the jellyfish with stuffing material to give it shape.
- Finish with slip stitches and secure.
Adding Decorations or Making Keychain (Optional)
- For Decorative Eyes:
- Use hot glue to attach eyes to the jellyfish.
- For Keychain:
- Use a crochet hook to pass yarn through the body's top stitches.
- Attach the keyring, tie yarn ends securely, and hide them by passing them through stitches.
Your Crochet Jellyfish Amigurumi is complete! Enjoy your adorable creation or gift it to someone special!