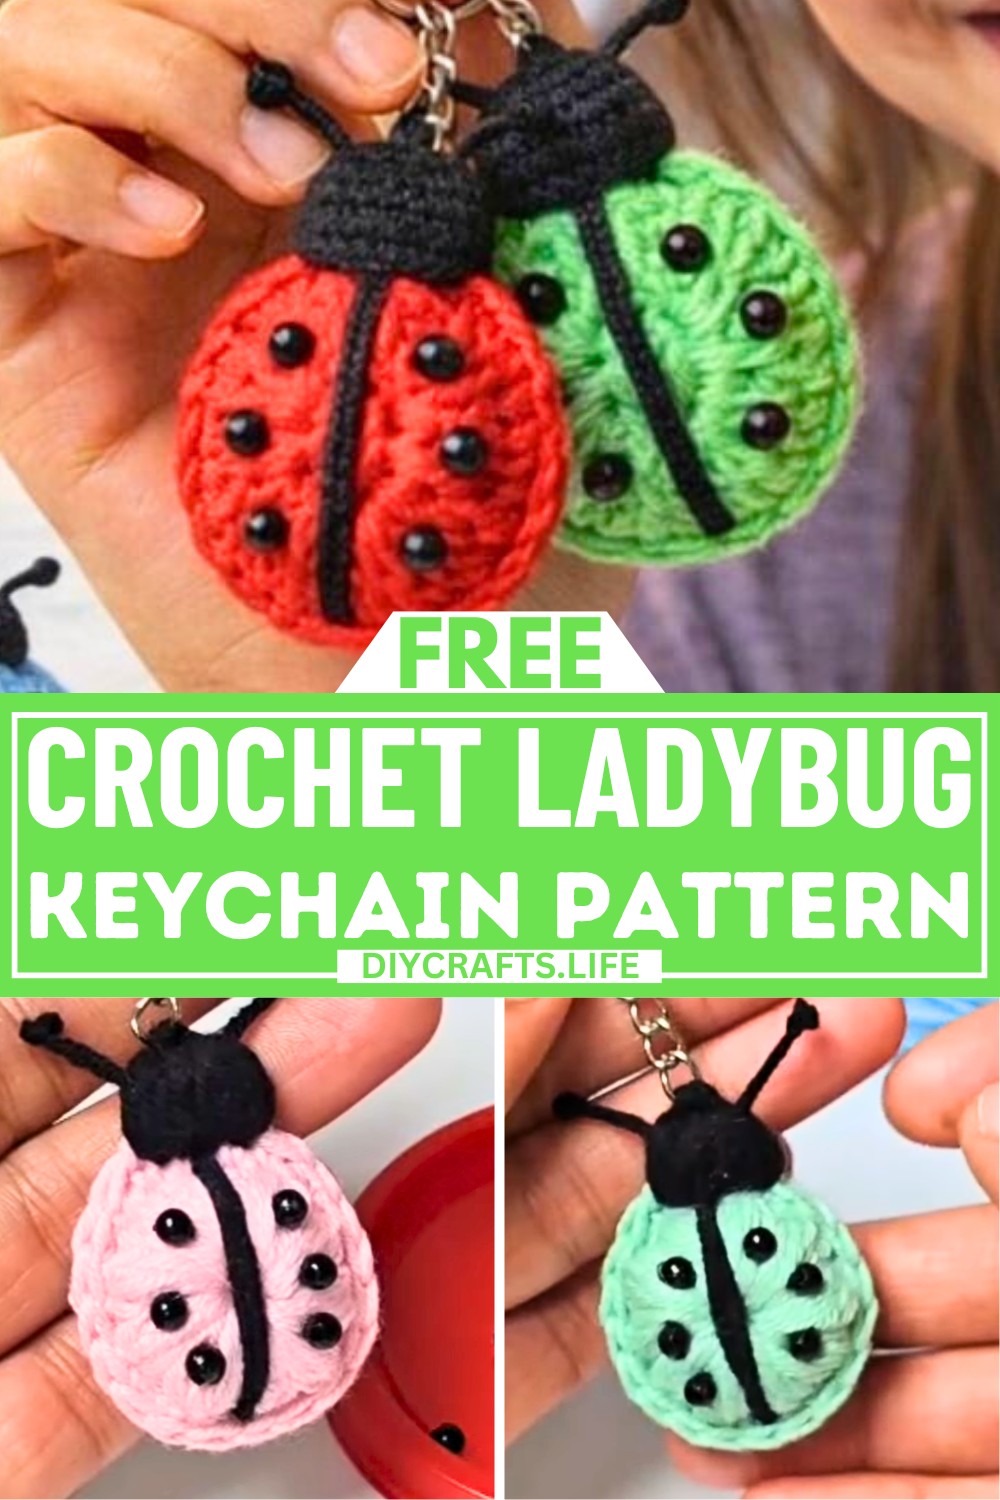
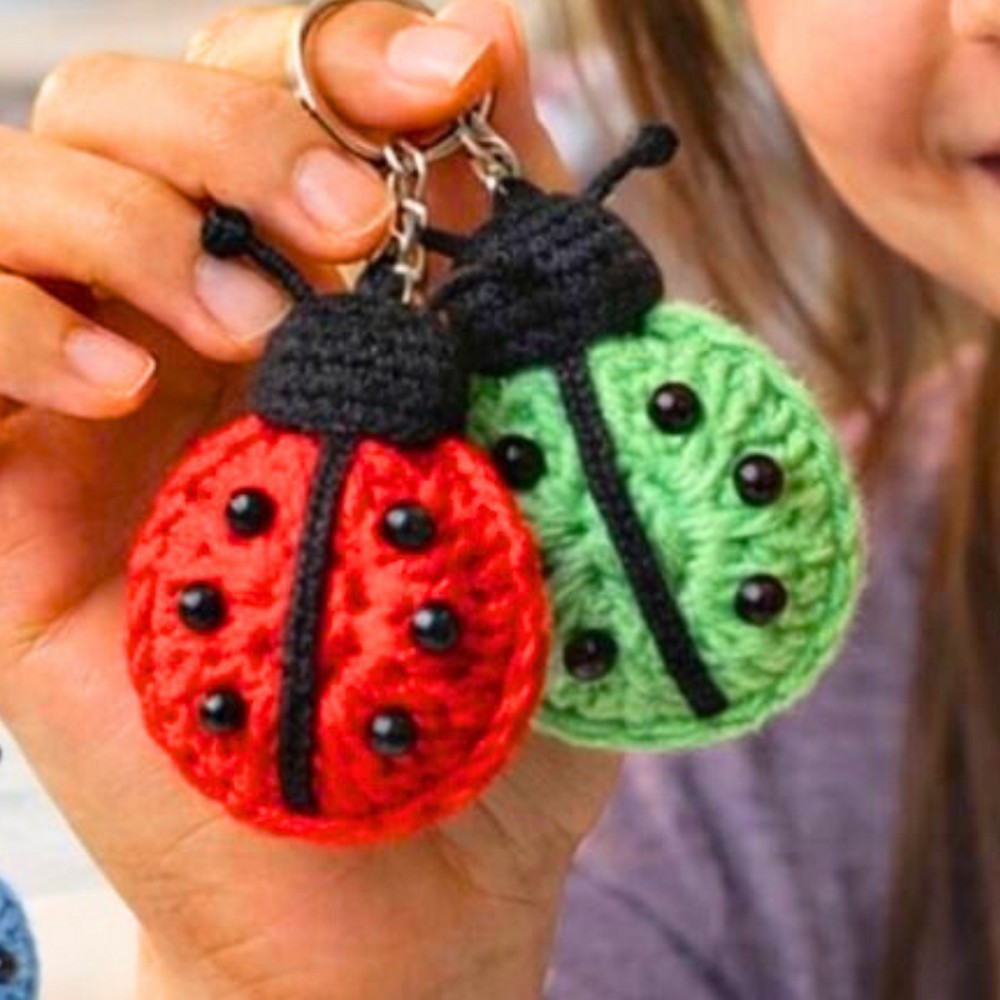
Create your very own cute crochet ladybug keychain! It's the perfect accessory to brighten up your bag, keys, or even a gift to someone special. Its charming features, like black spots and little antennas, make it a joy to look at and show off. Whether as a fun decoration or a thoughtful gift, this crochet keychain is sure to stand out.
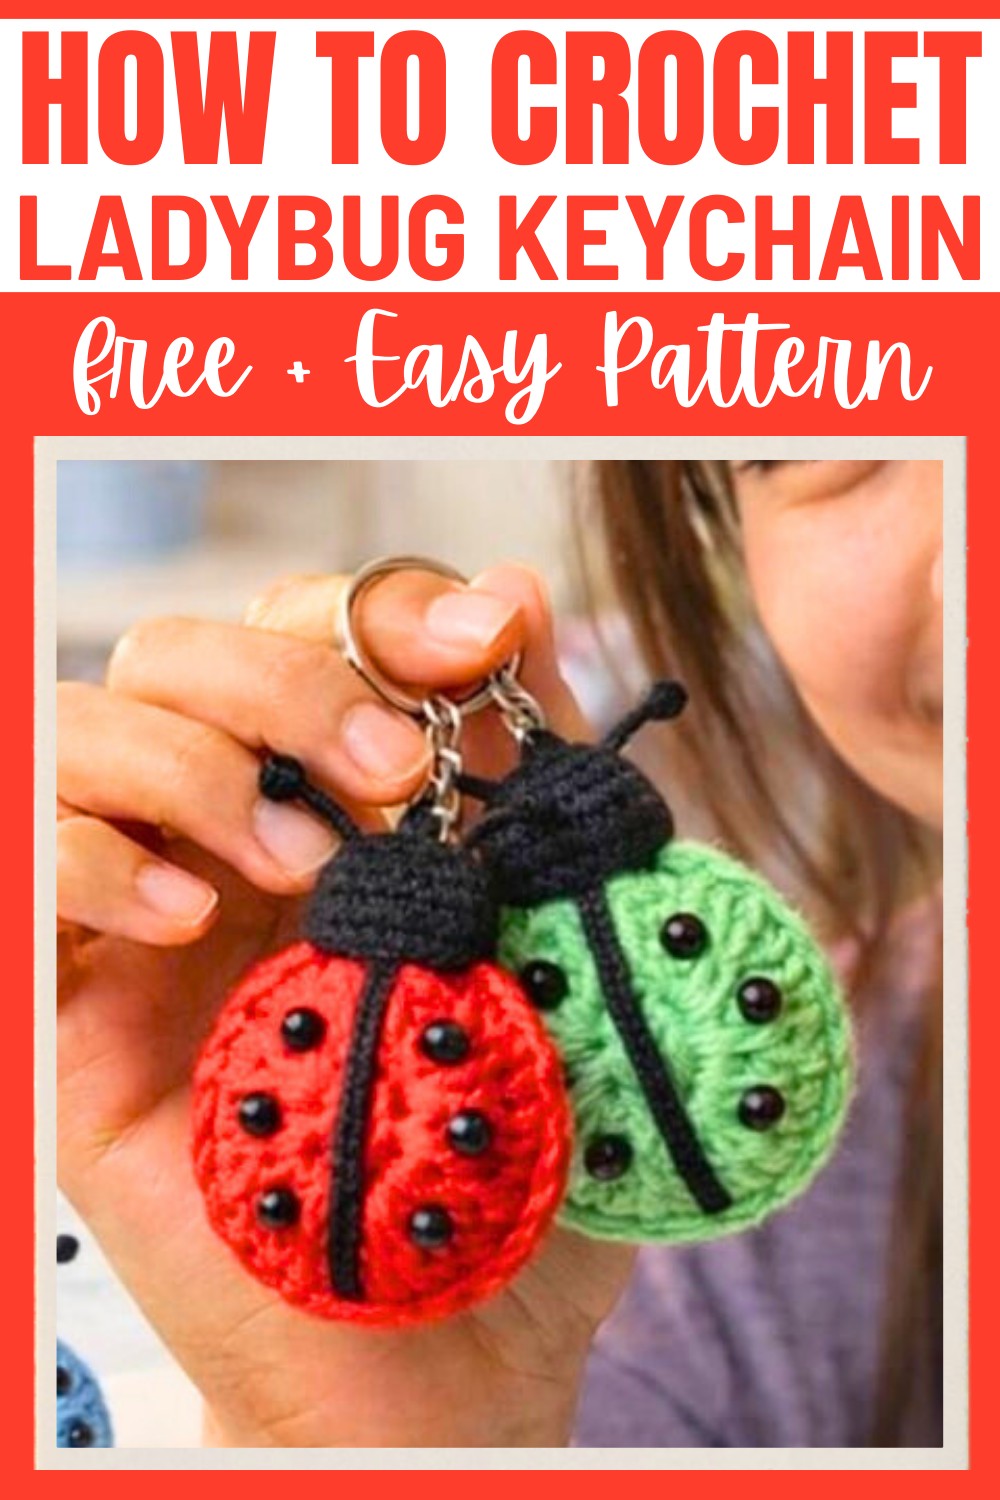
Making it is simple and beginner-friendly. You can personalize your ladybug by choosing different colors and sizes while following a step-by-step process. From crocheting its body to adding decorative touches like spots and antennas, you’ll enjoy watching your ladybug take shape piece by piece. Pair it with a keychain clip, and it instantly becomes a practical and stylish accessory!
Credit Crochet Craftsman
Materials & Tools Needed:
- Yarn: 5-ply medium weight blend (50% acrylic, 50% cotton)
- Hook: 2.5 mm crochet hook (US size B/1)
- Keychain clip
- Accessories: Small black beads for decoration
- Other Tools: Scissors, yarn needle
Finished Size & Customization Ideas:
- Estimated Size: The finished ladybug is small and compact, suitable as a keychain or bag charm.
- Customization Ideas:
- Change the yarn color to create ladybugs in various shades such as pink or yellow.
- Use glittery or textured yarn for a fun look.
- Experiment with different bead sizes or colors for the decorative spots.
Pattern Abbreviations & Terminology:
- MR: Magic Ring
- Ch: Chain
- St/Sts: Stitch/Stitches
- Sl st: Slip Stitch
- Sc: Single Crochet
- YO: Yarn Over
- Puff Stitch: Pull up loops multiple times into the same stitch before completing the stitch
Step-by-Step Crochet Instructions:
Component 1: Ladybug Body (Front and Back Circles)
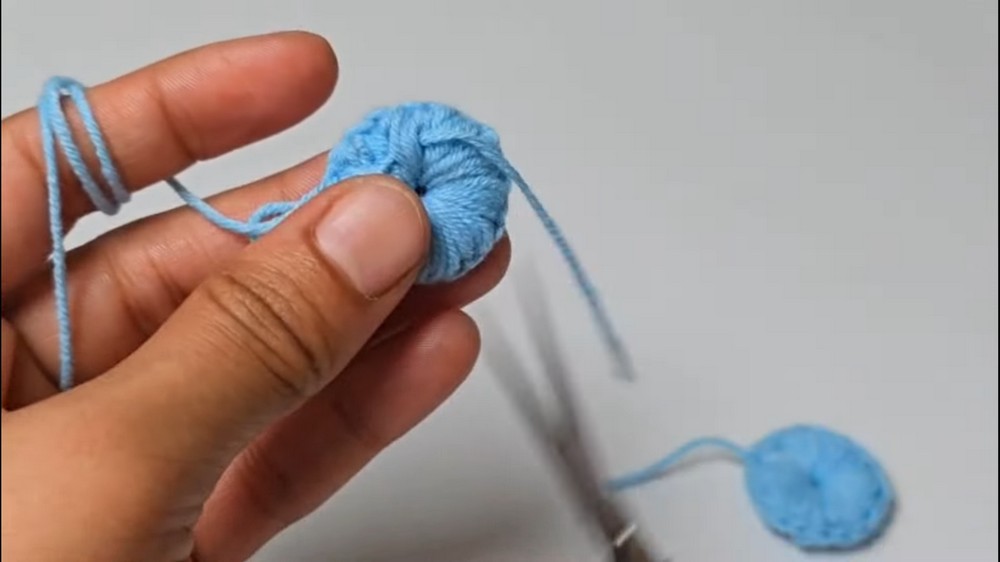
- Front Circle:
- Begin with a magic ring.
- Ch 1 inside the ring.
- Work a puff stitch into the magic ring: Pull up loops 5 times before finishing the stitch. Ch 1 after each puff stitch.
- Continue making 10 puff stitches, chaining 1 between each puff stitch.
- After completing the final stitch, sl st into the top of the first puff stitch to close the round.
- Ch 1, cut the yarn, and tighten the ring.
- Back Circle:
Follow the same steps as the front circle, but do not cut the yarn after closing the round.
Component 2: Joining the Circles
- Lay both circles together with wrong sides facing inward.
- Insert your hook through:
- The front loop of the first circle.
- The back loop of the second circle.
- Sl st to join.
- Work sc stitches through matching loops of both circles until fully joined.
- After completing the circle, cut the yarn and finish neatly with the invisible join method.

Component 3: Adding the Black Strip
- Switch to black yarn.
- Attach the black yarn to the top of any sc stitch.
- Cluster stitch:
- Pull up 4 loops from the same sc stitch.
- Then pull up 4 loops from the next sc stitch.
- Repeat for one more sc stitch (3 stitches total).
- YO and pull through all loops on the hook to form the stitch.
- Ch 1 to secure the cluster.
- Cut the yarn, leaving a long tail for attaching the keychain clip.
Component 4: Attaching the Keychain Clip
- Take the long yarn tail you left in Step 3 and use it to secure the keychain clip at the top of the joined circles.
- Tie a firm knot to hold the clip securely in place.
Component 5: Decorative Details
- Ladybug Line:
- Double black yarn for thickness.
- Thread it through the middle top three puff stitches in a straight line across both sides of the ladybug.
- Secure the line by threading it through a single crochet stitch at the back, center, and tying a firm knot.
- Hide the ends between the puff stitches for a neat finish.
- Spots:
- Sew small black beads into place.
- Space them evenly across the front and back of the ladybug for a balanced decoration.
- Antennas:
- Take the yarn from where you started the puff stitches.
- Pull the yarn ends through the top corners of the first puff stitch.
- Shape the antennas by tying knots at the base.
- Trim off excess yarn to desired length.
Finishing Touches
- Tidy up loose ends by threading them through the inside of the puff stitches with a yarn needle.
- Adjust and straighten any decorative details (line, spots, antennas) as necessary.
- Confirm that the keychain clip is firmly secured.