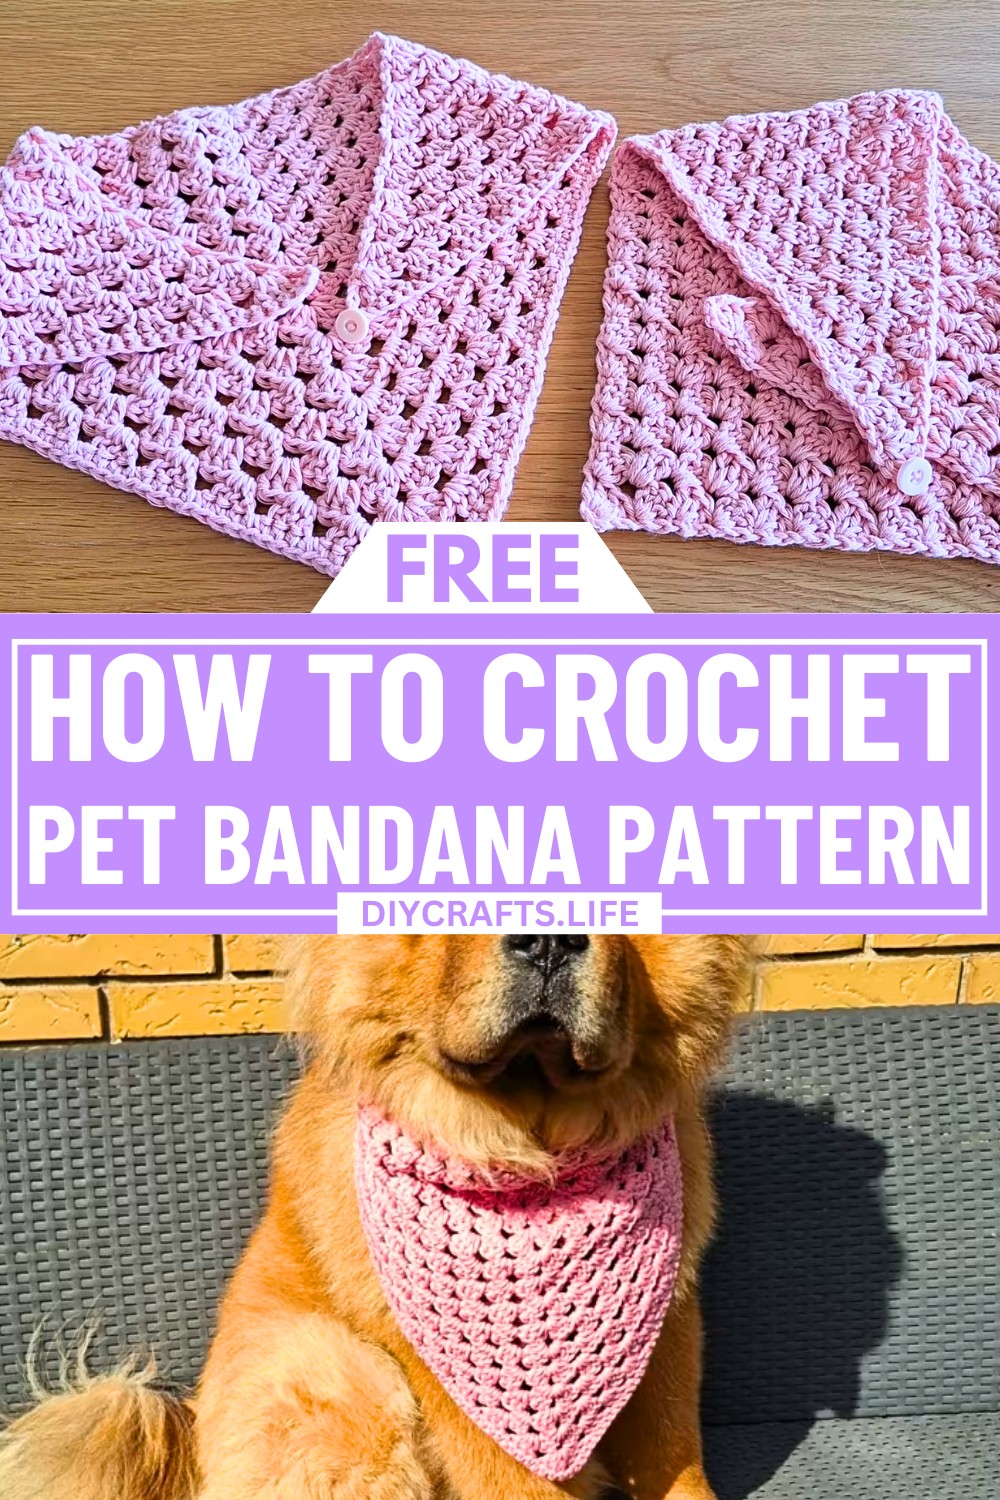
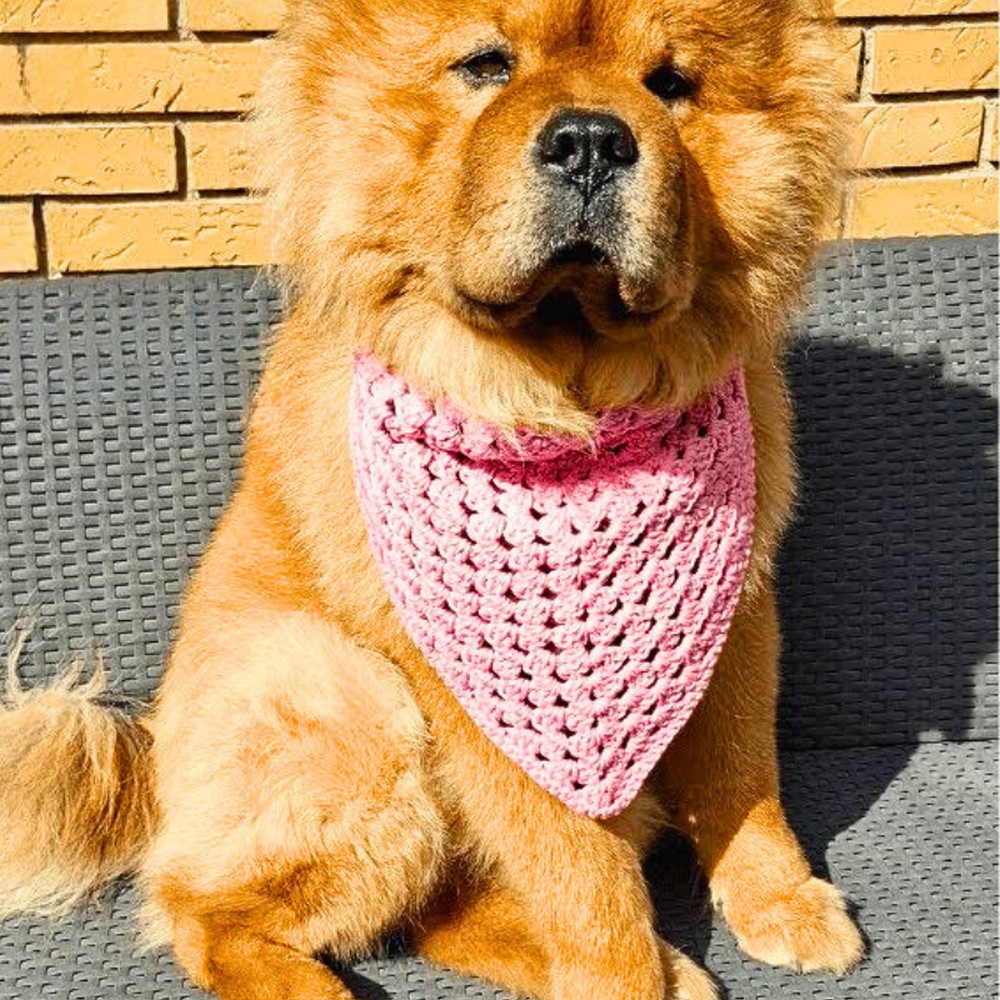
Transform the simplest moments with your pet into charming memories with a custom handmade crochet bandana. Made for both function and flair, this adorable accessory is a heartwarming way to express style and love for your furry companion—combining creativity and practicality effortlessly. Whether it's a brisk walk in the park or lounging indoors, this bandana promises to add an extra layer of charm to your pet's look.
This crochet Bandana pattern offers not one but two unique approaches: a graceful half-circle design and streamlined rows that adapt beautifully to your creative preferences. Featuring airy spaces crafted with clusters of three double crochets, the design balances lightness and durability in a way that's perfect for pets. Made using breathable and washable cotton yarn, the bandana complements comfort and sustainability while giving you endless options for personalization, from bold color changes to intricate borders. Perfect for pets large or small, this pattern also showcases versatility—expand the design into a stylish shawl or scarf for yourself.
Credit CrochetandCoffee
Materials & Tools Needed
- Yarn: 8/8 cotton yarn (recommended). Cotton is lightweight, breathable, washable at high temperatures, and ideal for pets since it’s durable and easy to maintain. You can also experiment with thinner or thicker cotton as per your preference.
- Crochet hook: Use a hook size that corresponds with the weight of your yarn. For 8/8 cotton, a 4mm hook is often appropriate.
- Optional add-ons:
- Stitch markers – These can help mark the top of the pattern.
- Button – For an easy and secure closure under your pet’s neck.
Finished Size & Customization Ideas
- Size: The finished piece size will depend on how many rows you complete based on your pet's size. Larger pets will need more rows, and smaller pets, fewer rows.
- Customization Ideas:
- Adjusting Yarn Weight:
- Use thinner cotton yarn for a lighter, more delicate bandana. This is ideal for small pets.
- Use bulkier cotton for a sturdier, denser bandana for larger pets.
- Color Changes: You can switch colors between rows for stripes or color blocks. Integrate new yarn at the starting chain of a new row to keep color transitions neat.
- Add Borders: Add a simple border of single crochets or picot stitches for a finished edge.
- Straps: Extend the edges to create longer straps for tying instead of attaching a button.
- Personalization: Add small embellishments like appliqués or embroider initials for a custom touch.
- Adjusting Yarn Weight:
Pattern Abbreviations & Terminology
(All terms are written in US crochet terminology)
- ch: Chain
- dc: Double crochet
- sl st: Slip stitch
- magic ring: A circular foundation made from yarn (can be substituted for a chain-4 loop).
- Cluster: A cluster is a group of 3 double crochets worked in the same space.
Step-by-Step Crochet Instructions
The video provides two distinct patterns based on how you wish to shape your bandana:
- Half-circle bandana
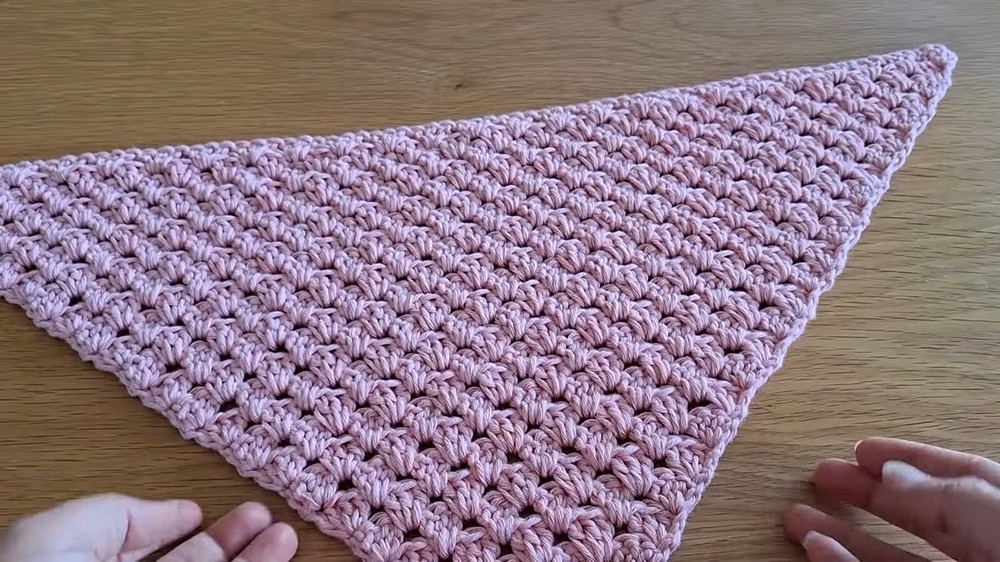
- Row-based triangle bandana
Method 1: Half-Circle Bandana
- Start with a Foundation Ring:
- Chain 4, connect to the first chain with a slip stitch to form a ring (or use a magic ring).
- Round 1:
- Chain 4 (this acts as a double crochet + chain 1).
- In the ring, make a cluster of 3 dc.
- Chain 2 (to create the top of the half-circle).
- Make another cluster of 3 dc in the ring.
- Chain 1, and double crochet in the ring.
- You now have the base of your bandana!
- Repeat Rounds:
- For each subsequent row:
- Chain 4 (to turn and begin the row).
- Work a cluster in the first chain space.
- Work a cluster into each chain 2 space, remembering to chain 2 in the central top chain space to maintain the bandana’s shape.
- At the end of the row, chain 1, and double crochet as the final stitch to complete the row.
- For each subsequent row:
- Color Changes:
- To switch colors, fasten off the current yarn when you reach the chain 1 space at the end of the row. Attach the new color yarn, chain 4, and begin the next row.
- Finishing:
- When your bandana is the desired size, fasten off at the bottom corner. Weave in ends and sew on a button for closure, if desired.

Method 2: Row-by-Row Triangle Bandana
- Foundation Ring:
- Chain 4, connect the last stitch to the first chain with a slip stitch to form a ring (or use a magic ring).
- Row 1:
- Chain 3 (this acts as your first dc).
- Make 4 more dc in the ring (total of 5 dc for this row).
- Row 2:
- Chain 3, turn your work.
- Work 3 dc in the first stitch to create a cluster (4 dc total, including the chain 3).
- Work another cluster of 3 dc in the middle chain space between clusters from the previous row.
- In the final stitch, work 4 dc to end the row.
- Repeat Rows:
- From now on: Chain 3, turn your work, work clusters of 3 dc in all chain spaces between clusters from the previous row.
- The first and last stitches of each row will always have 4 dc.
- Finishing:
- Add color changes, if desired, at the beginning of rows by attaching new yarn.
- When the bandana reaches the size you want, fasten off and weave in ends.
Differences Between Both Methods
- Method 1:
- Results in an airy, curved half-circle design.
- Uses slightly less yarn and gives a lighter feel.
- Method 2:
- Creates a denser fabric and a straight edge along the bottom.
- Feels heavier but may be better suited for pets who need a tighter fit.
Important Tips
- Safety Disclaimer: These patterns have small holes as part of their design, so always supervise your pet while wearing the bandana to avoid snags.
- Button Closure: Sew on a button at the end of one side and loop the other end over for a secure closure.
- Versatility: This pattern can also be scaled up for human use as a shawl or scarf!
Enjoy crocheting, and let your furry friend flaunt their stylish new bandana! 🐾