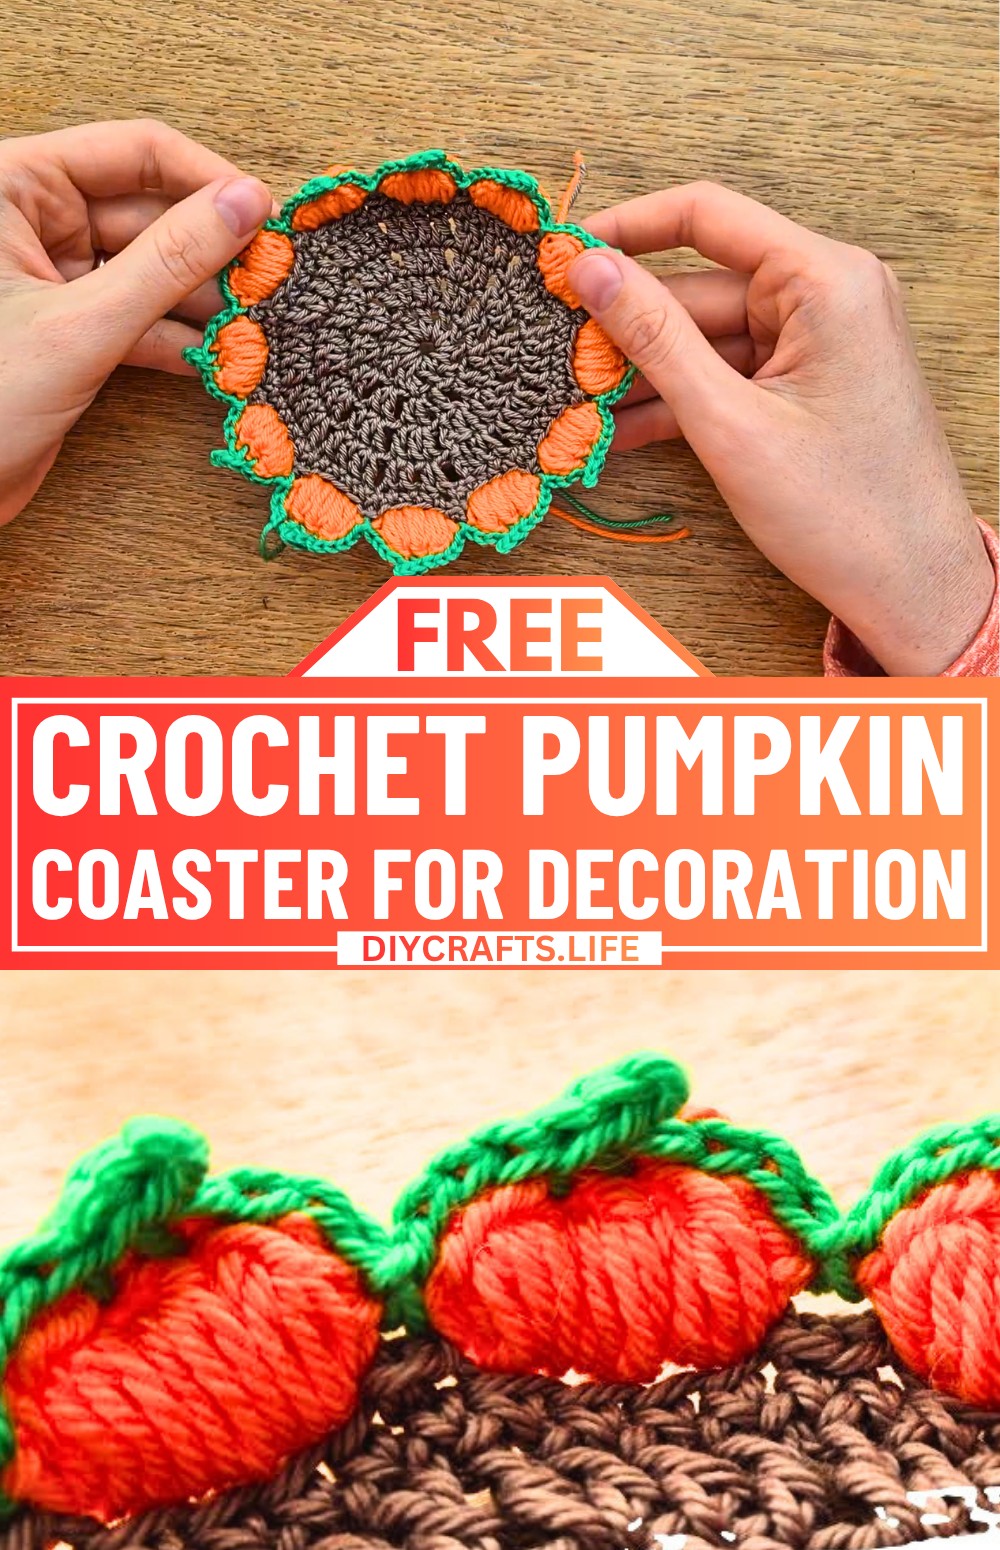
What makes a small crochet piece become one of the coziest additions to an autumn table? A pumpkin coaster is a charming, handmade piece that blends seasonal beauty with everyday usefulness. Its playful pumpkin shape brings warmth and character to any setting while also protecting surfaces from cups and mugs. Whether you are decorating your home, preparing a thoughtful gift, or enjoying a relaxing crafting session, this delightful piece offers plenty of creative satisfaction. What may surprise you is how a few simple crochet steps bring this charming pumpkin design to life.
Crochet Unique Pumpkin Coaster Pattern
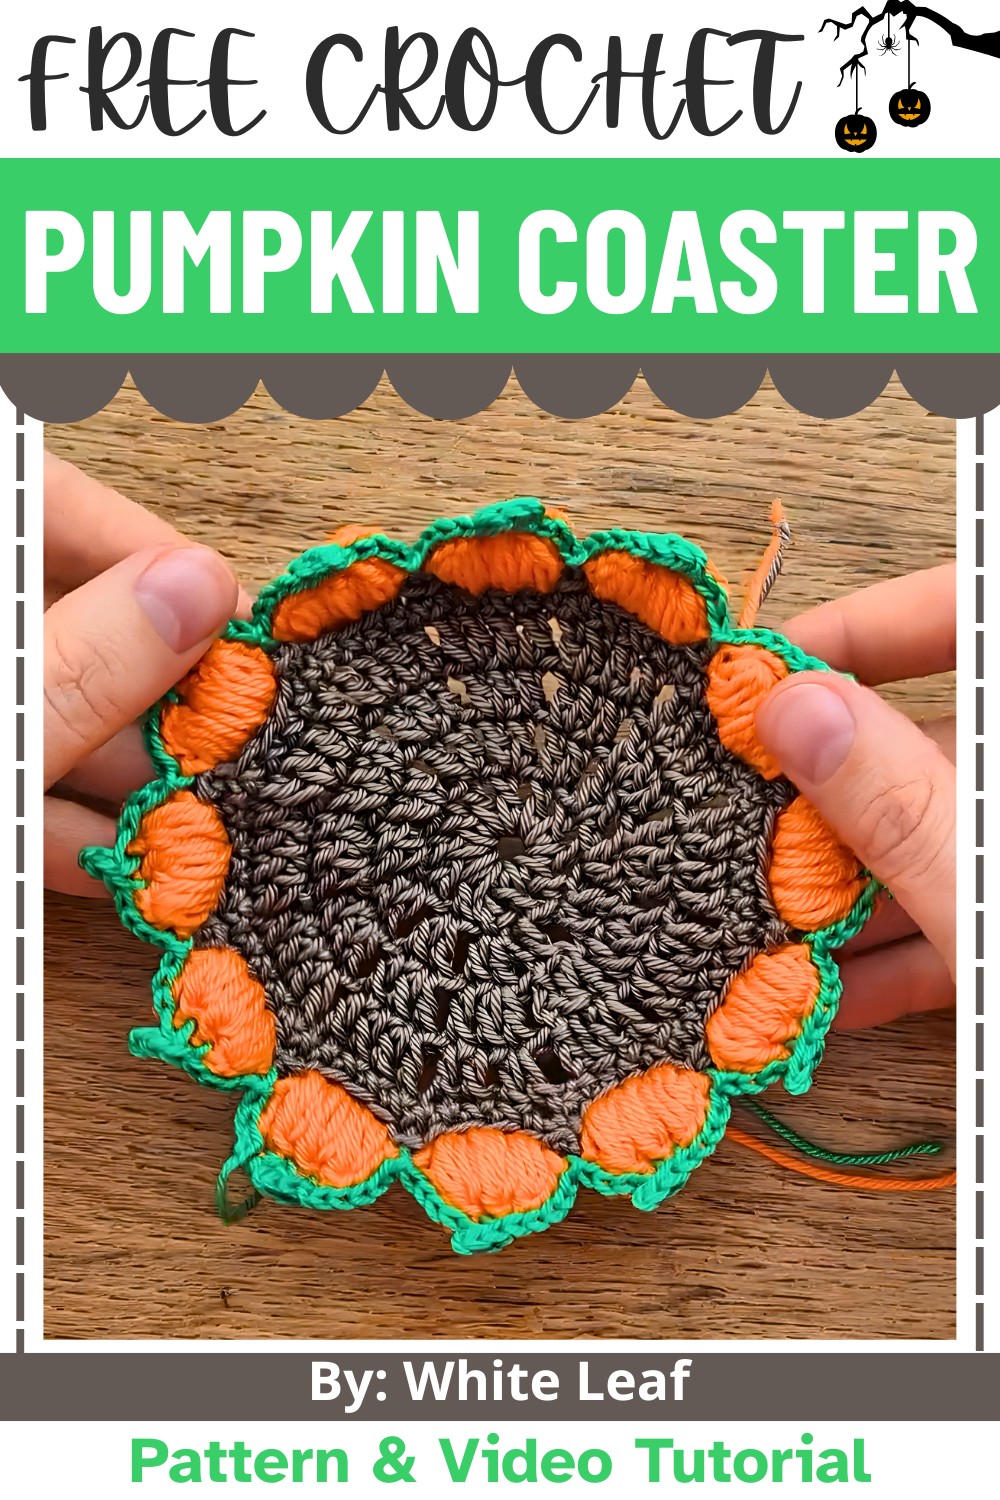
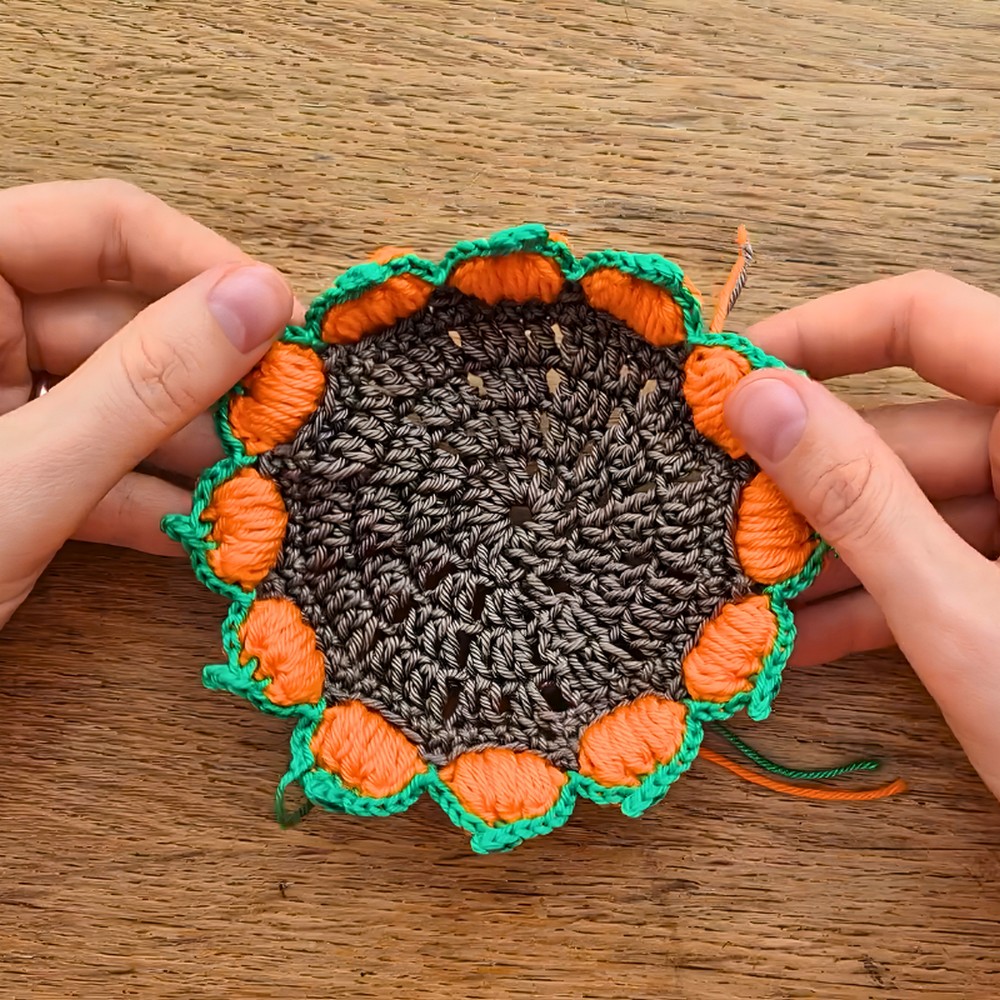
The process of creating this pumpkin coaster is approachable and enjoyable for crocheters of different skill levels. With soft yarn and a few familiar techniques, you can shape a round pumpkin and finish it with a neat little stem. It is a calming piece for autumn days and can easily be customized with the colors that match your personal style. These versatile crochet coasters can serve as a table accent, practical drink holders, or a meaningful handmade gift. And once you explore the pattern itself, you will discover how effortlessly this festive creation comes together.
Credit White Leaf
Materials & Tools Needed
- Yarn: Orange, green, and tan (or any other color for customization)
- Hook: Crochet hook (the size used in the video isn't explicitly mentioned, but a medium-sized hook like 4mm or 5mm should work)
- Scissors
- Tapestry needle: For weaving in ends
Finished Size & Customization Ideas
- Finished Size: The coaster is designed to be roughly the size of a standard round coaster (approximately 4–6 inches in diameter, depending on tension and hook size).
- Customization Ideas:
- Vary the colors to create unique pumpkins (e.g., white, green, or yellow pumpkins).
- Use thicker yarn to make larger coasters or smaller yarn for mini versions.
- Personalize the stems or add embroidered details such as faces for Halloween-themed coasters.
Pattern Abbreviations & Terminology
- ch: chain
- sl st: slip stitch
- dc: double crochet
- sc: single crochet
- inc: increase (two stitches in the same space)
- st: stitch
- sk: skip
Step-by-Step Detailed Crochet Instructions
This pattern follows the tutorial exactly. Each step correlates to the rounds or components shown in the video.
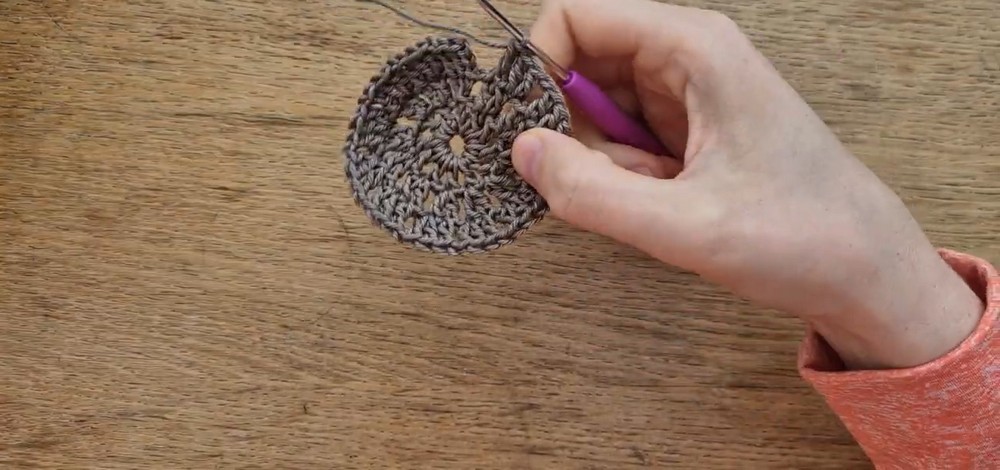
Base Circle
- Step 1: Make a slip knot.
- Step 2: Chain 7.
- Step 3: Join into a circle with a sl st into the first chain.
- Step 4: Chain 3 (counts as the first dc).
- Step 5: Work (dc, ch 1) inside the circle. Repeat this until you have 12 dc inside the circle, separated by ch 1 spaces.
- Step 6: Slip stitch to the top of the chain 3 to close the round.
Round 2 (Increasing Circle Size)
- Step 7: Chain 3, then work a dc into the same stitch.
- Step 8: Chain 1, sk 1 st, then in the next stitch, work a dc inc (dc, dc in the same stitch), followed by ch 1.
- Step 9: Repeat this pattern (ch 1, sk 1 st, dc inc) all the way around.
- Step 10: End with a sl st to the top of the chain 3 to close the round.
Round 3 (Shaping the Pumpkin)
- Step 11: Chain 3, dc in the same stitch.
- Step 12: Work dc in the next stitch, then ch 1 and sk 1 st.
- Step 13: In the next stitch, work dc inc (dc, dc in the same stitch).
- Step 14: Repeat dc, dc, ch 1, sk 1 st, dc inc around the circle.
- Step 15: End the round with a sl st at the top of the chain 3.
Round 4 (Pumpkin Texture)
- Step 16: Begin the round with chain 3, dc in the same stitch.
- Step 17: Work dc, dc into the next two stitches.
- Step 18: Chain 1, sk 1 st, then work dc inc (dc, dc in the same stitch) in the next stitch.
- Step 19: Continue the pattern of dc, dc, dc inc, ch 1, sk 1 st, repeating all the way around.
- Step 20: End the round with a sl st to the top of the chain 3.
Round 5 (Single Crochet Border)
- Step 21: Chain 1, then work sc into each stitch around.
- Step 22: End this round with a sl st to the starting chain.
- Step 23: Cut the yarn, leaving a tail, and weave in the ends.
Pumpkin Curves
- Step 24: Chain 5, then sk 3 st, and sl st into the next 2 stitches.
- Step 25: Repeat chain 5, sk 3 st, sl st into the next 2 stitches all the way around.
- Step 26: End with a final sl st, and fasten off.
Adding Orange Details
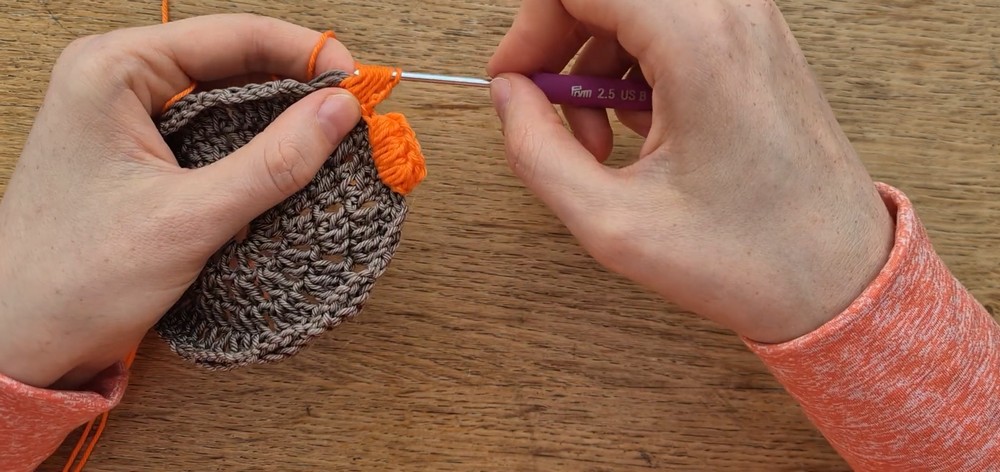
- Step 27: With orange yarn, make a slip knot and sl st into the coaster.
- Step 28: Chain 3, then hook 4 times (yarn over 4 times), and pull through all the loops except the last one. Sl st through the last loops.
- Step 29: Repeat this process twice to create three bulging loops, then chain 3 and sl st to the same space.
- Step 30: Continue working these loops around the coaster in each larger space between the sections. Sl st, then move to the next space.
Adding Green Stem Details
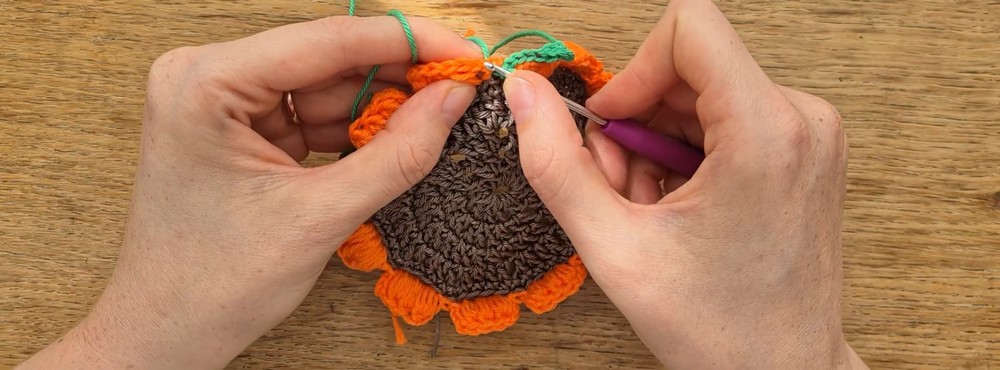
- Step 31: Create a slip knot with green yarn, then sl st into the top of the pumpkin.
- Step 32: Work one loop in each of the top 3 stitches, pulling through yarn and ch 2.
- Step 33: Sl st downward into 2 spaces.
- Step 34: Sl st to the left of the pumpkin, working into the back loops of each stitch, creating the stem effect.
- Step 35: Continue to work sl st between pumpkins and up the next side in the same way.
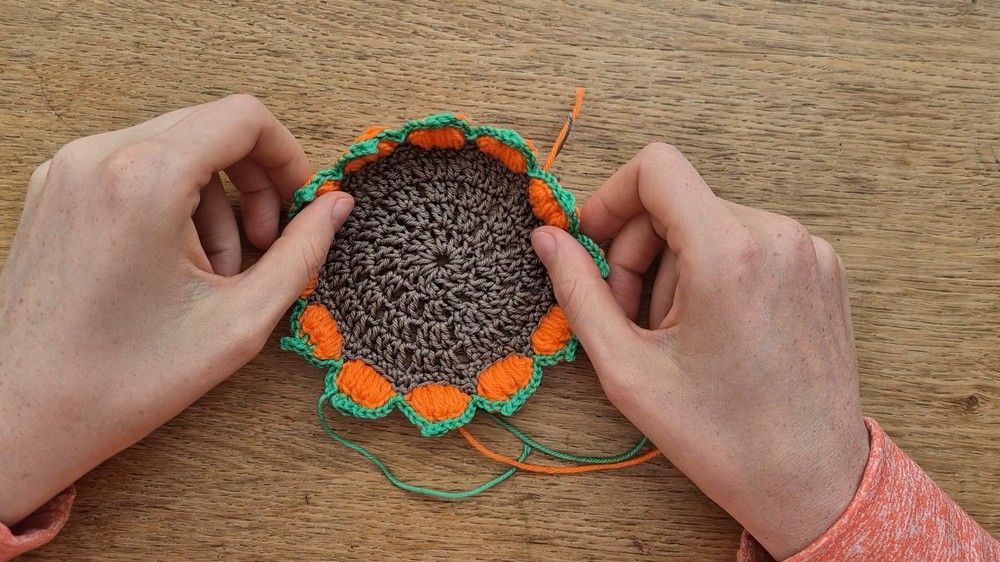
- Step 36: End with a sl st, and cut the yarn. Weave in the ends.
Finishing Techniques
- Weave in all loose ends with a tapestry needle.
- Block the coaster if necessary to even out the shape.