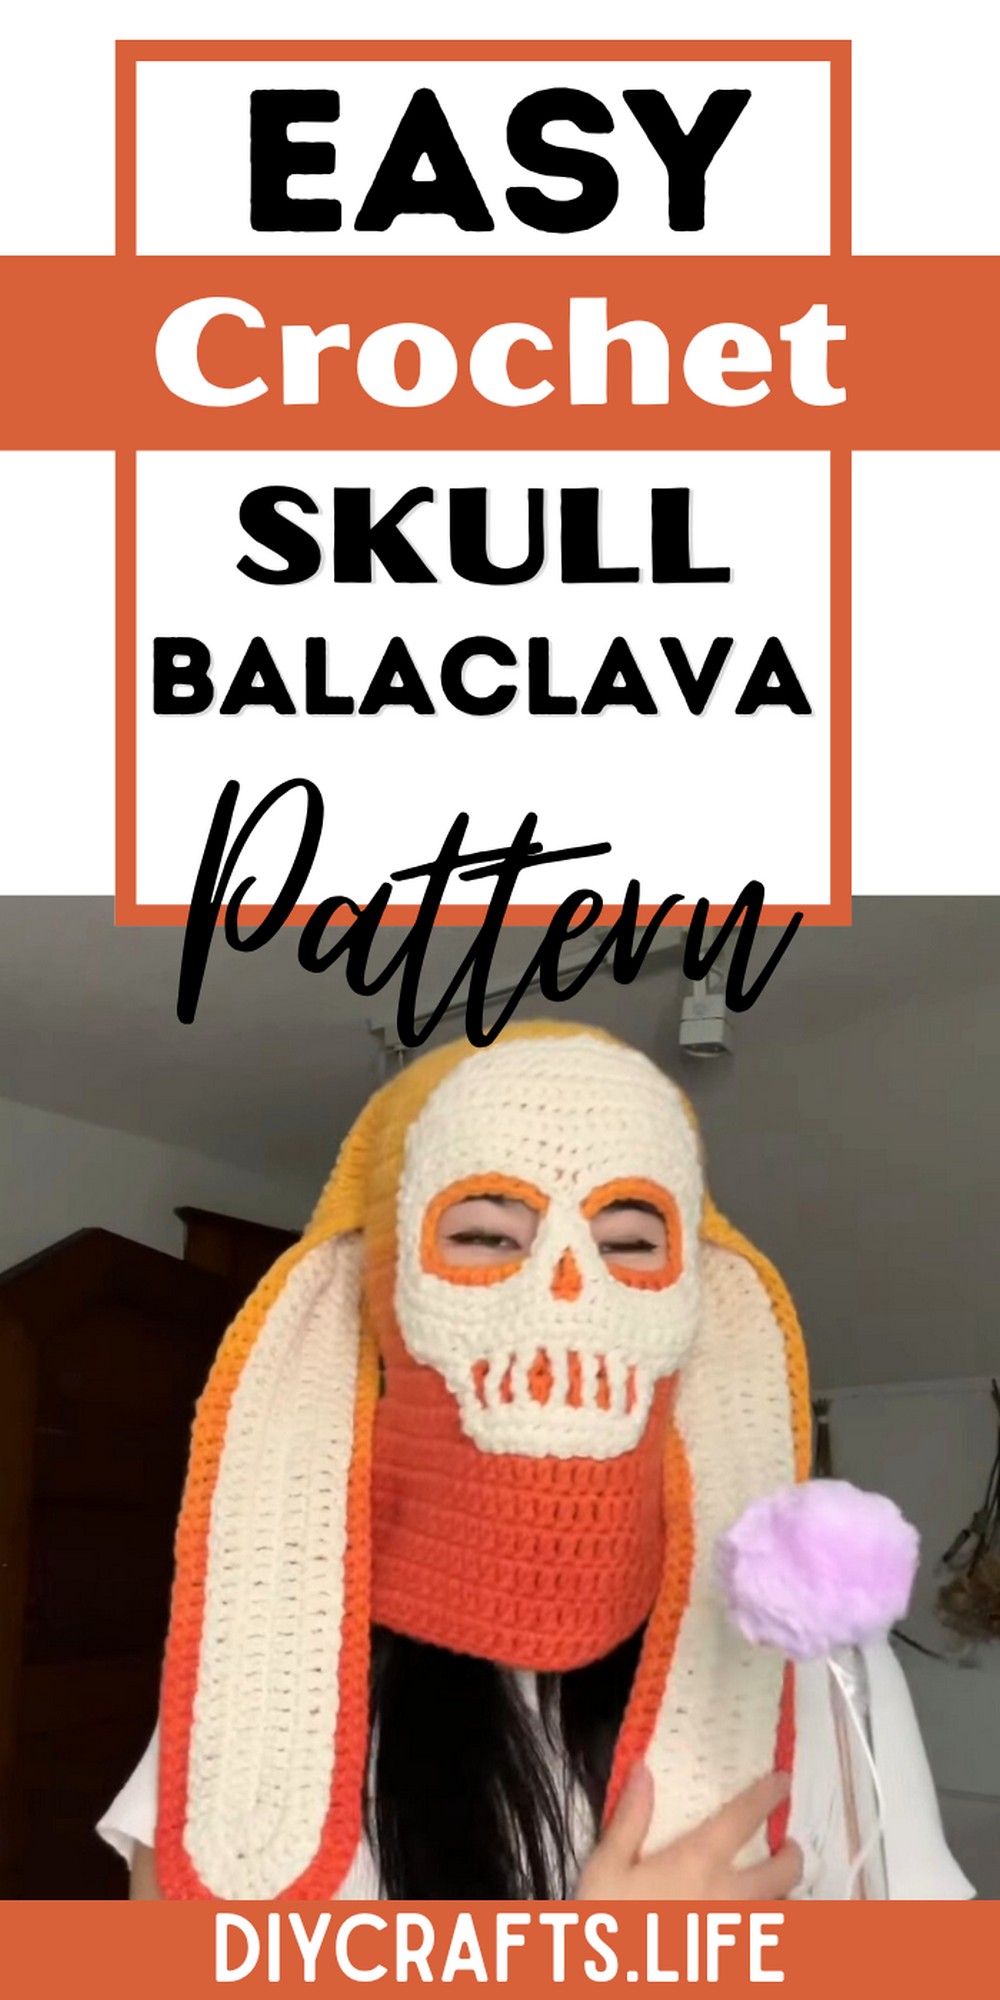
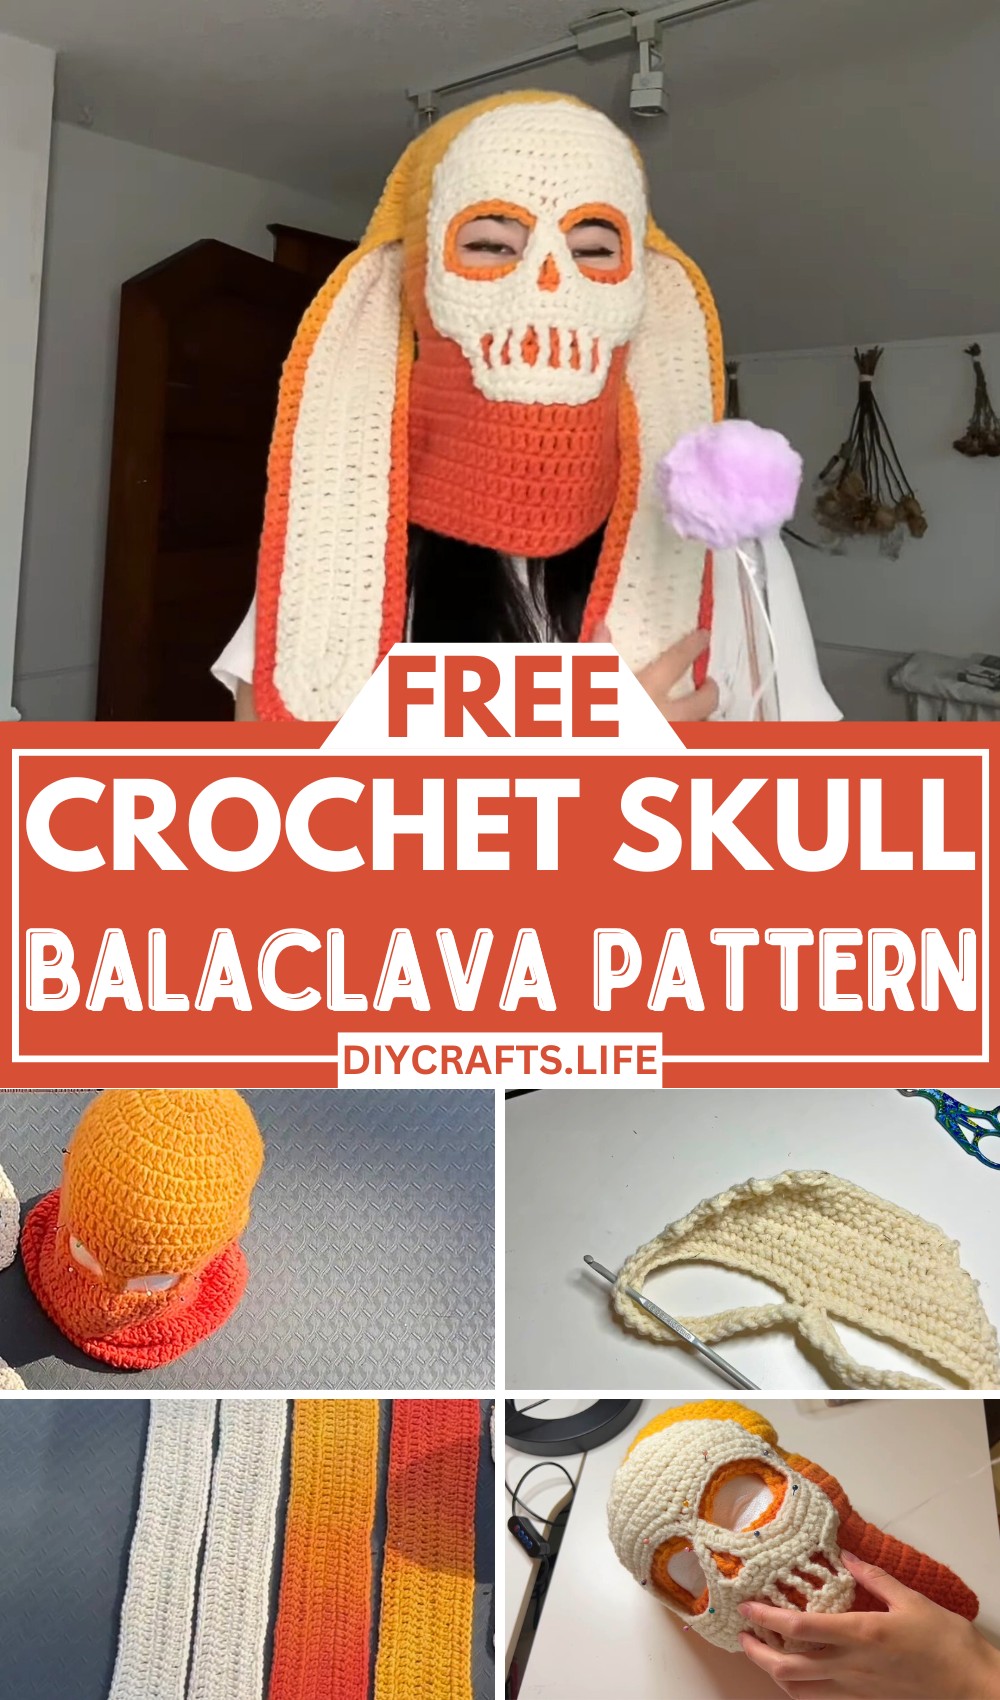
Learn to create a stunning crochet skull balaclava, perfect for Halloween or fun everyday wear. With its bold design and gradient dyeing, this project is versatile, functional, and beginner-friendly. Customize it for a one-of-a-kind look while improving your crochet skills.
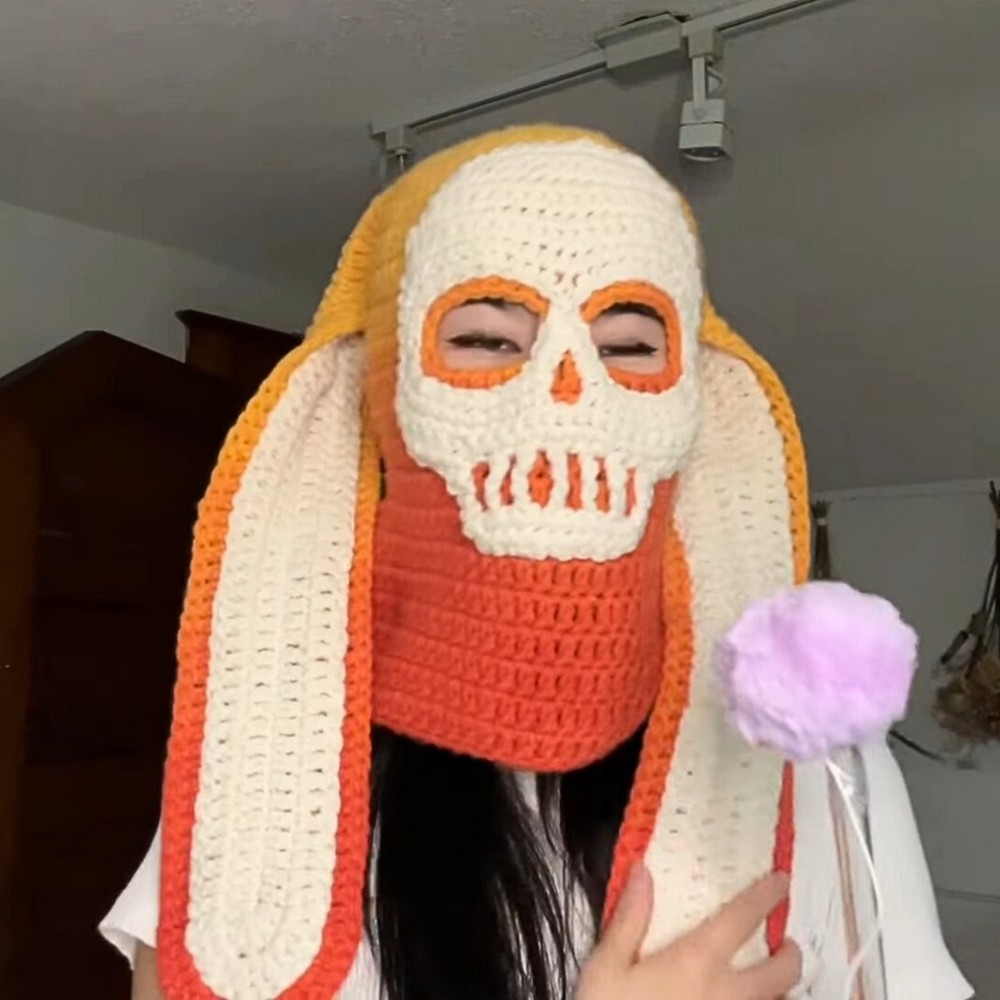
The crochet skull balaclava is ideal for costumes or keeping warm in style. Its durability, vibrant gradient, and unique skull design make it both practical and visually appealing. Easily slip it on and off, and enjoy its adjustability to fit perfectly for any occasion.
Crochet Skull Balaclava
This beginner-friendly project allows creative freedom with customization options for color, size, and accessories like ears. The easy-to-follow tutorial ensures a laid-back crafting experience, while dyeing steps bring your balaclava to life with bold gradients and texture.
Materials and Preparation:
Materials:
- Yarn: Medium-weight wool yarn (preferred: 100% Canadian wool, e.g., Wonder Woman from Fleece Artists). This yarn is great for dyeing and is soft to the touch.
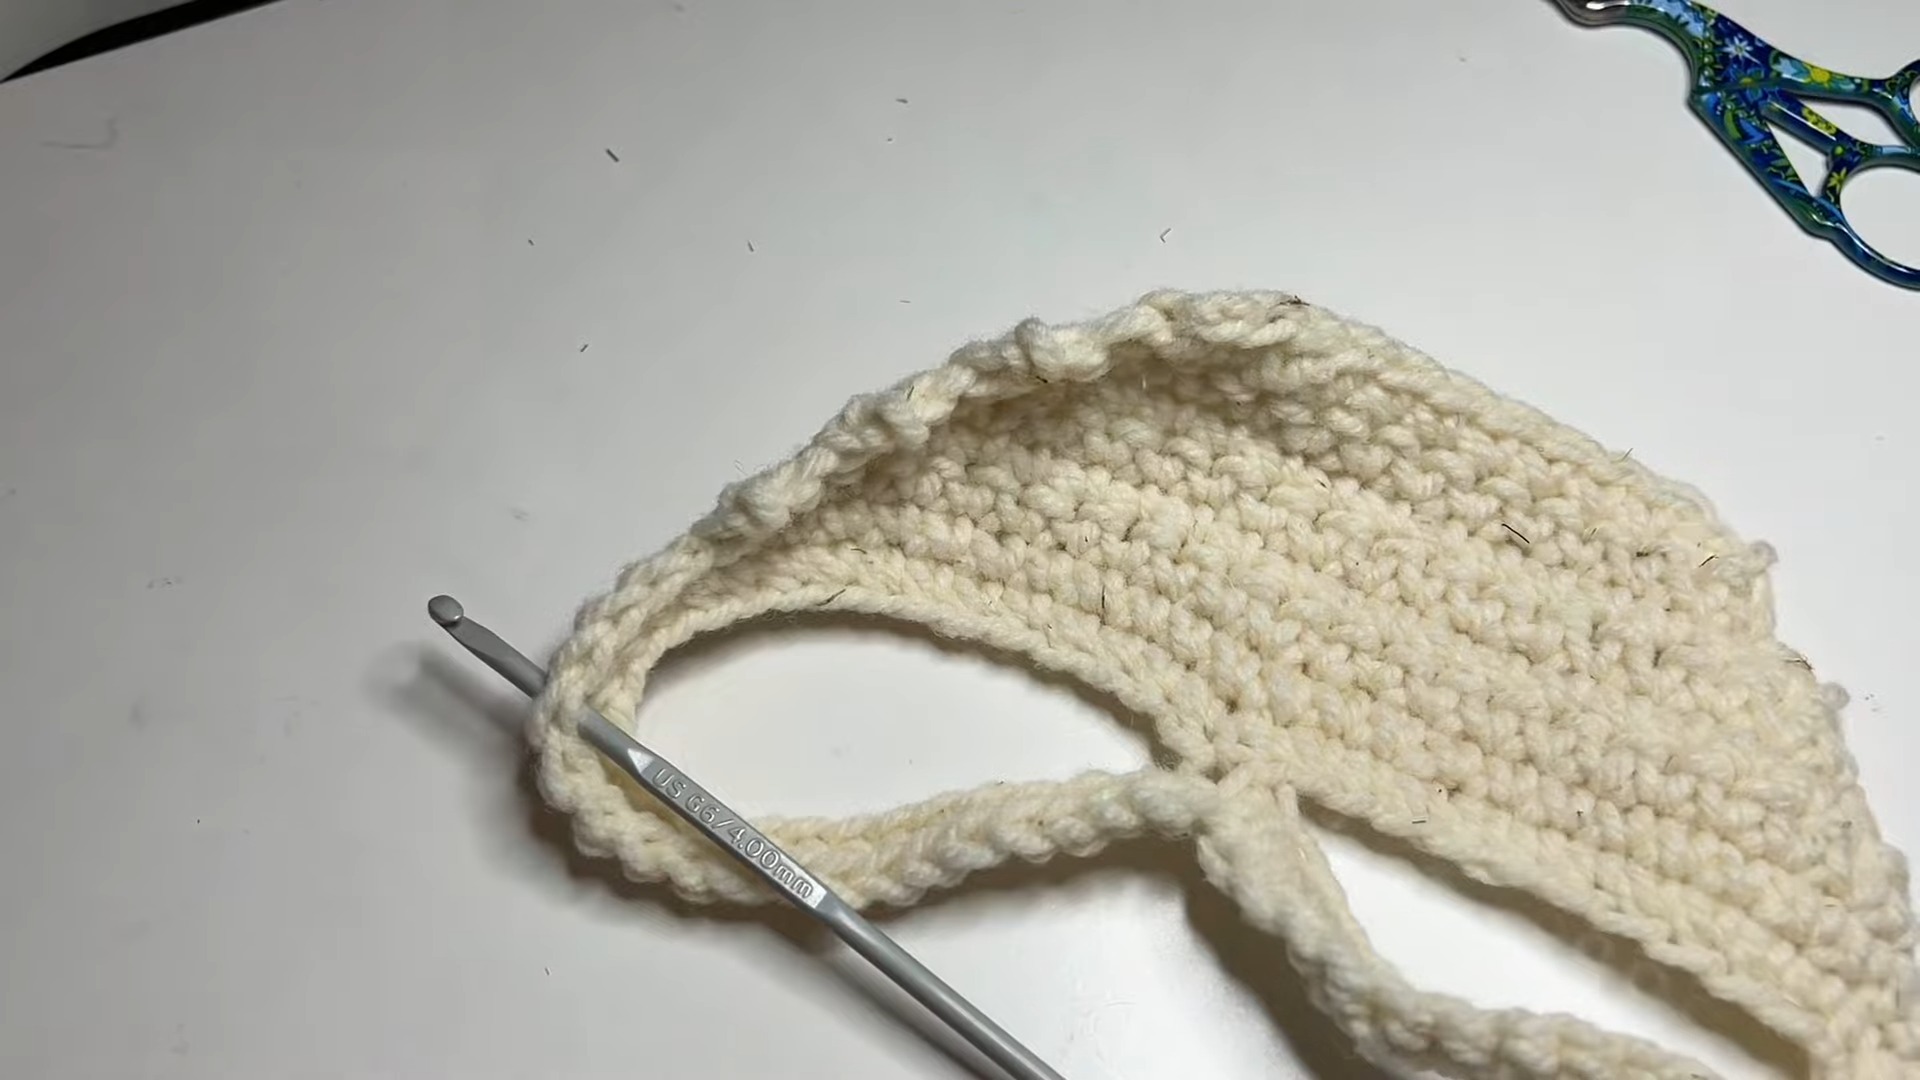
- Crochet hook: 4mm crochet hook (provides a dense fabric; adjust size if you prefer a less dense texture).
- Stitch markers (optional for tracking rows).
- Yarn needle (for weaving in ends and hand sewing).
- Scissors.
- Pins: For blocking (optional but recommended).
- Dye (optional): Rit Dye in Golden Yellow, Tangerine, Scarlet Red, and Rit ColorStay Dye Fixative for creating gradients.
Additional Notes:
- You need a basic understanding of crochet techniques such as slip stitch, chain (CH), single crochet (SC), double crochet (DC), and quad treble crochet.
- Stretching/blocking is recommended for shaping, especially with wool yarn.
Abbreviations and Notes:
Crochet Abbreviations:
- CH = chain
- SC = single crochet
- DC = double crochet
- SL ST = slip stitch
- INC = increase (2 stitches in the same stitch)
- QTC = quad treble crochet
Important Notes:
- This tutorial assumes familiarity with basic crochet techniques. If you are a beginner, consider practicing basic stitches before attempting this pattern.
- Blocking is highly recommended, especially with wool, to stretch and shape the balaclava.
- Eyehole placement and sizing are adjustable to your preferences.
Gauge, Approximate Size, and Pattern Notes:
Gauge:
Approximately 3 double crochets per inch.
Finished Dimensions:
Customizable depending on your preferences. Adjust height and width to ensure proper fit.
Pattern Notes:
- The project is separated into two main parts: the balaclava base and the skull overlay.
- Blocking is key to giving the proper finished shape.
- The dyeing process is optional but adds a rich gradient for a stunning visual effect.
Step-by-Step Pattern:
Part 1: Balaclava Base
-
Create a Foundation:
- Begin with a slip knot and CH 3. Join the chain into a loop with a SL ST.
- CH 3 (counts as the first DC).
- Work 12 DCs into the loop (including the CH 3 at the start). SL ST to the top of the first DC to close the round.
-
Build the Base Shape:
- Row 2: CH 3, work 2 DCs into each stitch around (24 stitches total). SL ST to join.
- Row 3: CH 3, work [DC in the next stitch, INC in the following stitch] around (36 stitches total). SL ST to join.
- Row 4: CH 3, work [DC in the next 2 stitches, INC] around (48 stitches total). SL ST to join.
- Row 5: CH 3, work [DC in the next 3 stitches, INC] around (60 stitches total). SL ST to join.
-
Straight Rows (Neck Length):
- Rows 6–9: CH 3, DC around without increases (60 stitches total per round). SL ST to join.
-
Eyeholes:
- Row 10: CH 3, DC into the next 24 stitches.
- CH 6, skip the next 6 stitches, then DC into the next 3 stitches.
- CH 6, skip the next 6 stitches, and DC into the next 21 stitches. SL ST to join.
-
Straight Rows After Eyeholes:
- Rows 11–21: CH 3, DC around (include DC into the chain stitches created in the previous row; treat them as stitches). SL ST to join.
-
Finish Off:
- Cut and weave in your ends. Add additional rows to the neck if desired.
Part 2: Skull Overlay
-
Eyes & Skeleton Foundation:
- CH 30, SL ST into the first chain to create a loop (make sure not to twist the chain). CH another 30 and SL ST into the first chain.
- SC into each stitch in the “figure eight” (60 stitches total). SL ST to join.
-
Forehead:
- Row 1: Attach yarn 12 stitches beyond center of the eyes and SC 24.
- Row 2–7: Build the forehead shaping by reducing stitches each row:
- Row 2: SC 22 (skip the first stitch).
- Row 3: SC 20 (skip the first stitch).
- Row 4: SC 18.
- Row 5: SC 16.
- Row 6: SC 14.
- Row 7: SC 12.
-
Nose and Teeth Section:
- Row 1: Attach yarn 15 stitches beyond the center of the eyes and SC 12.
- CH 2, skip 6 stitches, then SC 12.
- Row 2: SC 24 across.
- Row 3: SC 22 (skip the first stitch).
- Teeth:
- Work slip stitches into the first 4 stitches.
- CH 5, QTC into the second stitch after the current stitch (skip 1). CH 1 after each QTC. Repeat for 6 teeth.
-
Finish Off:
- Crochet around the perimeter to clean up edges. Cut yarn and weave in ends.
Dyeing and Blocking (Optional):
-
Dyeing Process:
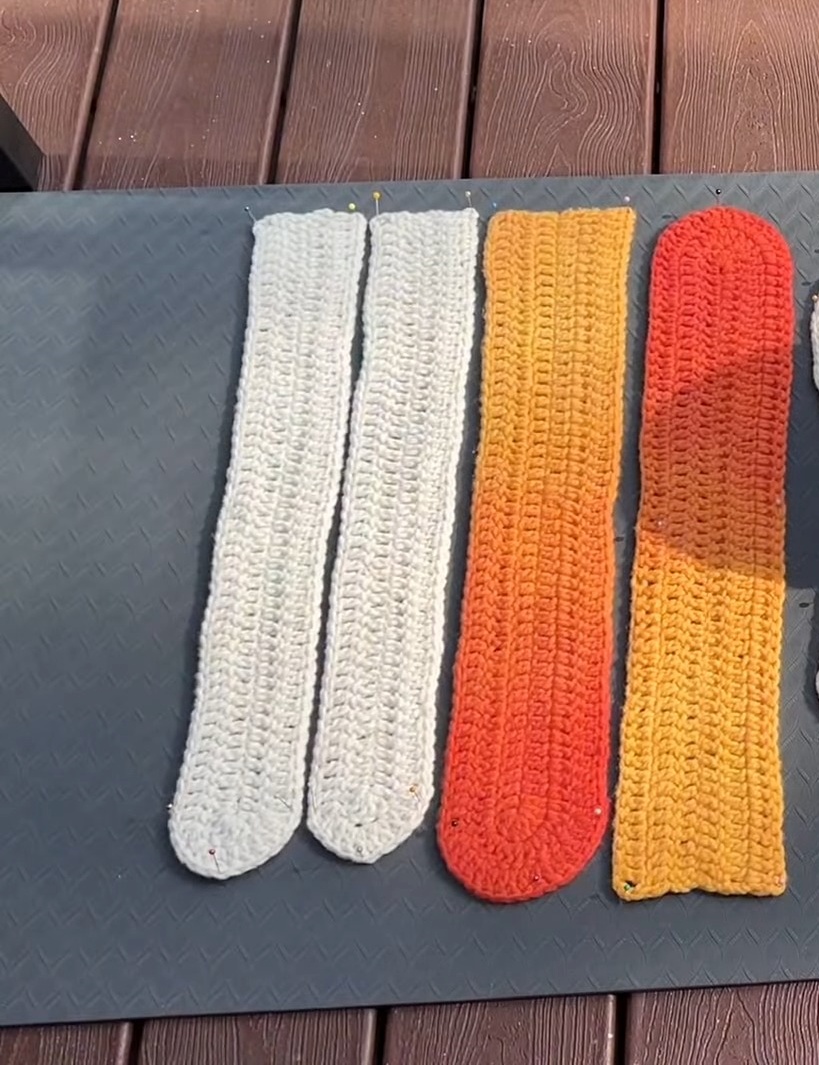
- Follow the steps provided in the video to create a gradient using yellow, orange, and red dyes. Use Rit ColorStay Dye Fixative to set the colors.
-
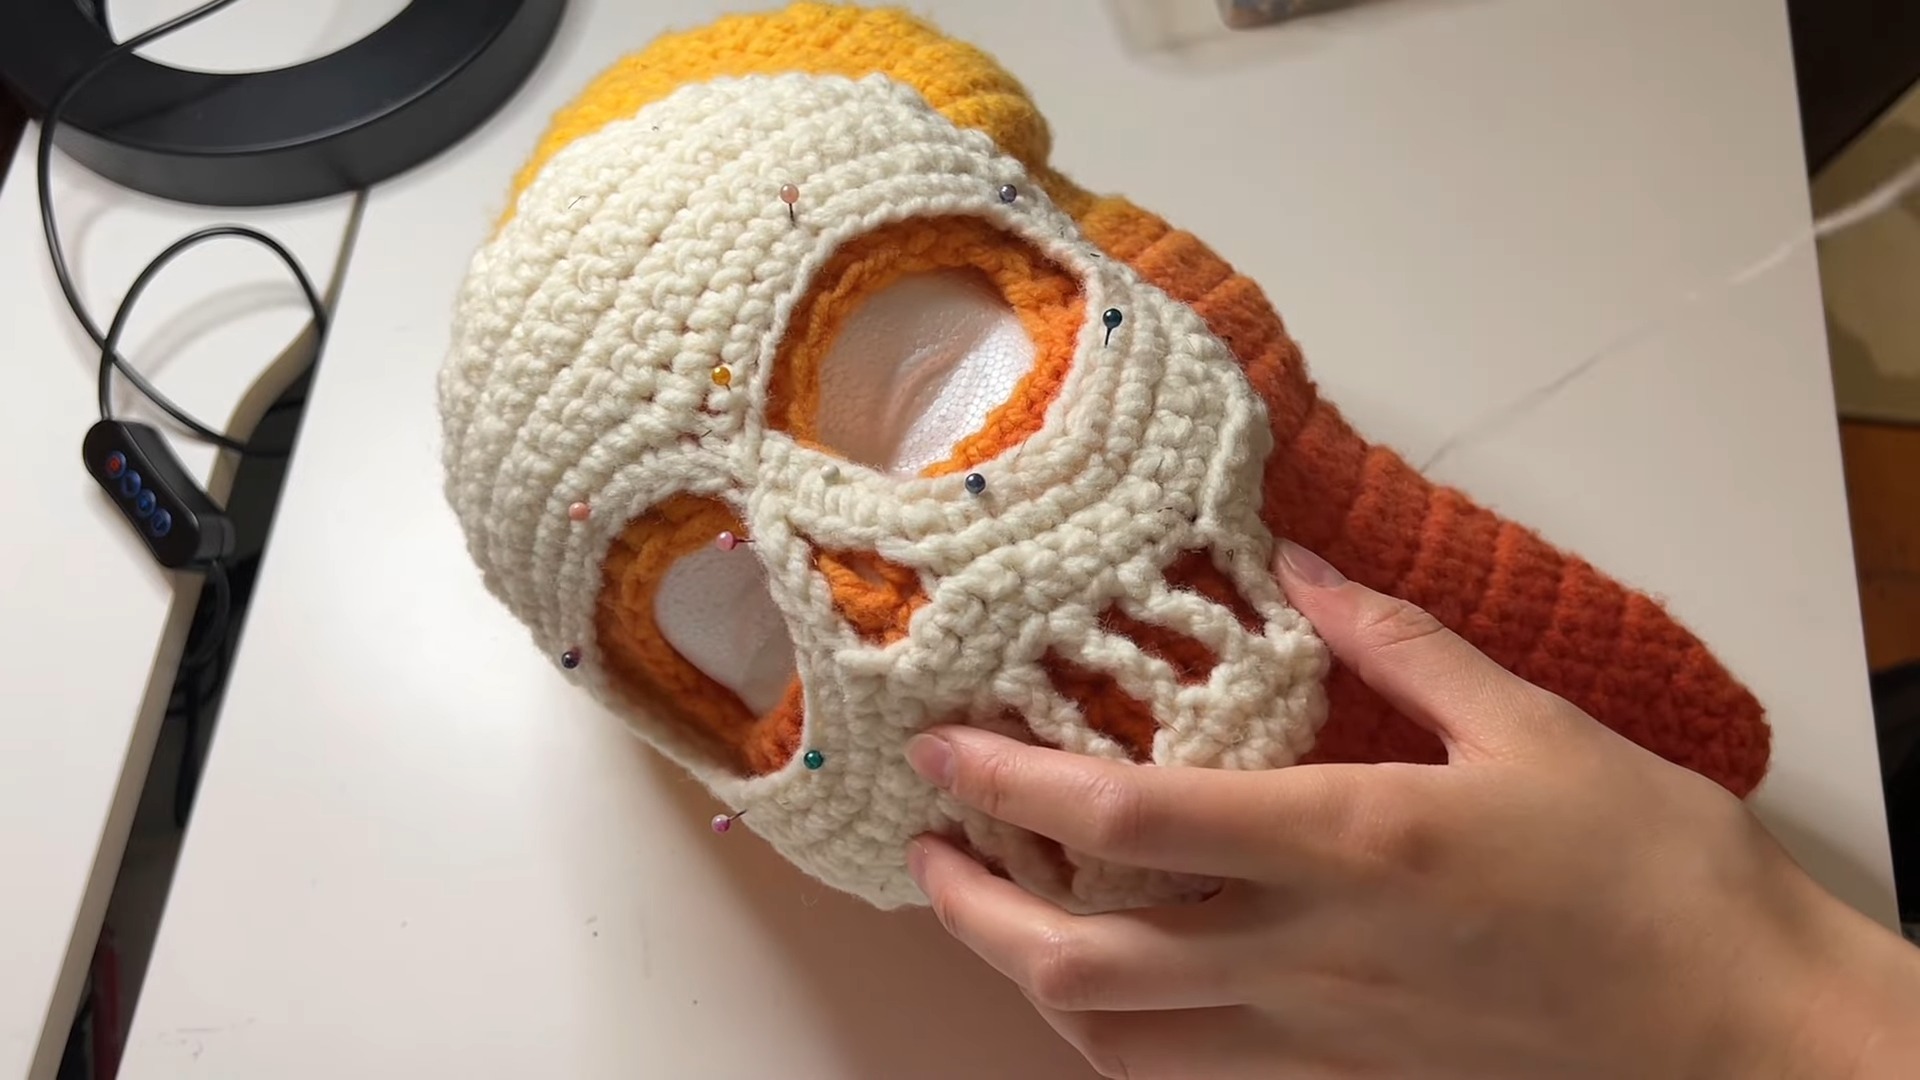
Blocking:
- Stretch and pin the balaclava base and skull overlay onto a yoga mat or styrofoam head to shape. Let dry completely.
Final Assembly:
- Place the skull overlay onto the balaclava base.
- Pin the overlay in place around the edges, ensuring eyeholes align.
- Sew the edges down securely using a yarn needle.
- Optional: Sew around the nose and mouth areas for additional stability.
Additional Notes:
- Feel free to add additional accessories, like ears or Halloween-themed decorations.
- Share your finished project by tagging your work with the creator.
Pattern Question
Question: Can the balaclava be made longer for more neck coverage?
Answer: Yes, the pattern is flexible! Simply crochet additional rows to the base before dyeing or blocking, allowing for extra neck coverage to suit your style.
Conclusion
Crafting the crochet skull balaclava is a fun and rewarding experience that combines style, creativity, and functionality. With endless customization options and a practical design, this unique project is enjoyable for seasoned crafters and beginners alike.


