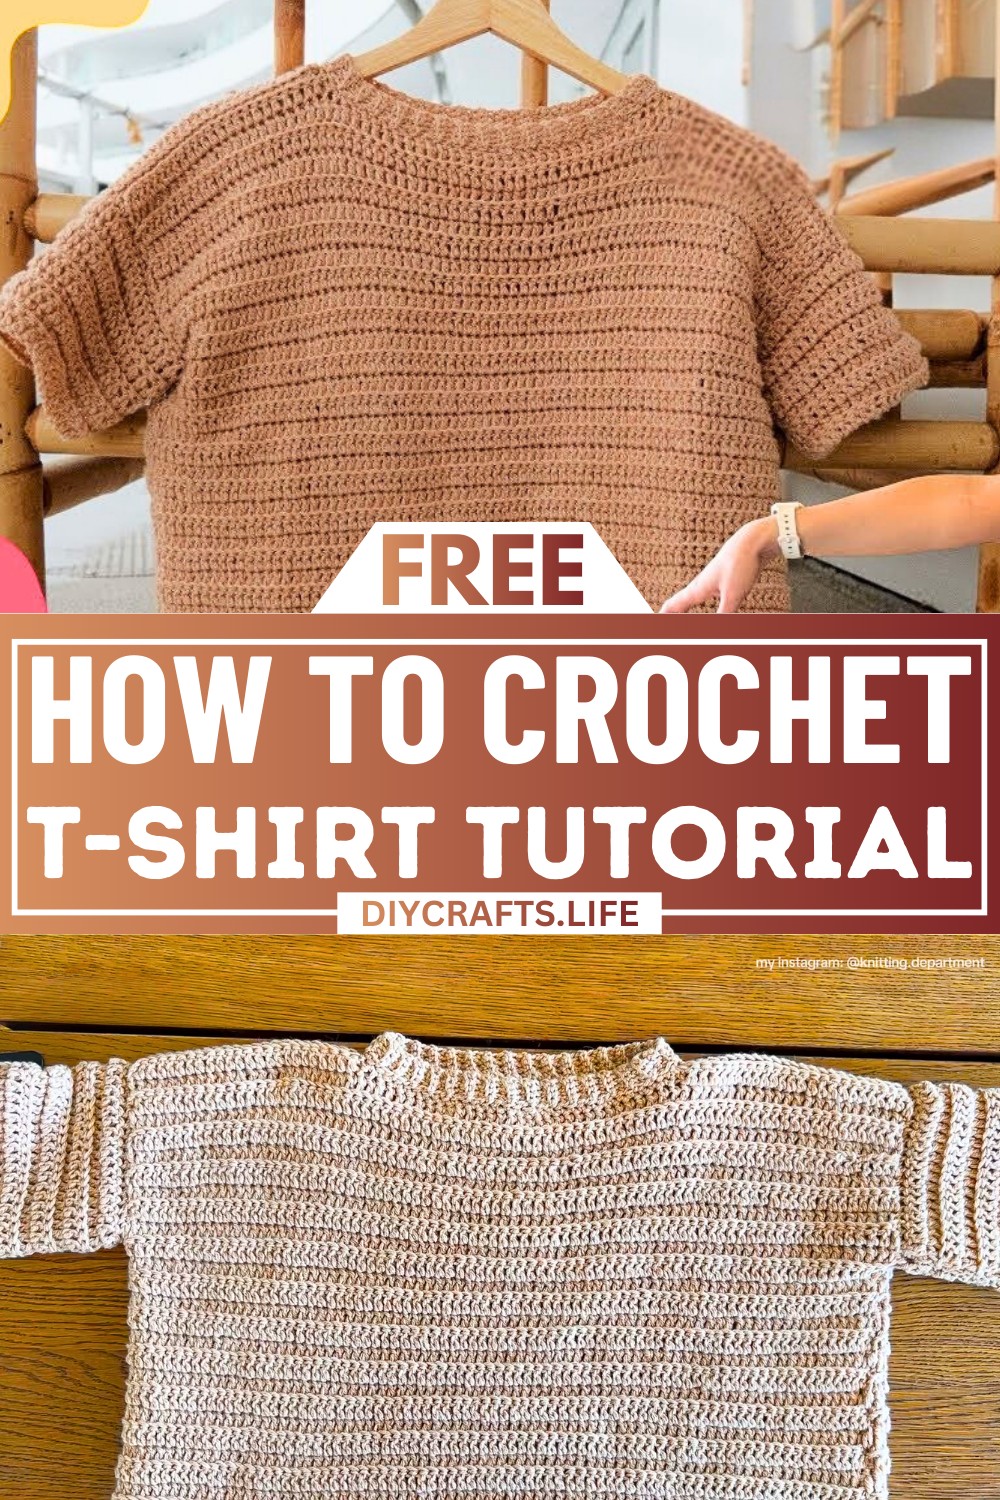
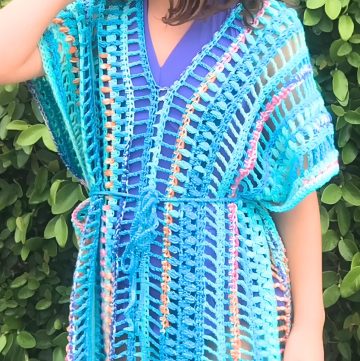
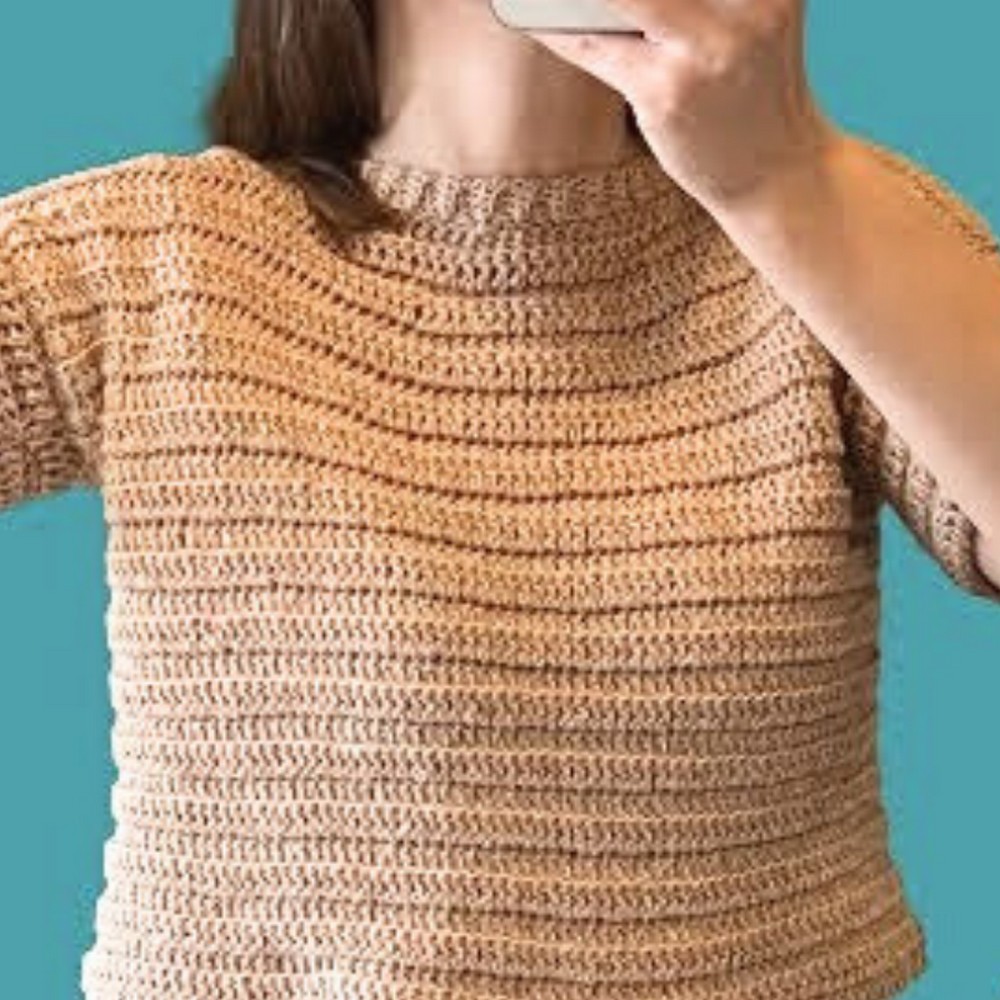
A crochet T-shirt is a perfect blend of comfort, style, and creativity. It's a lightweight, wearable item that works beautifully for casual outings or relaxing at home. What makes it so special is its fully customizable design—you can adjust the size, fit, color, and even the sleeve style to make it truly unique and perfect for you. Whether you want a snug fit or a loose, oversized look, this T-shirt can be tailored to your liking.

The process is simple and beginner-friendly! The T-shirt is made by creating just four rectangles—two for the front and back and two smaller ones for the sleeves. Everything is sewn together to form a functional and stylish garment. Add a final touch, like a ribbed neckline or sleeve edges, and you’ll end up with a cozy, handmade T-shirt you’ll be proud to wear. It’s a quick, fun option—perfect for relaxing while developing your crochet skills.
This crochet T-shirt can easily become a staple in your wardrobe. Pair it with jeans for a casual outing, wear it with leggings for lounging, or layer it under a jacket during cooler weather. Plus, it’s an incredible gift idea—personalized and made with love!
Credit Knitting Department
Materials & Tools Needed
- Yarn:
- Weight: Medium-weight yarn (original used was recommended for a 5mm hook but the creator used a 4mm hook for tighter stitches and better coverage).
- Sample yarn: "Happy Place" by Hobbii (discontinued) - 50% cotton, 50% wool, 250 meters per 100g skein.
- Substitute: Choose a medium-weight yarn in cotton or cotton blends for comfort.
- Note: If using a different yarn weight, adjust stitches and rows based on your gauge and desired size.
- Crochet Hook:
- Size: 4mm hook (adjust if needed based on yarn choice and tension).
- Other Tools:
- Tapestry Needle: For weaving in ends or sewing pieces together.
- Stitch Markers: Useful for marking starting/end stitches, sleeves, or tricky sections.
- Scissors: For trimming yarn.
- Tape Measure: To measure your gauge and dimensions accurately.
- Optional Kitchen Scale: For weighing yarn to divide for sleeves or ensure even usage.
Finished Size & Customization Ideas
Approximate Size
- Body Dimensions:
- Width: ~40cm (or adjustable to your body/favorite T-shirt size).
- Length: 29 rows (~40cm, adjustable for preference).
- Sleeves:
- Width: ~40 stitches chain.
- Length: Adjustable depending on preference (can mimic the length measured from a favorite T-shirt).
Customization Ideas
- Size Adjustments:
- Adjust width by increasing/decreasing the chain count (start chains for body or sleeves).
- Adjust length by increasing/decreasing the number of rows.
- Change Style:
- Create an oversized fit by increasing width (add more chains).
- Shorten or lengthen the sleeves depending on the desired look.
- Adjust Yarn/Hook:
- Use finer yarn for a more delicate T-shirt or bulkier yarn for a cozy, winter version.
- Personal Touches:
- Add color stripes or use variegated yarn for visual interest.
- Add ribbing to the hem or sleeve edges for contrast.
- Extend the length to create a tunic or dress-style crochet piece.
Pattern Abbreviations & Terminology
- Ch: Chain
- DC: Double Crochet
- SC: Single Crochet
- Slip Stitch: Slip stitch to join or edge.
- Back Loop Only (BLO): Work into the back of the “V” shaped stitches for ribbed texture.
Step-by-Step Detailed Crochet Instructions
This T-shirt is worked entirely with simple shapes: rectangles that are sewn together. It is beginner-friendly and fully customizable.
1. Body (Front and Back Panels)
- Chain Foundation:
- Chain 80 stitches (adjust for size).
- Add 2 extra chains at the end (turning chains).
- Row 1:
- Work Double Crochet (DC) into the 4th chain from the hook.
- Continue in DC across (total = 80 stitches, turning chain counts as a stitch).
- Rows 2–29 (or your desired length):
- Turn work.
- Chain 2 (counts as the first DC).
- DC in the back loop only (BLO) for ribbing texture.
- Repeat DC across until the end of the row.
- At the end of Row 29, leave a 20-25 stitch opening at the top for the neckline:
- Work 25 DCs, fasten off.
- Attach yarn on the other side, and work 25 DCs to finish the other half of Row 29.
- Repeat for Back Panel:
- Repeat the same steps to create the second rectangle for the back of the T-shirt.
2. Sleeves
- Chain Foundation:
- Chain 40 stitches (adjust for preferred width).
- Add 2 extra chains at the end (turning chains).
- Row 1:
- Work DC into the 4th chain from the hook.
- Continue in DC across all chains (40 stitches total).
- Rows 2–As Needed:
- Continue the same technique as the body panel:
- Chain 2 at the start of each row.
- Work DC in the back loop only (BLO).
- Work until the desired length.
- Continue the same technique as the body panel:
- Making it a Tube:
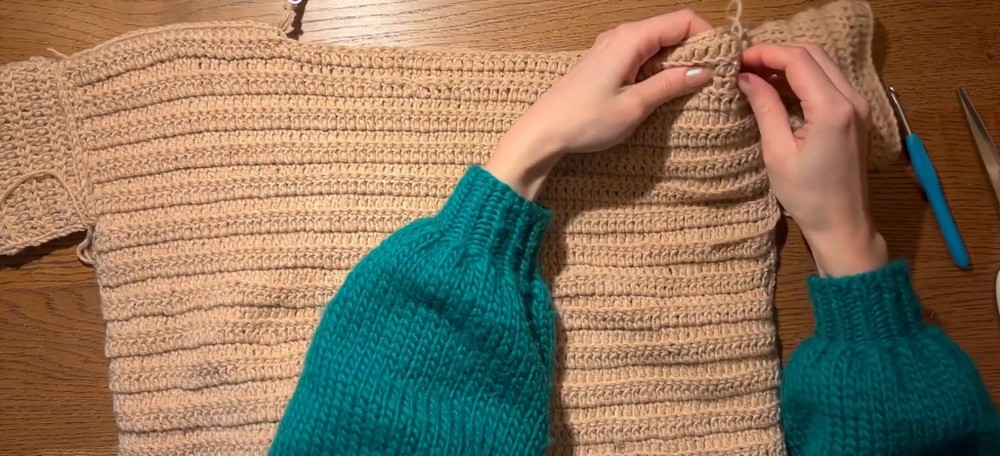
- Fold the rectangle and sew along the side using a tapestry needle or slip stitch/single crochet (keep the seaming flexible to maintain elasticity).
- Make Two Sleeves.
3. Assemble the T-Shirt
- Sewing the Panels Together:
- Place the front and back panels together with the wrong sides facing out (seam side).
- Align edges and sew side seams (bottom to armhole) using slip stitches or single crochet.
- Leave an opening for the armholes.
- Attaching the Sleeves:
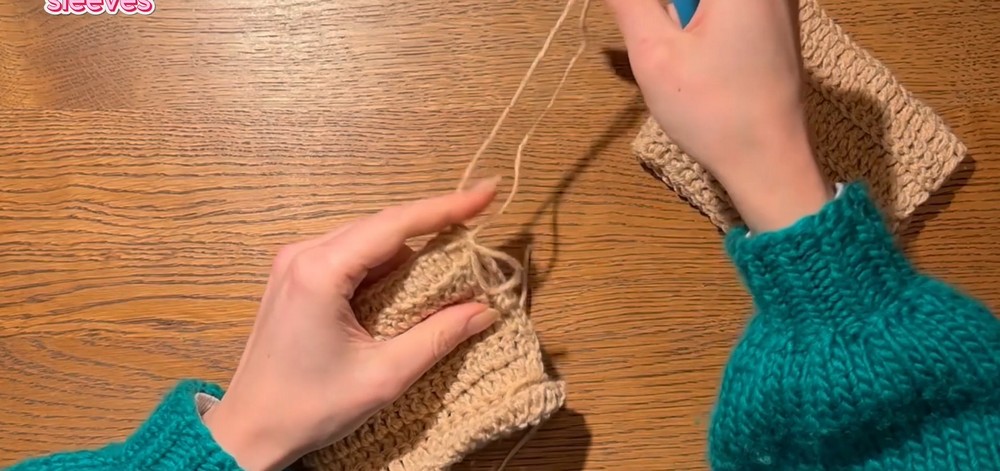
- Position the sewn edge of the sleeve tube to match the armhole opening.
- Secure with stitch markers or pins.
- Sew the sleeve to the body, working evenly along the edges to avoid puckering.
- Ensure the seam aligns on the underside of the sleeve.
- Finishing the Shoulders:
- Sew along the shoulder edges, ensuring the neckline is even and opening remains intact.

4. Adding the Neckline Ribbing
- Base Round:
- Attach yarn at any point around the neckline.
- Work a round of Single Crochet (SC) along the neckline to create a foundation.
- Ribbing:
- Chain 5, then work 4 SCs back down the chain (starting from the 2nd chain back).
- Slip stitch into the next stitch on the neckline base round.
- Continue the process in the next stitch: chain 1, turn, work 4 SC stitches back up (only using BLO for ribbed texture).
- Repeat Around:
- Work this ribbing pattern all around the neckline.
- Fasten off and weave in the loose ends.
5. Finishing Touches
- Hide Yarn Ends:
- Use a tapestry needle to neatly weave in all yarn tails.
- Optional Edge Ribbing:
- Add ribbed edges to the hem and sleeves using the same technique as the neckline for a cohesive look.
- Block the Garment:
- Lightly block your T-shirt to shape it and relax the stitches.