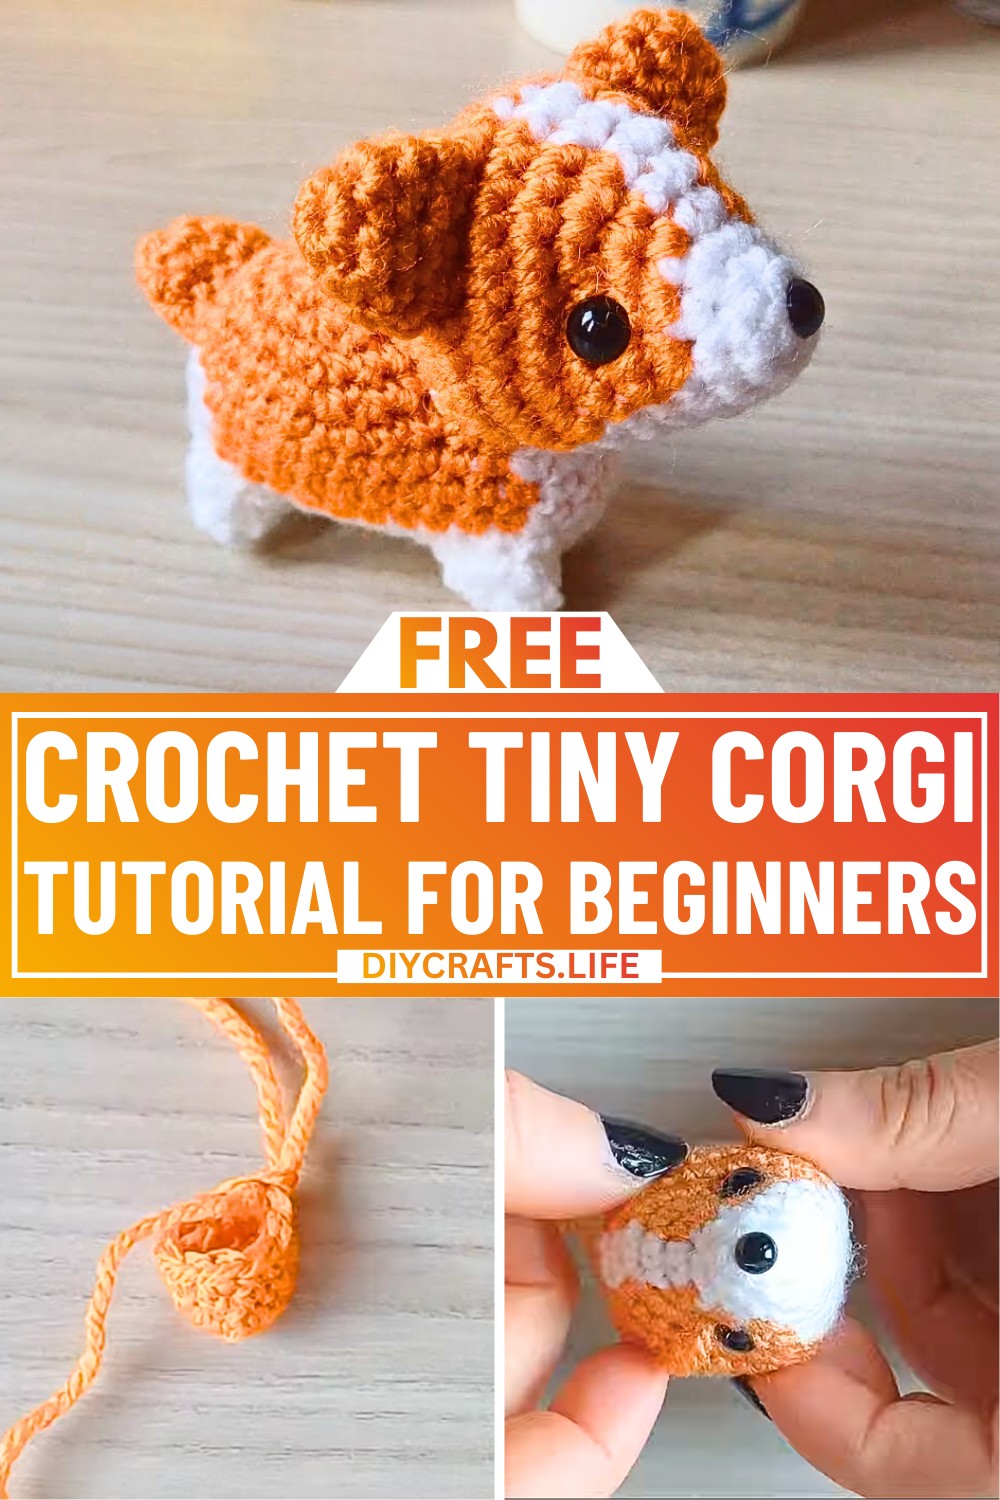
If you love crochet and dogs, this tiny corgi is the perfect match! With its little legs, cute tail, and playful colors, it’s a fun design to make and admire. Whether you use it as a desk buddy, a gift for a friend, or a decorative touch for your shelf, this cheerful corgi brings smiles every time.
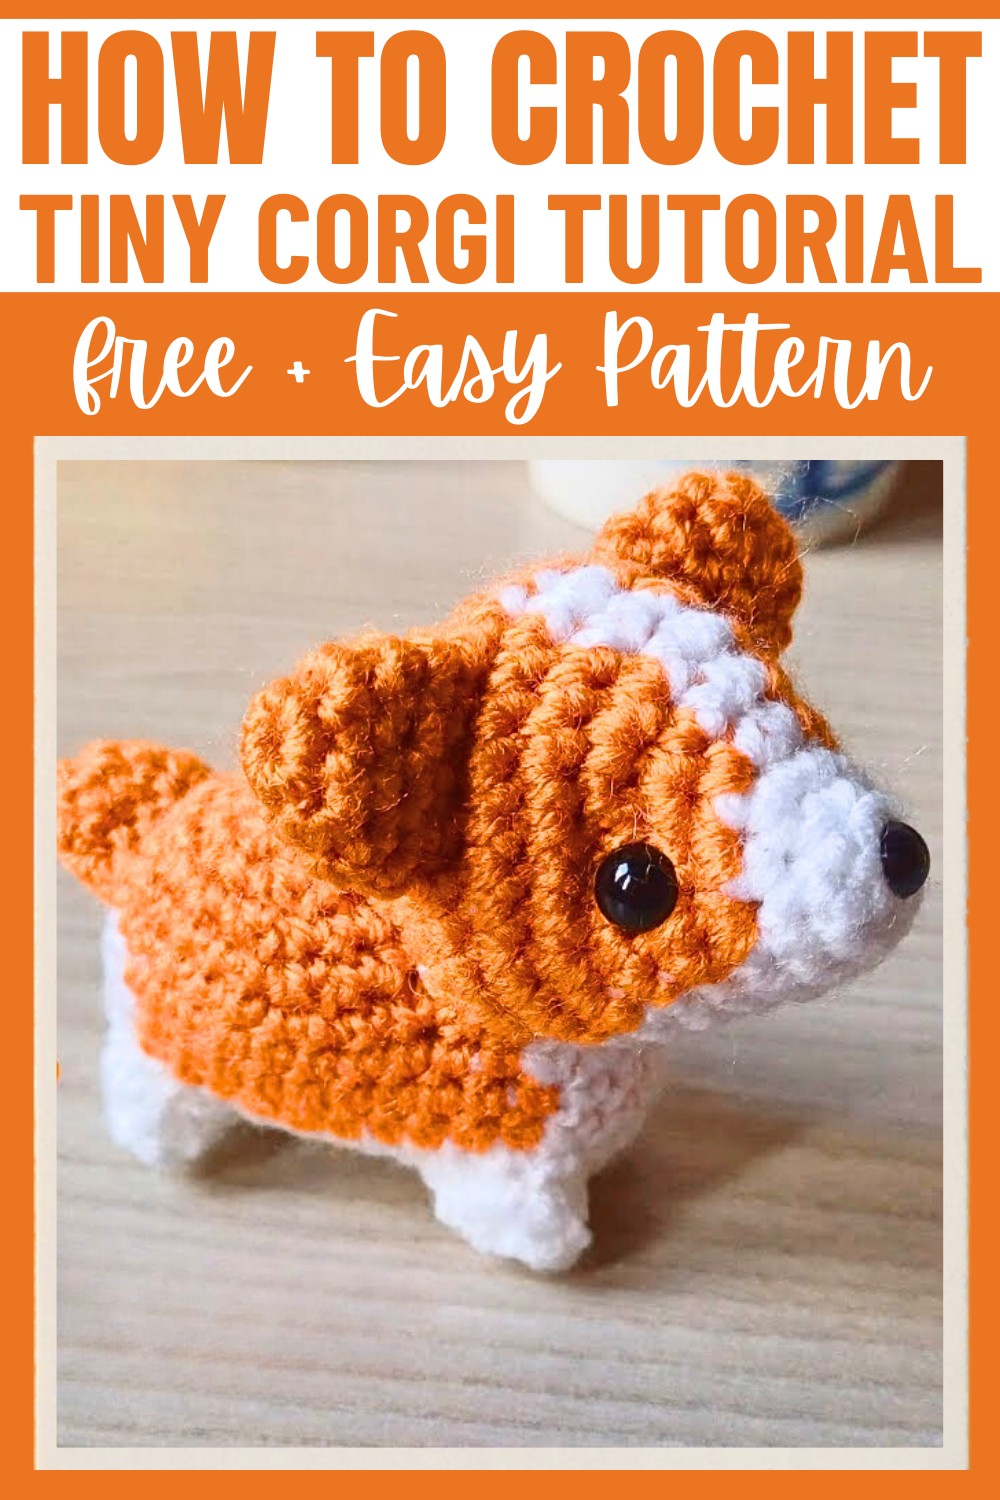
This crochet dog pattern is easy to follow, even for beginners looking to make small figures. You’ll work with simple stitches like single crochet and color changes, and you’ll put it all together using helpful tools like safety eyes, a tapestry needle, and yarn in white and orange shades. Plus, adding a bit of stuffing makes this little corgi soft and slightly squishy—just like a real pup!
Credit Ambros Crochet
Materials & Tools Needed
- Yarn:
- Orange yarn for the body, head, legs, ears, tail.
- White yarn for color accents (belly, head, and details).
- Choose a yarn type suitable for amigurumi (e.g., acrylic or cotton). Keep the weight consistent for both colors.
- Crochet Hook:
- 3mm crochet hook (adjust if using thicker or thinner yarn).
- Scissors:
- For cutting the yarn neatly.
- Tapestry Needle:
- Used to sew the components together and fix finer details (eyes, nose, shaping).
- Safety Eyes:
- Two 8mm safety eyes for the eyes.
- One 6mm safety eye for the nose.
- Toy Stuffing:
- Polyester fiberfill or similar for stuffing the head, body, and shaping the parts.
- Pins:
- Optional for securing positions of components (e.g., ears, legs) while sewing.
Finished Size & Customization Ideas
Approximate Finished Size:
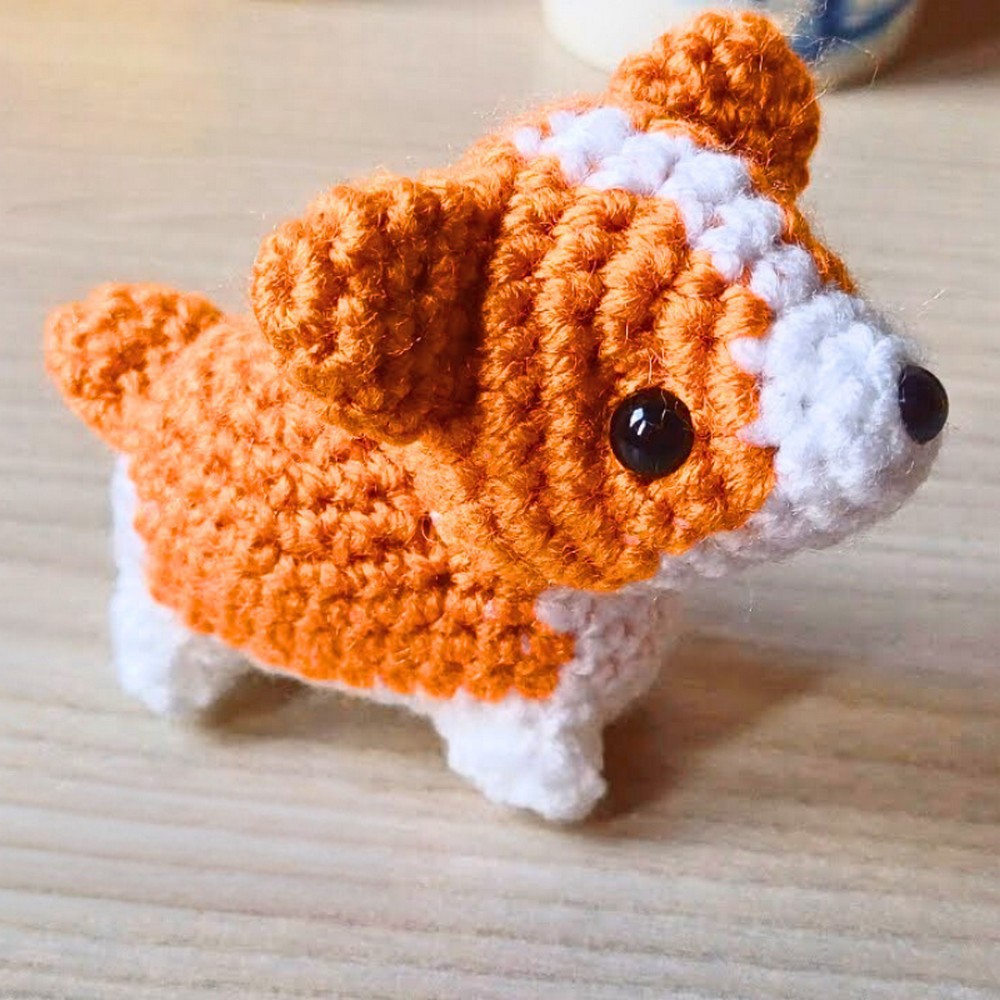
- When crocheted using a 3mm hook and standard yarn, the corgi will be approximately 3-4 inches tall and 4-5 inches long.
Customization Ideas:
- Adjust Size:
- Use thicker yarn (e.g., chunky weight) and a larger hook for a bigger corgi.
- Use thinner yarn (e.g., lace or fingering weight) and a smaller hook (e.g., 2mm) for a smaller corgi.
- Change Colors:
- Make a tri-color corgi using black, white, and tan.
- Use pastel colors for a whimsical or fantasy-themed corgi.
- Style Variations:
- Add accessories like a collar, bow tie, or tiny clothes.
- Create longer or shorter eye placements for different facial expressions.
Pattern Abbreviations & Terminology
- SC: Single Crochet
- INC: Increase (2 single crochets in one stitch)
- DEC: Decrease (combine two stitches into one)
- MR: Magic Ring
- CH: Chain stitch
- BLO: Back Loop Only
- SL ST: Slip Stitch
- ST(S): Stitch(es)
The pattern uses US Terminology.
Step-by-Step Detailed Crochet Instructions
Head:
- Round 1:
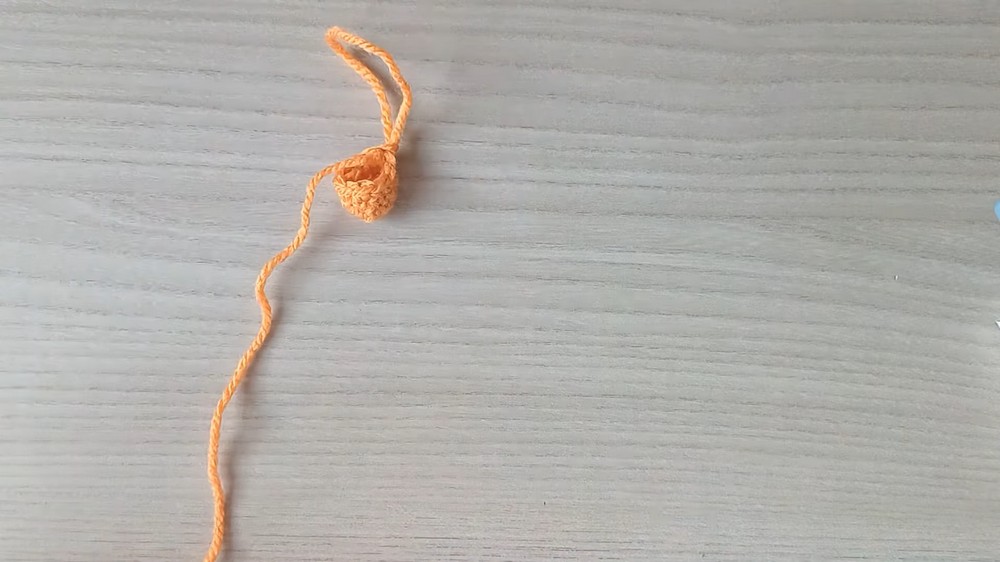
- Using white yarn, create a magic ring and crochet 6 SC into the ring. Tighten and join.
- Round 2:
- 1 SC, then INC. Repeat 3 times.
- Total: 9 SC.
- Round 3:
- 2 SC, then INC. Repeat 3 times.
- Total: 12 SC.
- Round 4:
- Begin color changes:
- Orange Segment: Start with one orange INC, then alternate SC and INC between orange and white segments (as demonstrated in the video tutorial).
- Total: 18 SC.
- Begin color changes:
- Round 5:
- Continue alternating orange and white. Maintain placement to ensure stripes curve naturally in circular rounds.
- Total: 22 SC.
- Round 6:
- Similar pattern, with increases spaced appropriately to maintain shape. Add safety nose (6mm eye) after this round.
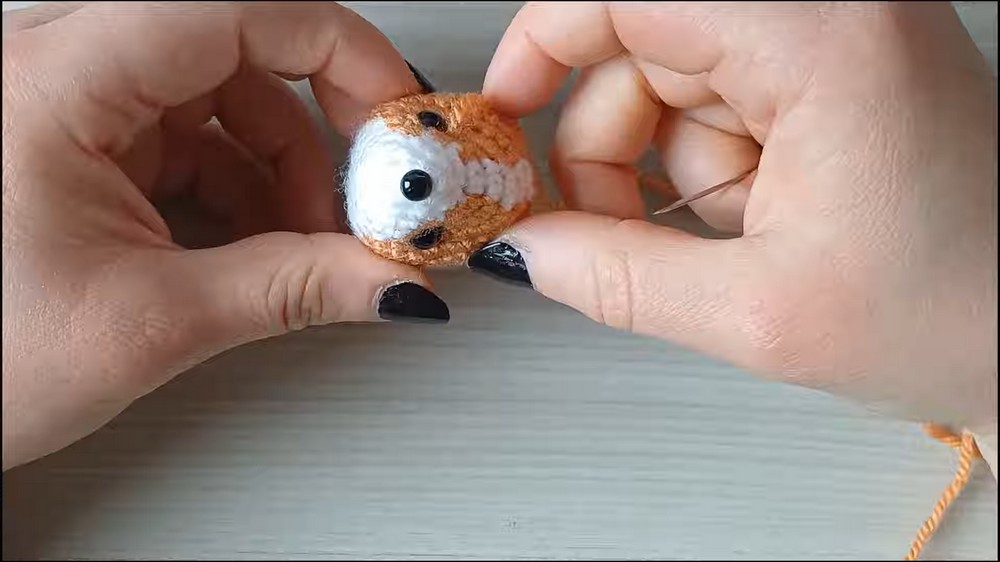
- Rounds 7-11: Sculpt the head, continuing with orange and white color changes. Add eyes (8mm safety eyes) between rounds 5 and 6, ensuring they are evenly spaced 3-4 SC from color changes.
- Round 12: Finish the head with DEC rounds (reduce to 12 SC), then fully close the head (6 SC). Leave a long tail for shaping the head later and sew to the body.
Ears:
- Round 1:
- Using orange yarn, create a magic ring and crochet 6 SC.
- Round 2:
- Work 1 SC, then INC. Repeat 3 times.
- Total: 9 SC.
- Rounds 3 & 4:
- 1 SC in every stitch.
- Total: 9 SC (each round).
- Finish Ear:
- Flatten the ear and leave a long tail for sewing. Create two.
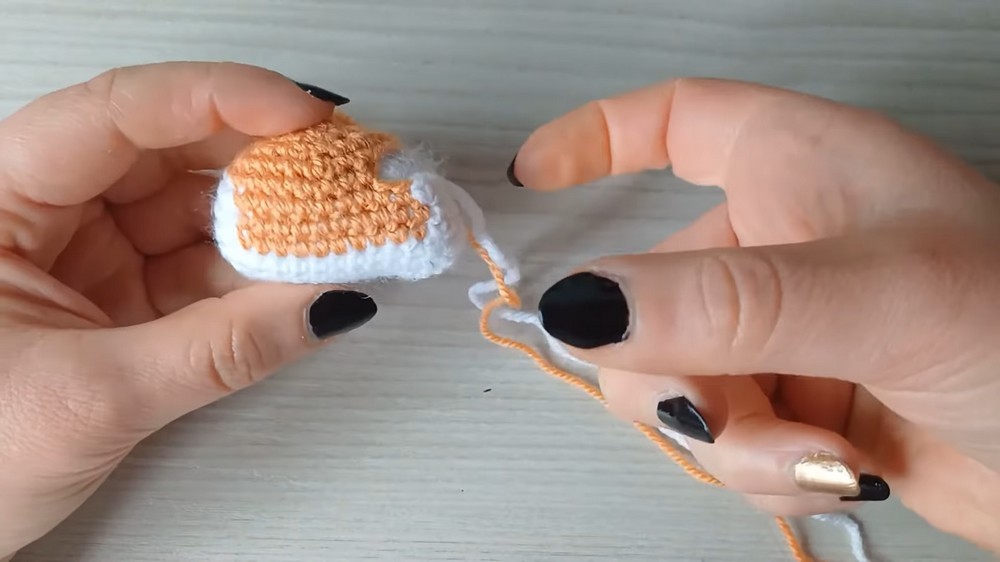
Body:
- Round 1:
- With white yarn, create 12 chain stitches.
- Start in the second chain from hook and crochet 10 SC, then 3 SC in the last chain to turn. Work along the opposite chain side: 9 SC, then 2 SC in the last stitch.
- Total: 24 SC.
- Round 2:
- Work increases across curved ends and SCs along flat sides to gradually create an oval shape. Add stripes by starting color changes (similar to the head design).
- Total: 28 SC.
- Round 3:
- Continue increasing, alternating orange and white stripes.
- Total: 32 SC.
- Round 4:
- Begin color placement for white belly and orange sides. Use pins to mark uniform stripe areas.
- Rounds 5-11: Shape the torso by adding decreases while maintaining stripe placement. Leave a stripe-free area near the tail. Stuff body lightly to maintain flat shape at the base.
Legs:
- Round 1:
- Using orange yarn, create a magic ring and crochet 6 SC.
- Round 2:
- Work BLO with 1 SC, then INC. Repeat 3 times.
- Total: 9 SC.
- Finish Leg:
- Close piece with SL ST and leave a tail for sewing. Create four legs.
Tail:
- Round 1:
- Using orange yarn, create a magic ring and crochet 6 SC.
- Round 2:
- Work 1 SC, then INC.
- Total: 9 SC.
- Round 3:
- 1 SC in every stitch.
- Close piece and sew to body at white stripe placement.
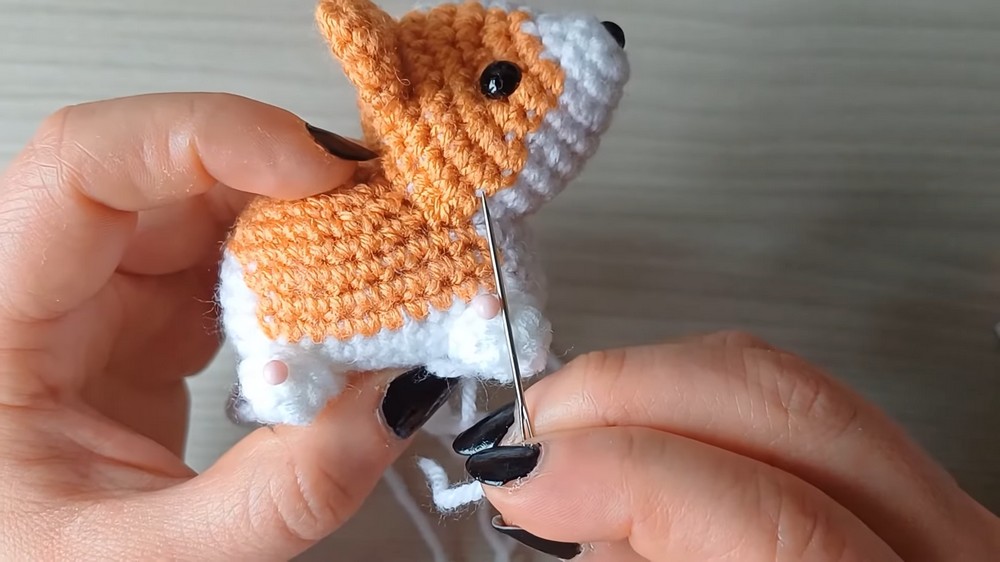
Assembly and Finishing:
- Ears: Sew on row 11 of the head, 2 stitches from color change. Fold and flatten before sewing.
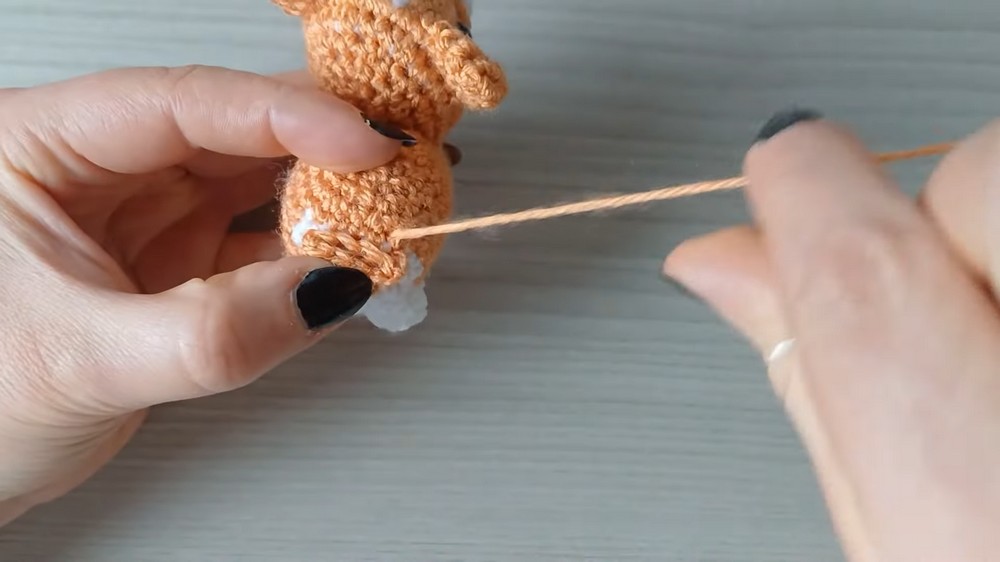
- Head to Body: Align white on head/body and sew securely, using color-matching yarn. Optionally tilt head upward or sideways for a fun look.
- Legs: Place under body, separating front and back legs by 5 stitches. Sew evenly.
- Tail: Attach to back between the white stripe and orange body.
Optional: Shape head and eyes using tapestry needle to define contours.