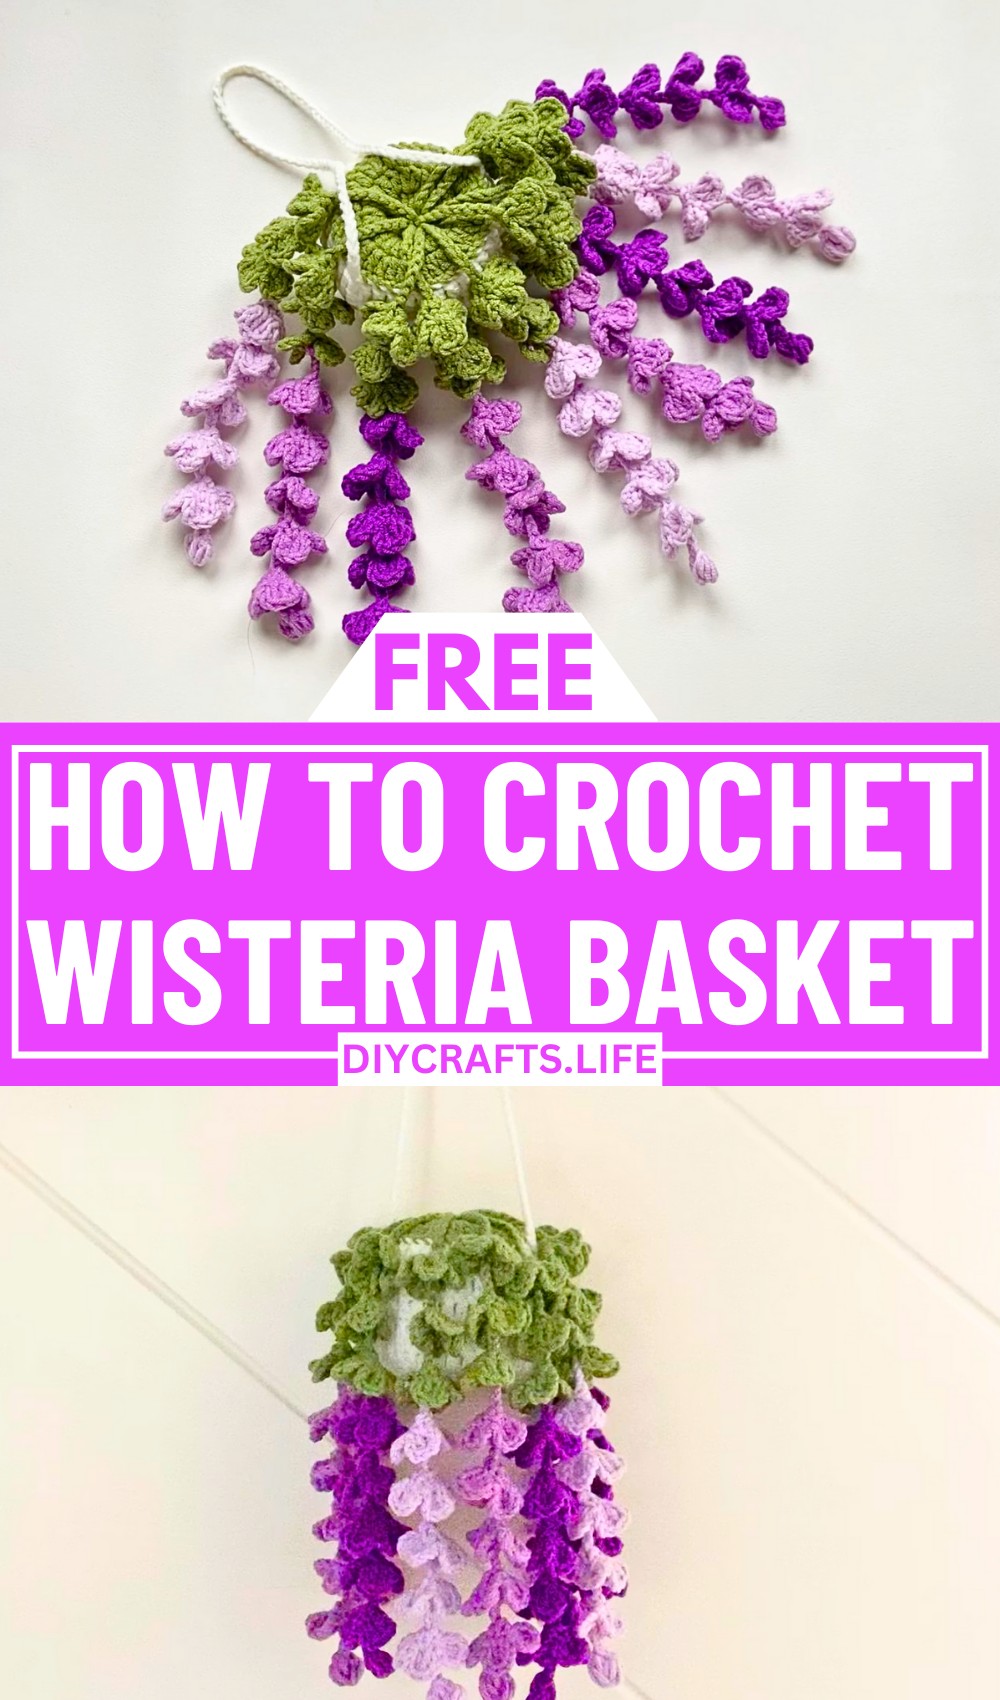
Transform your space with the elegance of a crochet wisteria hanging basket. This intricate yet approachable design combines charming floral details with functionality, creating a beautiful decorative piece that brings nature’s serenity indoors. Whether for your home, a gift, or a personal project, this hanging basket is sure to become a favorite centerpiece.
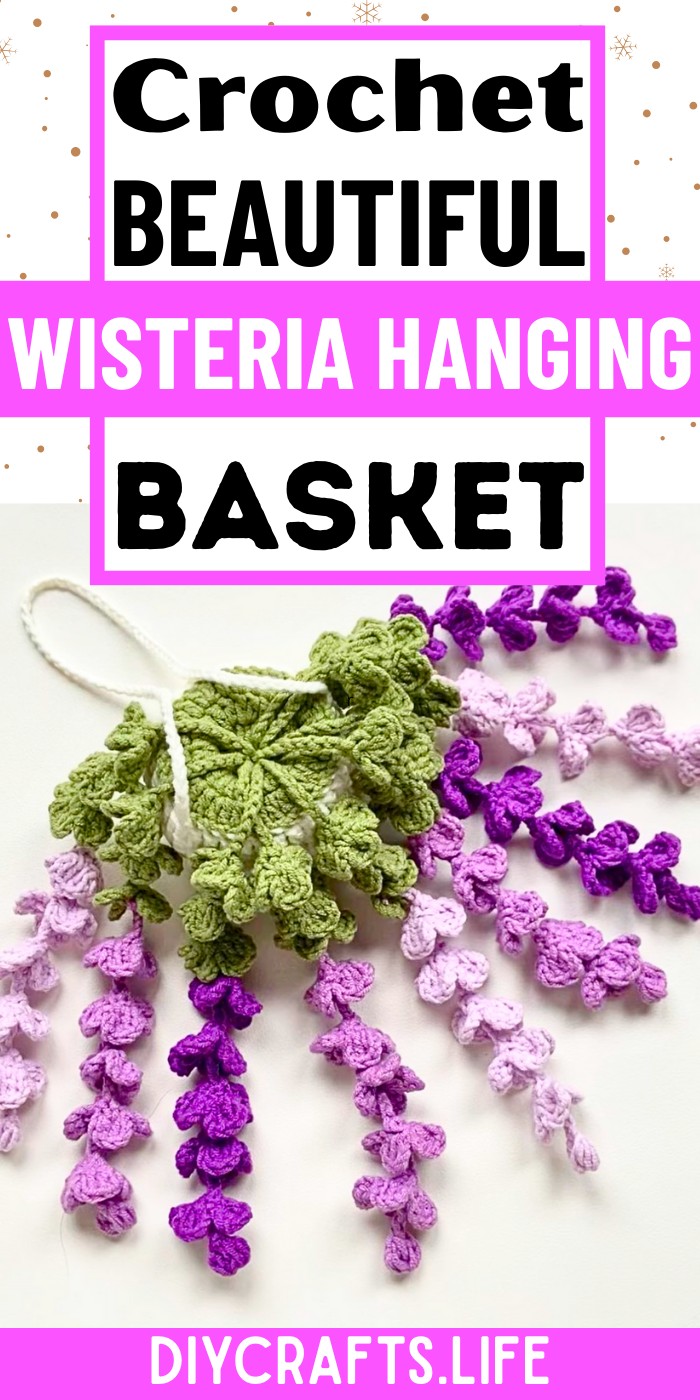
What makes this pattern special is its realistic cascading flowers and the customizable flowerpot base. Each petal and cluster is designed with thoughtful details, giving the wisteria an organic flow. The use of 4-ply cotton yarn and delicate stitches ensures a lightweight, refined appearance, while the sturdy crochet flowerpot secures the design perfectly. It’s not just a craft; it’s a graceful accent for any setting that reflects your personal style and creativity.
Credit Ada's Handmade
Materials & Tools Needed:
- Yarn:
- 4-ply cotton yarn for durability and aesthetic appeal.
- Colors Needed:
- Purple or lavender shades for the wisteria flowers.
- Green for the leaves and stems.
- Brown, beige, or another earthy tone for the basket.
- Colors Needed:
- 4-ply cotton yarn for durability and aesthetic appeal.
- Crochet Hook:
- 2.5 mm crochet hook (adjust size depending on your yarn weight and desired tension).
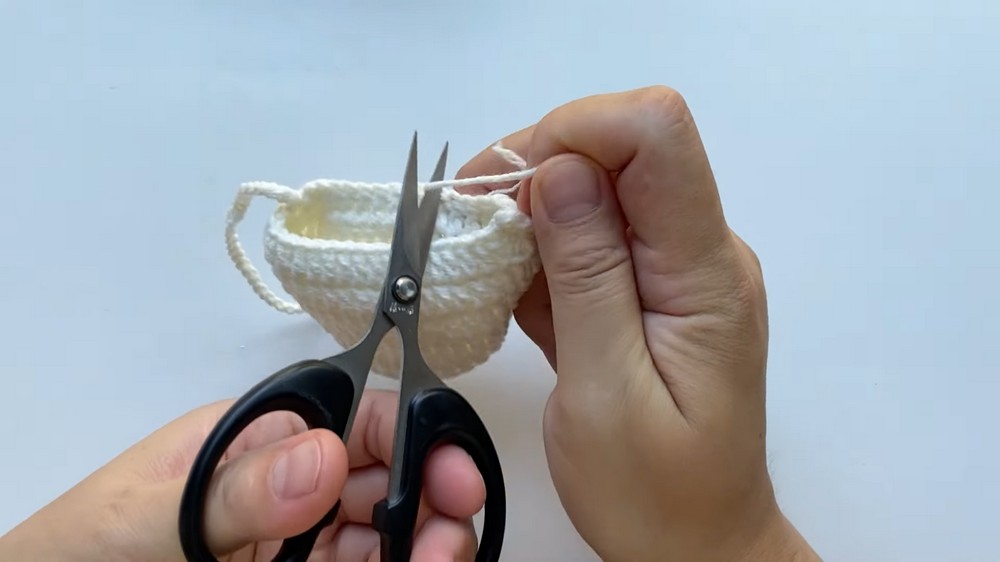
- Scissors:
- To cut the yarn cleanly between sections.
- Tapestry Needle:
- For weaving in loose ends and sewing components together.
Finished Size & Customization Ideas:
Approximate Size:
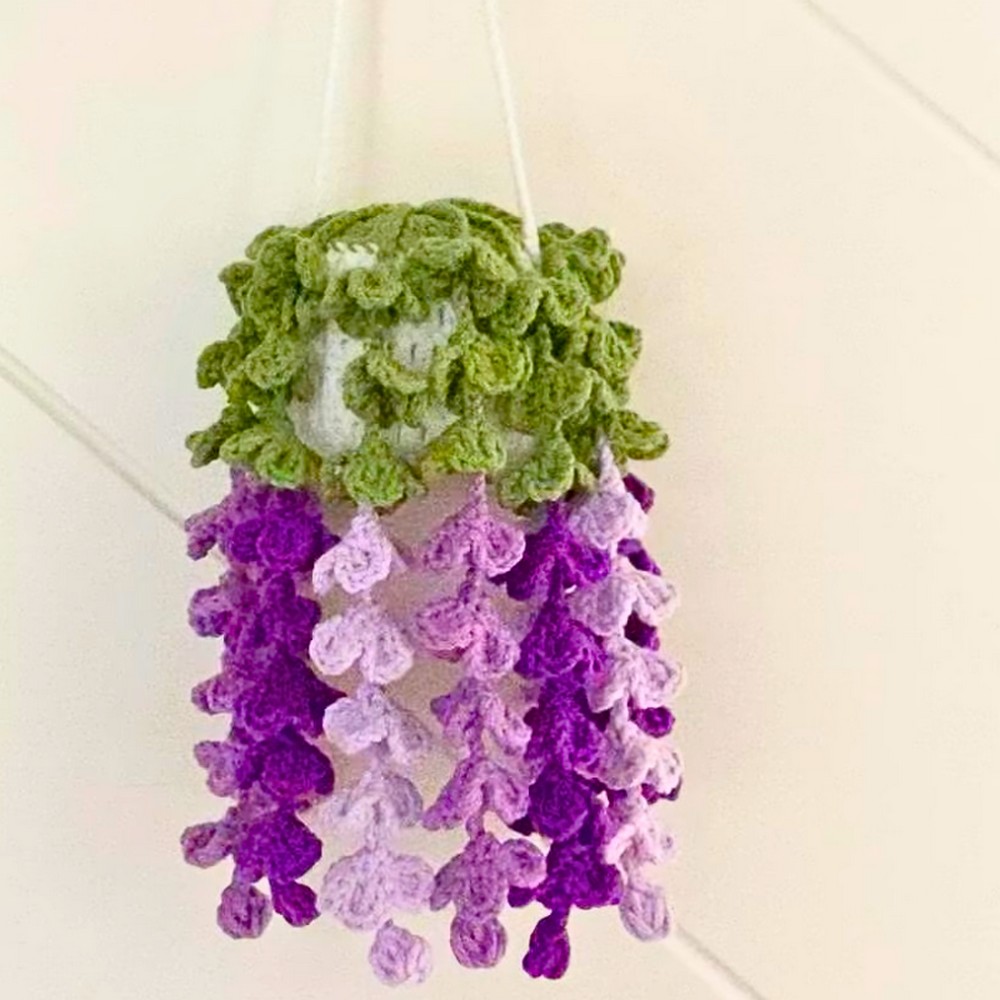
- When made with 4-ply cotton yarn and a 2.5 mm hook, the basket will be approximately 5-6 inches tall, with flowers hanging down an additional 5-6 inches.
Customization Ideas:
- Change the Yarn Weight & Hook Size:
- Use bulkier yarn for a larger hanging basket or finer thread for a more delicate version. Adjust the hook size accordingly.
- Color Customization:
- Experiment with different shades of purple, pink, or blue for the flowers and green for the leaves. You can also create a two-tone basket by using contrasting colors.
- Adjust Hanging Straps:
- Add more chains for longer straps, or use a sturdy cord or ribbon for a functional, decorative handle.
- Adapt Flower Quantity:
- Create more flowers for a fuller, lush hanging display, or fewer flowers for a minimalist look.
- Add Decorative Details:
- Attach beads to the ends of the hanging flowers or embroider small details on the basket to personalize your project further.
Pattern Abbreviations & Terminology:
(US Terminology Used)
- ch = chain
- sl st = slip stitch
- sc = single crochet
- dc = double crochet
- dc-inc = double crochet increase (2 dc in the same stitch)
- R = round
Step-by-Step Crochet Instructions:
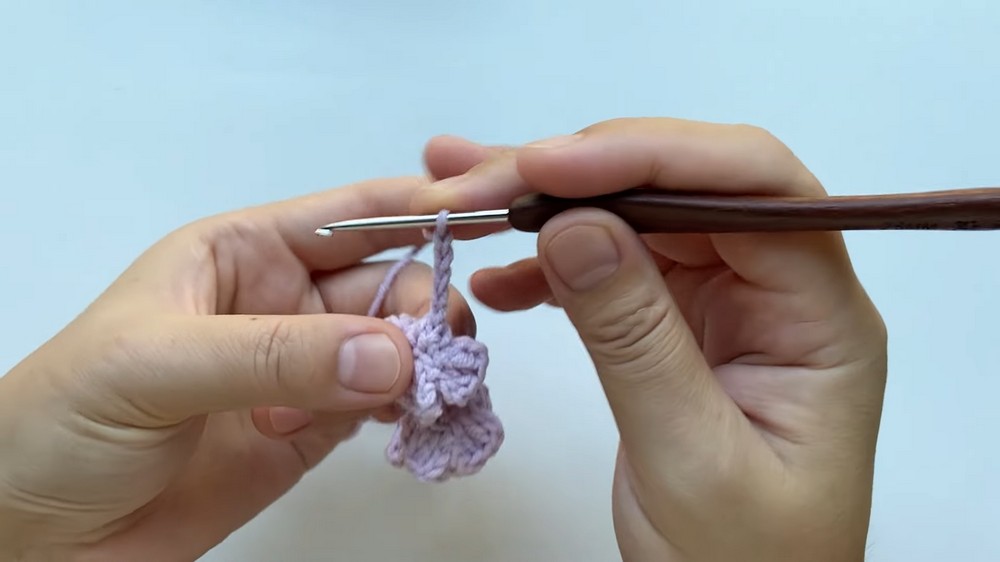
1. Crochet the Wisteria Flowers:
- Start Flower Base:
- Chain 1 in magic ring.
- Pull the loop 2 through. Yarn over, pull through all loops at once.
- Chain 1, repeat the above step to create the base of the flower.
- Make a slip stitch (sl st) and pull the yarn tight.
- Form the Petals:
- Chain 8 to make the length of the hanging flower.
- In the 4th chain from the hook, work:
- 2 double crochets (dc).
- Chain 3 and make a slip stitch (sl st) to finalize the petal.
- Repeat Petal Formation 3 More Times:
- Repeat (chain 3, 2 dc in the same chain, chain 3, sl st) three more times for a total of 4 petals.
- Join the Petals together:
- Chain 1.
- Work 1 single crochet between the first chain and the double crochet base, followed by 4 single crochets (sc) up through the chain to join the petals.
- Slip stitch to secure. This completes 1 flower.
- Make Multiple Flowers:
- For a full wisteria cluster, repeat the flower pattern 5 times, each starting with chain 8.
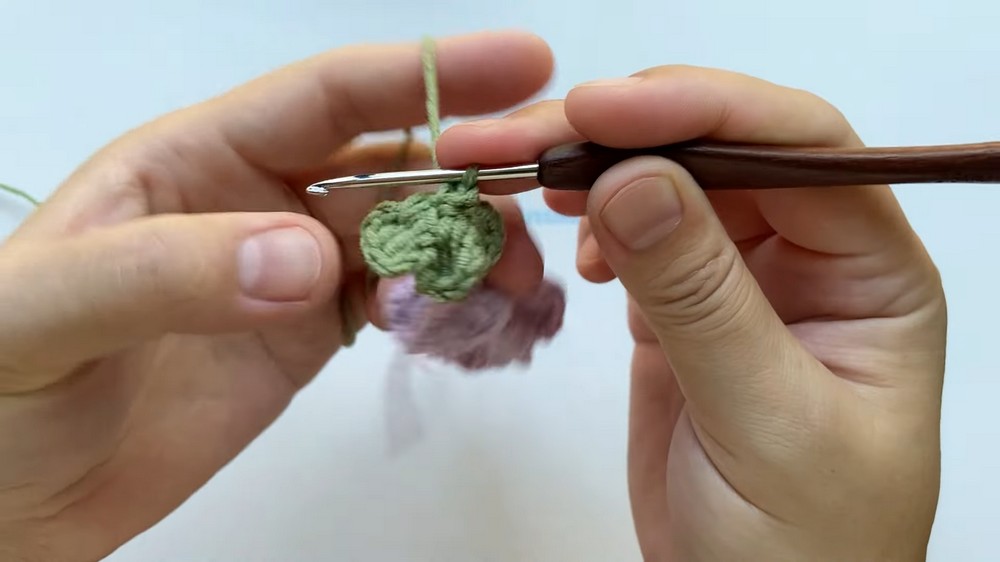
2. Crochet the Leaves (Green Flowers):
- Chain 5 and switch to green yarn to make the leaves.
- Repeat the same flower-making process (steps 1-5 above) using green yarn. Create 3 green flowers for the leaves.
3. Crochet the Basket Base:
- Round 1:
- Chain 3, then work 12 dc into a magic ring.
- Slip stitch (sl st) to join the round. (12 dc)
- Round 2:
- Chain 3, dc-inc into each stitch around.
- Total: 24 dc.
- Round 3:
- Chain 3. Work (1 dc, dc-inc) in each stitch around.
- Total: 36 dc.
- Round 4:
- Work 36 dc in back loops only (this creates the basket walls).
- Slip stitch to join.
- Rounds 5-8:
- Chain 3. Work 36 sc in each round.
- Slip stitch at the end of each round.
- Finishing the Basket Base:
- Complete round 8, then chain 80 stitches to make the hanging strap.
- Slip stitch back to the other side to secure the strap.
- Chain 1 and cut the yarn.
4. Crochet the Inner Basket (Optional):
- Repeat Rounds 1-3 of the basket, using green yarn to create an inner pot.
- Finish with chain 1 and leave a long tail for sewing.
5. Assembly:
- Attach the Wisteria to the Basket:
- Position the hanging wisteria flowers and green leaves along the rim of the basket.
- Use a tapestry needle and yarn to sew or tie them securely in place.
- Secure the Inner Pot (Optional):
- Sew or glue the green inner pot into the basket base for additional texture.
- Finalize Straps:
- Reinforce the hanging strap to ensure it's secure and durable.
Congratulations!
Your Crochet Wisteria Hanging Basket is complete! Hang it as a gorgeous piece of decor or gift it to a loved one for their space. It’s a timeless beauty for any setting. 😊