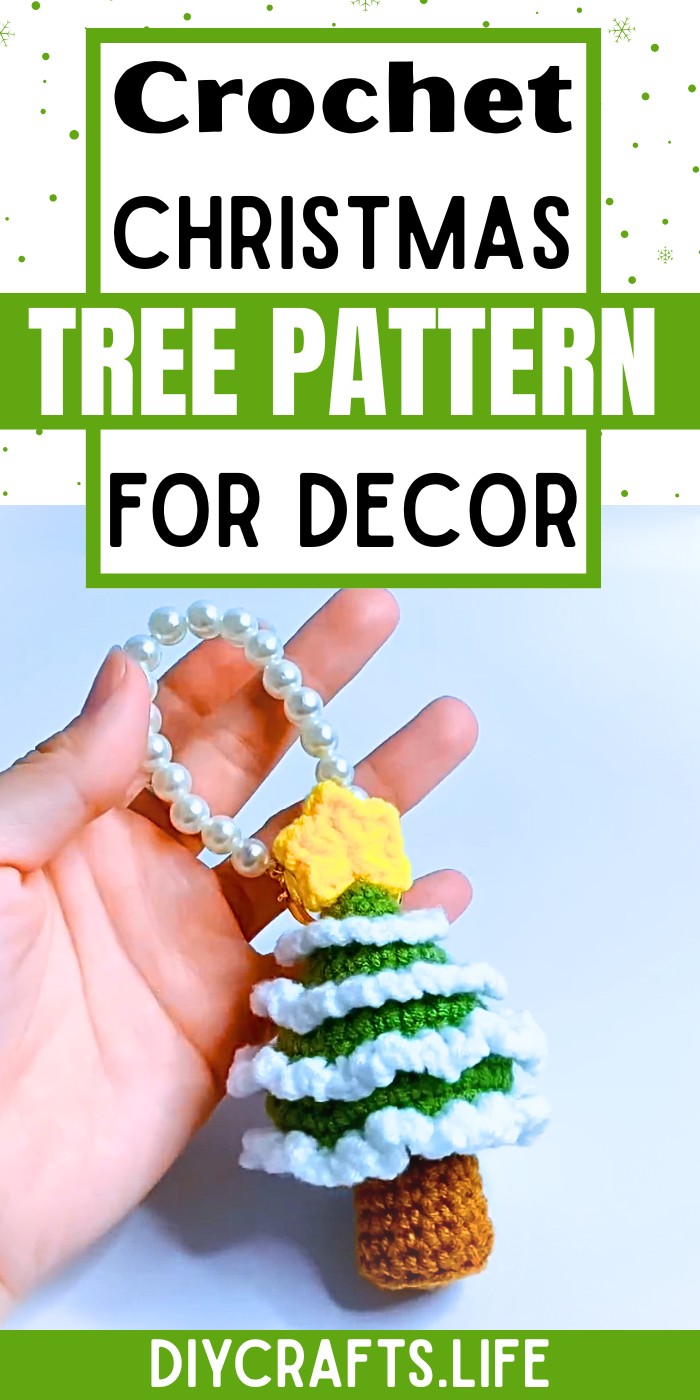
Create a festive and charming Crochet Christmas Tree that enhances your holiday decor. This project is not only stylish but also versatile, making it a perfect addition to your celebrations. Its handmade touch adds warmth to your space while offering a timeless keepsake.
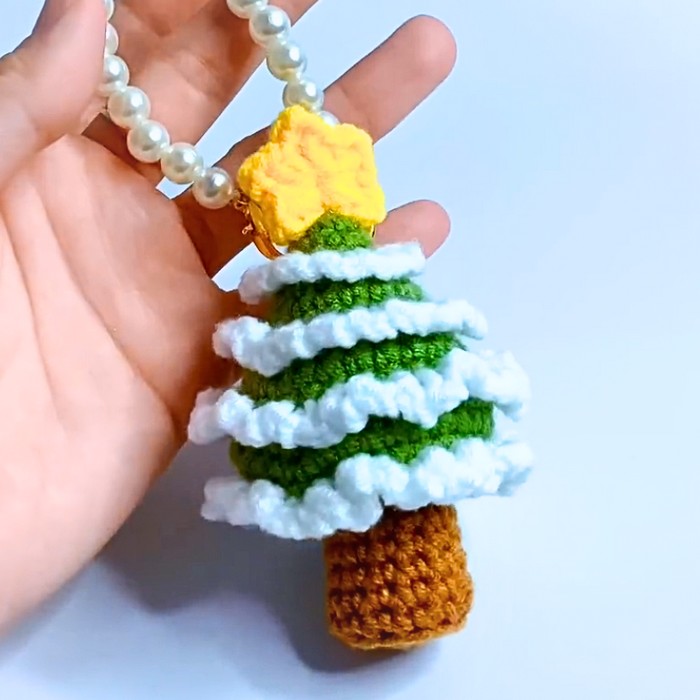
The Crochet Christmas Tree is an ideal home decoration, holiday gift, or centerpiece. Its sturdy design ensures durability, while the intricate crochet detail makes it visually appealing. Lightweight and reusable, it’s a perfect blend of practicality and elegance for seasonal use.
Credit Xuxu Crochet
Crochet Christmas Tree
With clear instructions, this project is achievable for all skill levels, from beginners to experts. The Crochet Christmas Tree can be customized in size, color, and accents, allowing each crafter to bring their unique flair to their creation. It’s easy, fun, and highly creative!
Materials and Preparation
To crochet your adorable Christmas tree keychain, gather the following materials:
- Yarn:
- Dark green milk cotton wool (50g) for the tree.
- White yarn for decorative edges.
- Brown yarn for the base/trunk.
- Yellow yarn for the star topper.
- Hook Size: 2.5mm crochet hook.
- Additional Tools:
- Wool scissors.
- Corel needle (or tapestry needle).
- A small amount of polyester fiberfill for stuffing.
- Glue for attaching the star topper.
- Optional: Keychain ring for finishing touches.
- Yarn Weight: Light/DK (for milk cotton wool).
Abbreviations and Notes
Here are commonly used crochet abbreviations in this pattern:
- MC: Magic Circle.
- SC: Single Crochet.
- V Stitch: Two SCs in the same stitch (increase).
- Blo: Back Loop Only (crochet into the back edge of the stitch).
- Flo: Front Loop Only (crochet into the front edge of the stitch).
- SL ST: Slip Stitch.
- CH: Chain Stitch.
- DEC: Decrease (combining two stitches into one).
Notes:
- You will use Blo stitches in multiple rows to create the tree's layered effect.
- This pattern involves standard increases and decreases to shape the tree and its base.
- Be sure to pull each MC tight for neat and compact finishes.
Gauge, Approximate Size, and Pattern Notes
- Gauge: Not essential for this project, as the tree size is flexible.
- Finished Size: Approximately 8–10 cm tall, depending on individual stitch tension.
- Special Techniques:
- Magic Circle for the tree base and star topper.
- Blo and Flo stitches to create texture and decorative elements.
- Gauge Swatch: Not required.
Step-by-Step Pattern
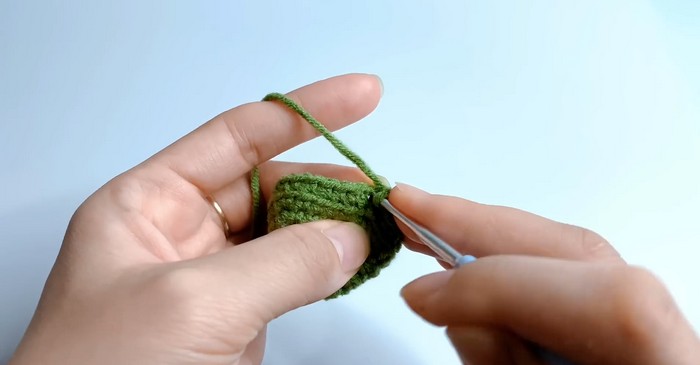
1. Tree Body
Row 1: Begin with dark green yarn. Create a Magic Circle (MC). Crochet 6 SC into the circle. Tighten the loop and join with a SL ST.
Row 2: CH 1. Crochet in the sequence 1 SC into the next stitch and 2 SC (V Stitch) in the same stitch. Repeat until the end of the row (total: 9 stitches). Join with a SL ST.
Row 3: CH 1. Crochet in the sequence 2 SC (1 SC into each stitch) followed by 1 V Stitch. Repeat until the end of the row (total: 12 stitches). Join with a SL ST.
Row 4: CH 1. Work Blo (Back Loop Only) for this row. Crochet in the sequence 3 SC then 1 V Stitch. Repeat until the end of the row (total: 15 stitches). Join with a SL ST.
Rows 5–12: Continue working in established sequences for Blo, increasing the number of SC before each V Stitch by one each row:
- Row 5: 4 SC, 1 V Stitch (total: 18 stitches).
- Row 6: 5 SC, 1 V Stitch (total: 21 stitches).
- Row 7: As Row 4 – Crochet Blo stitches only.
- Row 8: 6 SC, 1 V Stitch (total: 24 stitches).
- Row 9: 7 SC, 1 V Stitch (total: 27 stitches).
- Row 10: Repeat Blo pattern (no additional increases).
- Row 11: 8 SC, 1 V Stitch (total: 30 stitches).
Final Row: Stuff the tree body. Begin decreasing (DEC) in clusters of 1 SC, 1 DEC repeatedly until the top is shaped. Finish with a SL ST and cut yarn.
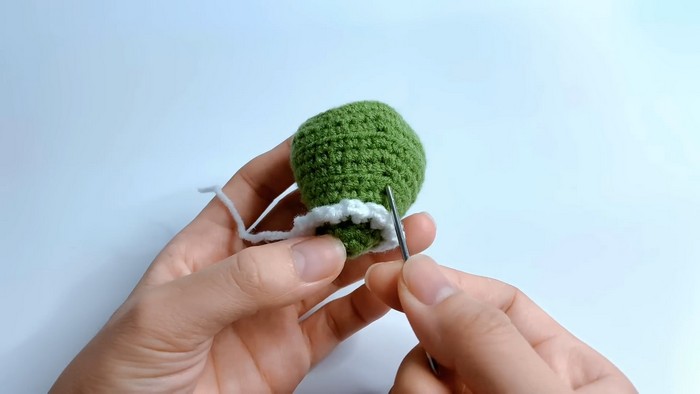
2. Tree Leaves (Decoration)
Use white yarn to crochet decorative bands along previous Flo edges:
Row 1: Insert the hook through any Flo edge. CH 3, then crochet 1 SC into the next stitch. Repeat CH 2, SC along the row to form a textured pattern. Finish with a SL ST and cut yarn.
Repeat this pattern for 4 rows spaced evenly along the tree height.
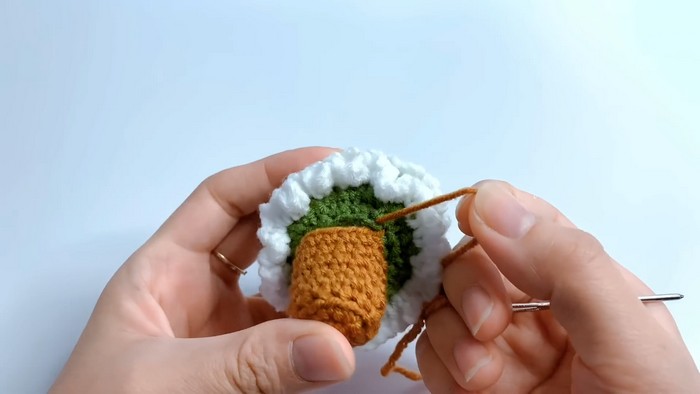
3. Tree Base (Trunk)
Use brown yarn to begin the base:
Row 1: Create an MC and crochet 6 SC into the circle. Tighten and join with a SL ST.
Row 2: CH 1. Crochet 1 SC into each stitch and 1 V Stitch (increase) every stitch (total: 12 stitches).
Row 3: Work in Blo only. Crochet 1 SC into each stitch around the circle (maintain stitch count).
Rows 4–8: Crochet 1 SC into each stitch of the row without increases (total: 12 stitches per row).
Stuff lightly with fiberfill and seam the base to the tree’s bottom using a Corel needle.
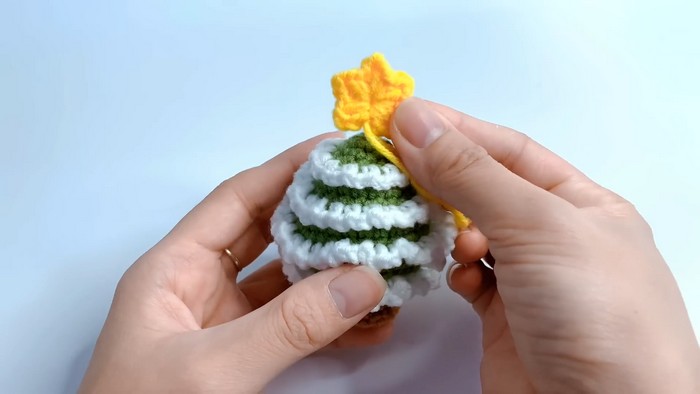
4. Star Topper
Use yellow yarn to make a 5-pointed star:
Row 1: Create a Magic Circle. CH 1. For each point of the star: Crochet 1 SC, 1 HDC, CH 2, 1 HDC into the center. Repeat 5 times.
Row 2: Join with a SL ST and tighten the circle. Cut yarn and glue the star to the top of the tree.
Final Touches
Attach the keychain ring to the top of the tree using glue or a needle and thread. You now have a gorgeous Christmas tree keychain – perfect for gifting or decorating!
Pattern Question
Question: What kind of yarn should I use for this pattern?
Answer: A medium-weight yarn works best for the Crochet Christmas Tree as it balances structure, durability, and ease of use. You can also choose festive colors or textured yarns for added charm.
Conclusion
The Crochet Christmas Tree is a cheerful and rewarding craft that combines beauty with functionality. Perfect for the holidays, it’s a wonderful way to add a personal touch to your decor and enjoy the creative process. Try it and make your festive season extra special!


