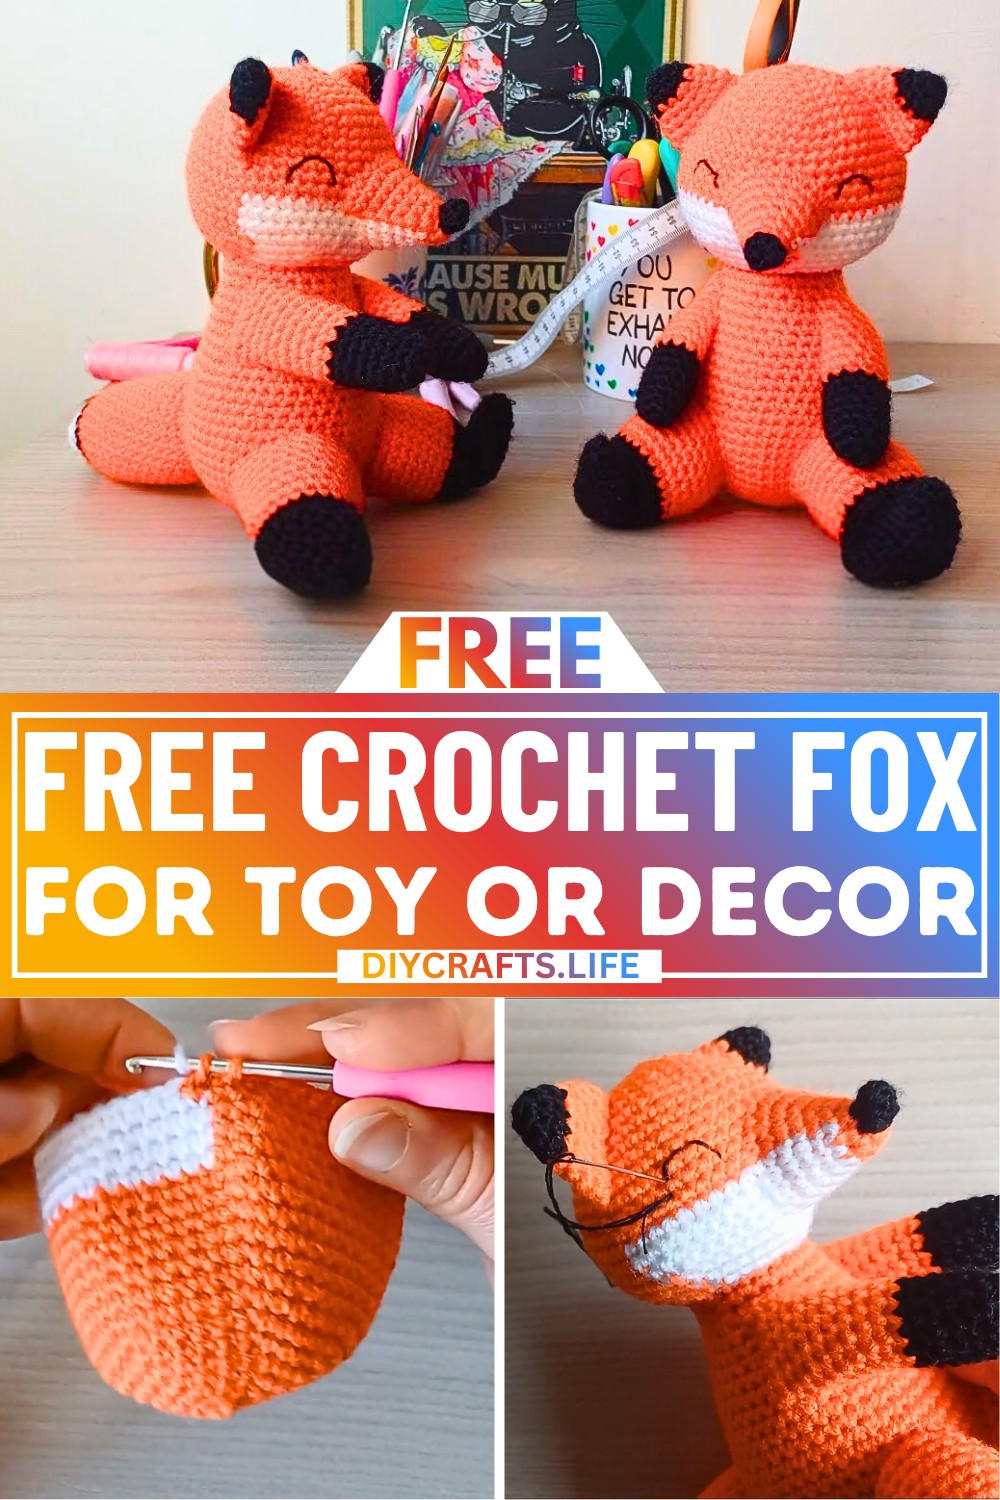
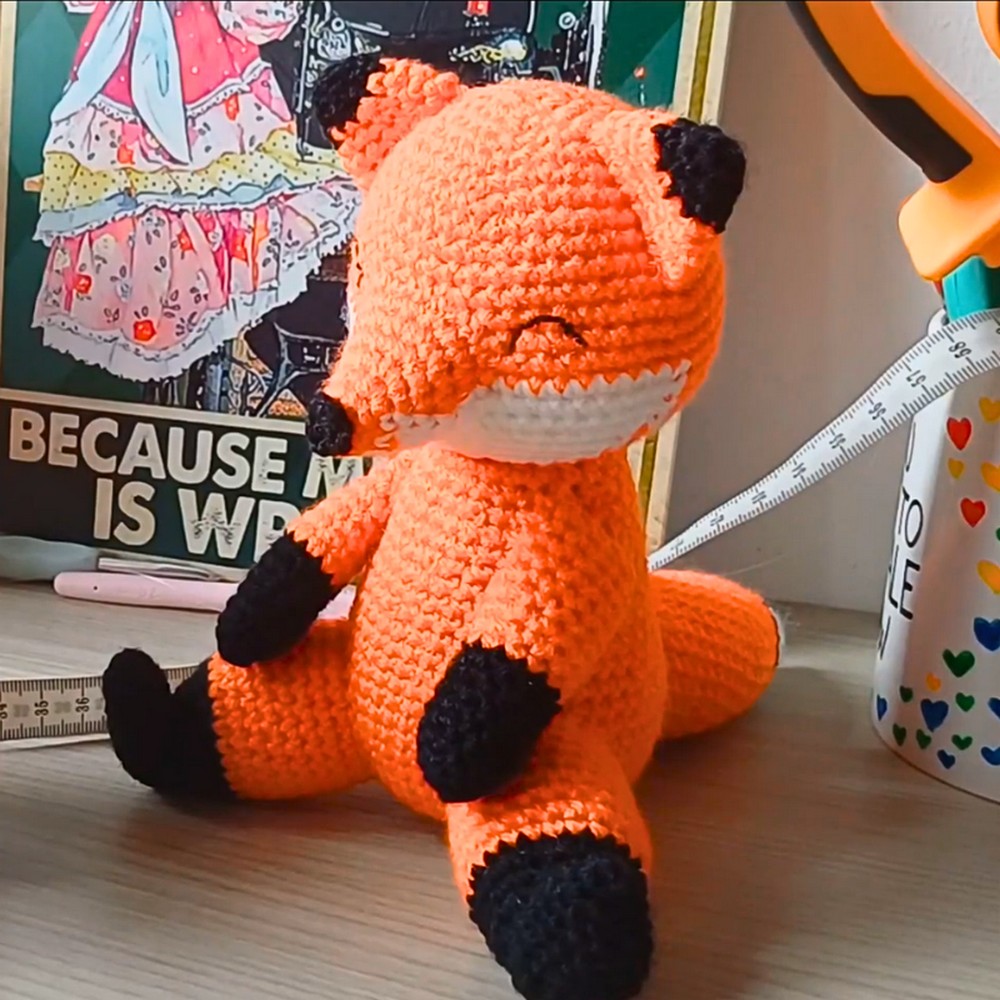
A crochet fox is a delightful and cozy creation, perfect for adding charm to any space or gifting to someone special. Whether it's used as a playful companion for kids, a decorative piece for your room, or even a thoughtful handmade item for friends, this fox is both adorable and versatile.
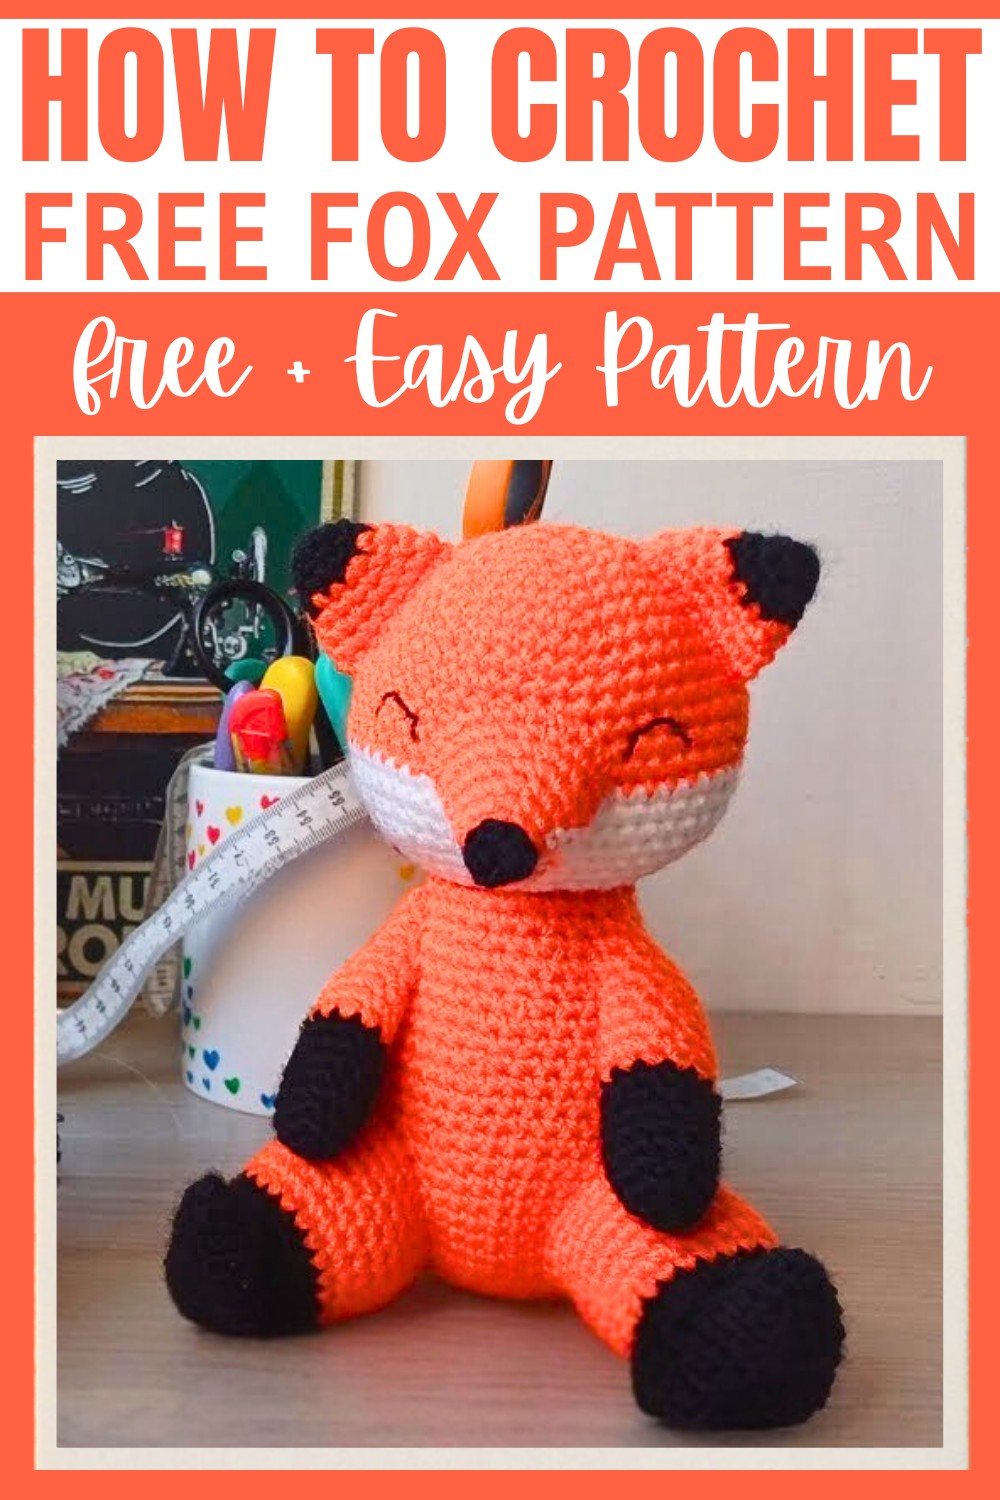
Creating this fox is simple and fun! With just a few basic crochet skills, you can bring this cute critter to life. It's a wonderful way to express your creativity and enjoy the satisfaction of crafting something beautiful. The simplicity of its design means even beginners can make it, while advanced crocheters can add their own playful touches to enhance its personality. Bring this fox to life and watch it become a favorite for kids or a heartwarming piece of decor.
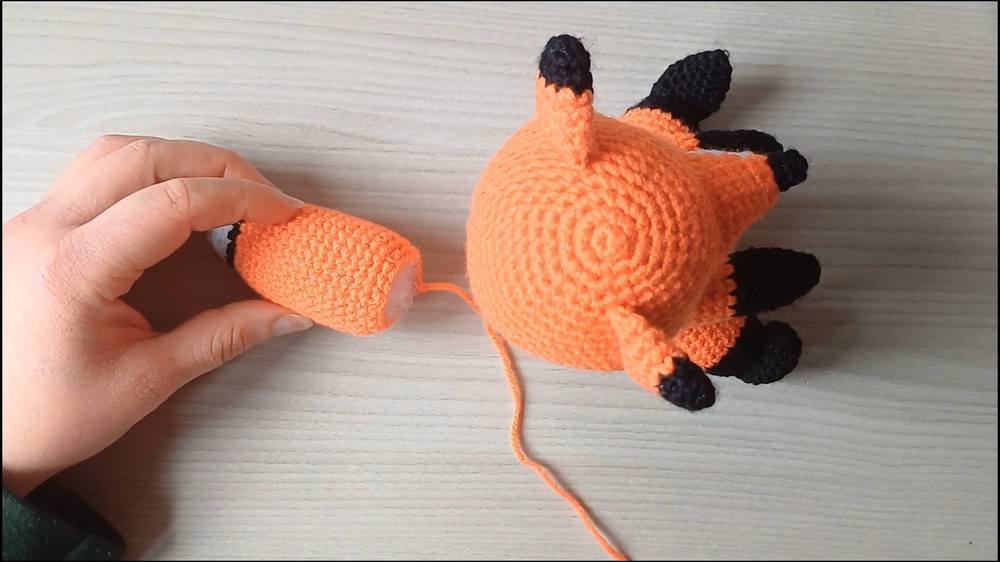
Credit Ambros Crochet
Materials & Tools Needed
To crochet the fox, you will need the following materials and tools:
- Yarn: Orange, black, and white. (Feel free to customize the colors as desired).
- Crochet hook: A size 3mm hook or one that matches your yarn thickness.
- Toy stuffing: For the head, body, limbs, and tail.
- Scissors
- Tapestry needle: For sewing pieces together.
- Pins: Optional, to keep parts aligned during sewing.
- Optional: Safety eyes or needle and thread (if you prefer to embroider the eyes).
Pattern Abbreviations & Terminology
- SC: Single Crochet
- INC: Increase (2 SC in the same stitch)
- DEC: Decrease (single crochet decrease)
- MR: Magic Ring
- Color Change: Switching yarn colors as described.
- Sl St: Slip Stitch
Stitch Terminology: Pattern uses standard US crochet terms.
Step-by-Step Detailed Crochet Instructions
The instructions are provided for each component of the fox. Use the stitch counts given for accurate results. Each section is labeled.
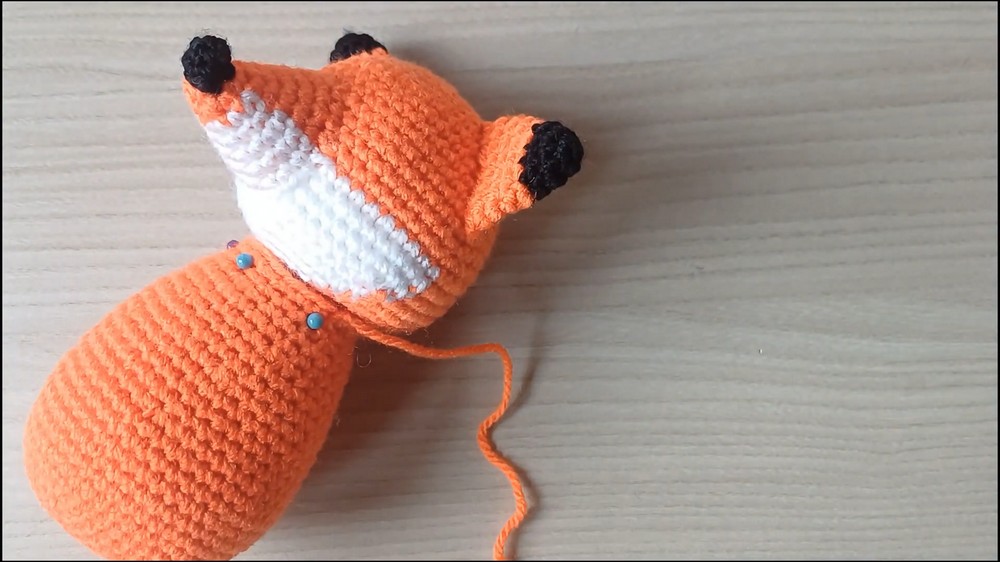
1. Fox’s Head
- Round 1: Using orange yarn, make a Magic Ring (MR) and crochet 6 SC into the ring. (6 stitches).
- Round 2: INC in each stitch (6 INC). Total = 12 SC.
- Round 3: [1 SC, INC] repeat 6 times. Total = 18 SC.
- Round 4: [2 SC, INC] repeat 6 times. Total = 24 SC.
- Round 5: [3 SC, INC] repeat 6 times. Total = 30 SC.
- Round 6: [4 SC, INC] repeat 6 times. Total = 36 SC.
- Round 7: [5 SC, INC] repeat 6 times. Total = 42 SC.
- Round 8: SC in each stitch. Total = 42 SC.
- Round 9: [20 SC, INC] repeat 2 times. Total = 44 SC.
- Round 10: [21 SC, INC] repeat 2 times. Total = 46 SC.
- Round 11: [22 SC, INC] repeat 2 times. Total = 48 SC.
- Round 12: [23 SC, INC] repeat 2 times. Total = 50 SC.
- Rounds 13-14: SC in each stitch (No increases). Total = 50 SC.
Adding Color Change:
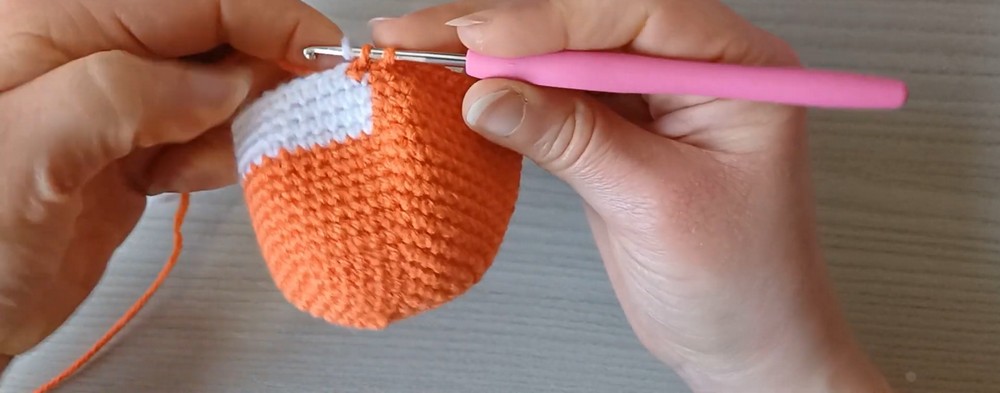
- For Rounds 15-17, SC the first 25 stitches in white yarn and the rest in orange yarn. Use the tapestry method for color changes, carrying the unused yarn along. Total = 50 SC per round.
Start Decreasing:
- Round 18: In Orange: DEC, then switch to white for 21 SC, change back to orange, DEC again, and complete the round with 25 SC in orange. Total = 48 SC.
- Round 19: Begin in orange SC, switch to white: SC 5 and DEC, SC 6, DEC, SC 6. In orange complete by repeating 6 SC and DEC three times. Total = 42 SC.
- Round 20: Continue alternating between orange and white sections. Use decreases as instructed. Total = 36 SC.
- Round 21 - 25: Progressively reduce stitch counts with decreases ([SC, DEC] or [x SC, DEC]) as follows:
- Round 21: 30 SC
- Round 23: 18 SC
- Round 25: 6 SC
- Finishing: Slip stitch, cut the yarn, and leave a tail for sewing. Stuff the head before closing your final round.
2. Ears
- Using black yarn:
- Round 1: Make an MR and 6 SC. (6 SC)
- Round 2: [SC, INC] x3. (9 SC)
- Round 3: SC in each stitch. (9 SC)
- Switch to orange yarn:
- Round 4: [2 SC, INC] x3. Total = 12 SC.
- Round 5: SC in each stitch.
- Round 6: [3 SC, INC] x3. Total = 15 SC.
- Round 7: SC in each stitch.
- Fold ears and sew them to the fox’s head, about 2.5-3 rows into the orange fur above the white outline. Align ears symmetrically.
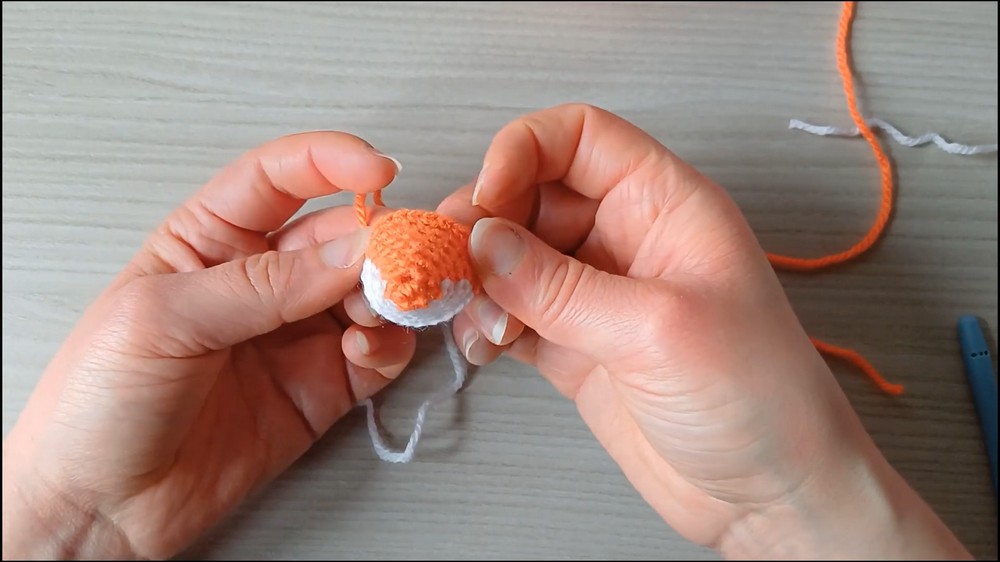
3. Muzzle
- Start with orange yarn:
- Round 1: MR, 6 SC.
- Round 2: [SC, INC] x3. Total = 9 SC.
- Use white yarn: Carry extra yarn through as you complete the pattern. Change between orange and white as noted while increasing slightly around the base until finished.
- Before finishing, attach black nose (MR, 4 SC, then up to 6 SC). Sew the nose on the center point of the muzzle (magic ring area).

4. Body
- Begin with orange yarn:
- Rounds 1-8: Progressively increase SC counts per round: Start with 6 SC (MR), ending with 48 SC (6 SC/INC x6).
- Rounds 9-14: SC evenly in each round.
- Round 15 onward: Follow a gradual decrease pattern to form the neck/base shape.
- Stuff the body before finishing, leaving enough of a tail to sew it to the base of the head.
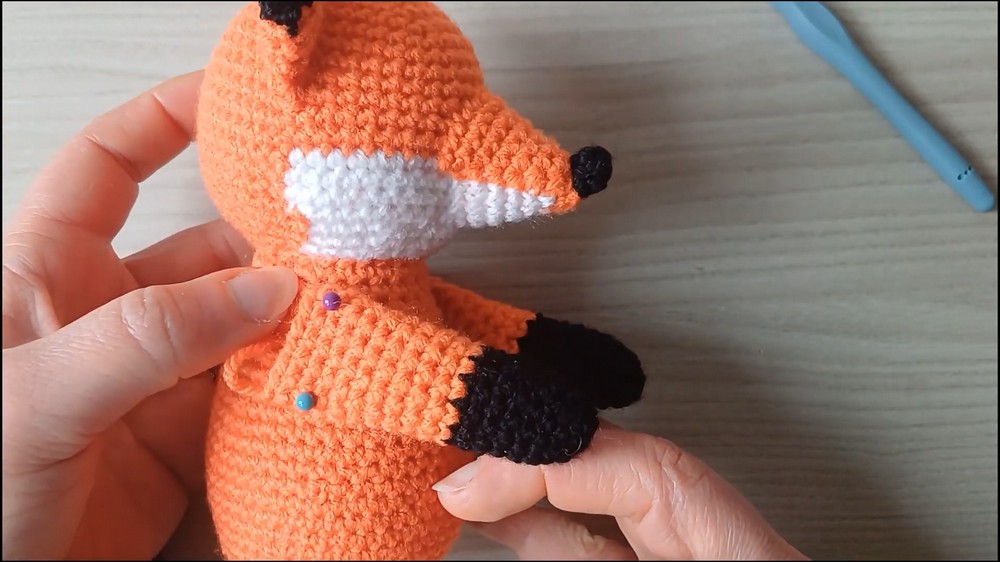
5. Arms
- Use black yarn:
- Rounds 1-3: Work up to 12 SC.
- Rounds 4-8: SC evenly in each round.
- Switch to orange yarn:
- Rounds 9-18: SC evenly in each round.
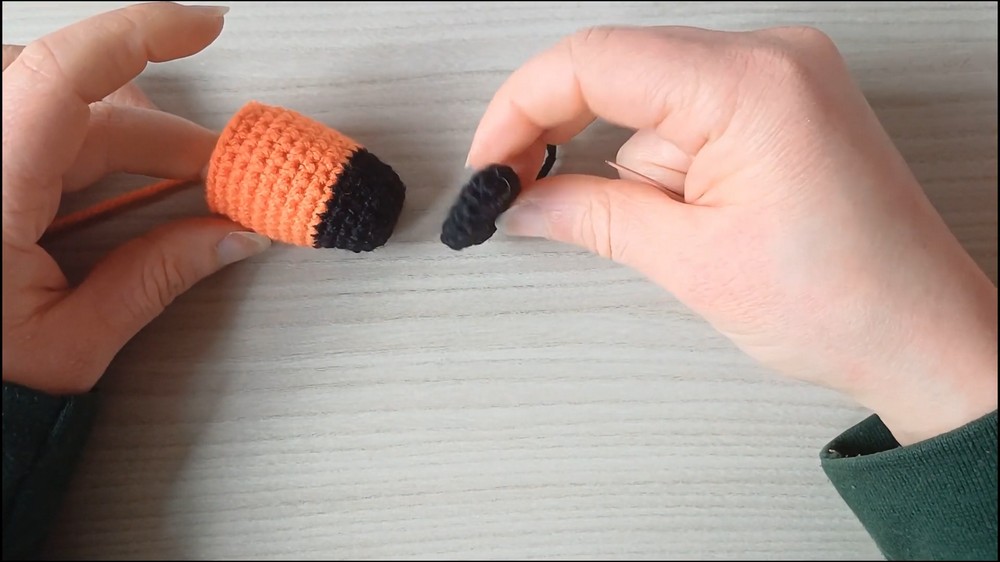
6. Legs
- Begin with black yarn:
- Work SC and some INC to shape a circular base with slight curvature for bottom feet.
- Switch to orange yarn: Work evenly, following the curved leg pattern.
7. Tail
- Start with white yarn: Progressively increase SC (MR base), forming 12 SC before switching to black and then orange yarn.
- Rounds 7-22: Continue with orange, shaping the fox’s fluffy tail. Stuff lightly before sewing onto the body.
8. Assembly
- Order of Assembly: Attach head to body > Sew on arms > Attach legs > Secure tail in place.
- Ensure symmetry when sewing limbs (use pins to position if needed). For visual alignment, use distinctive color transitions (white/orange borders as guides).