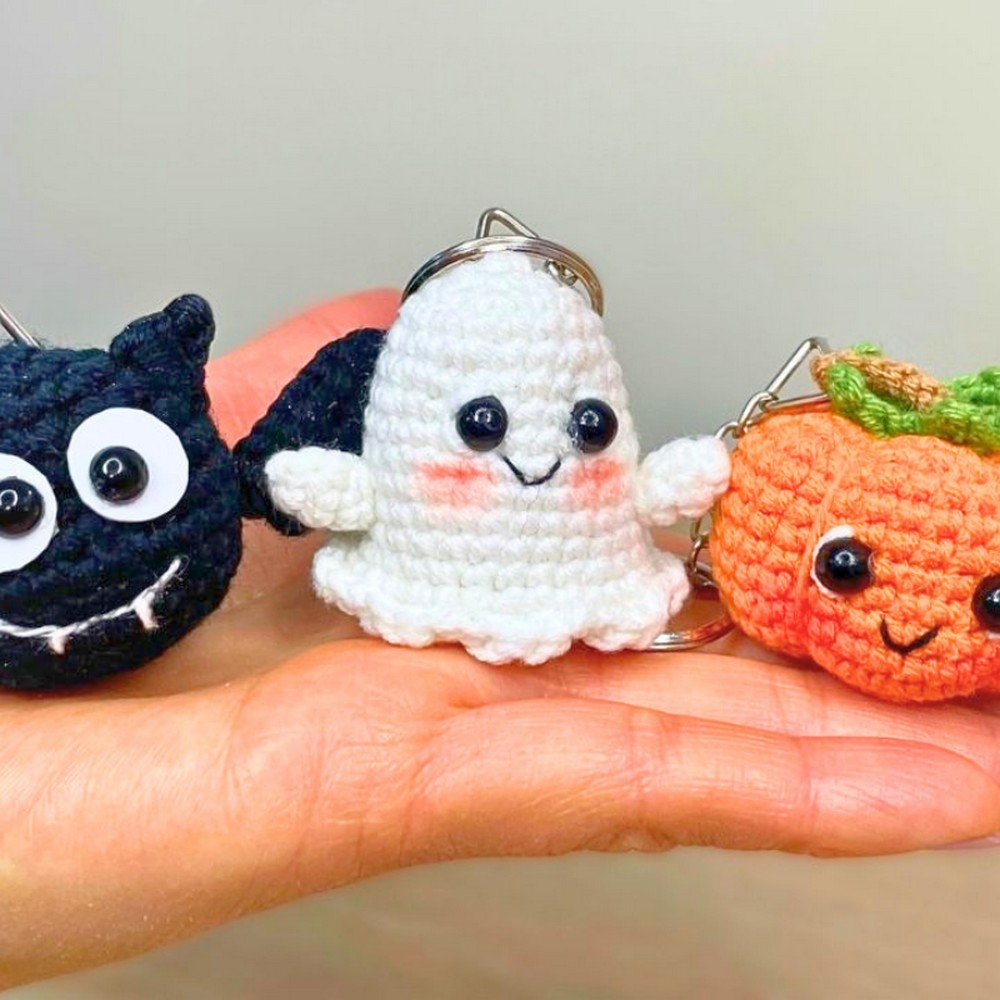
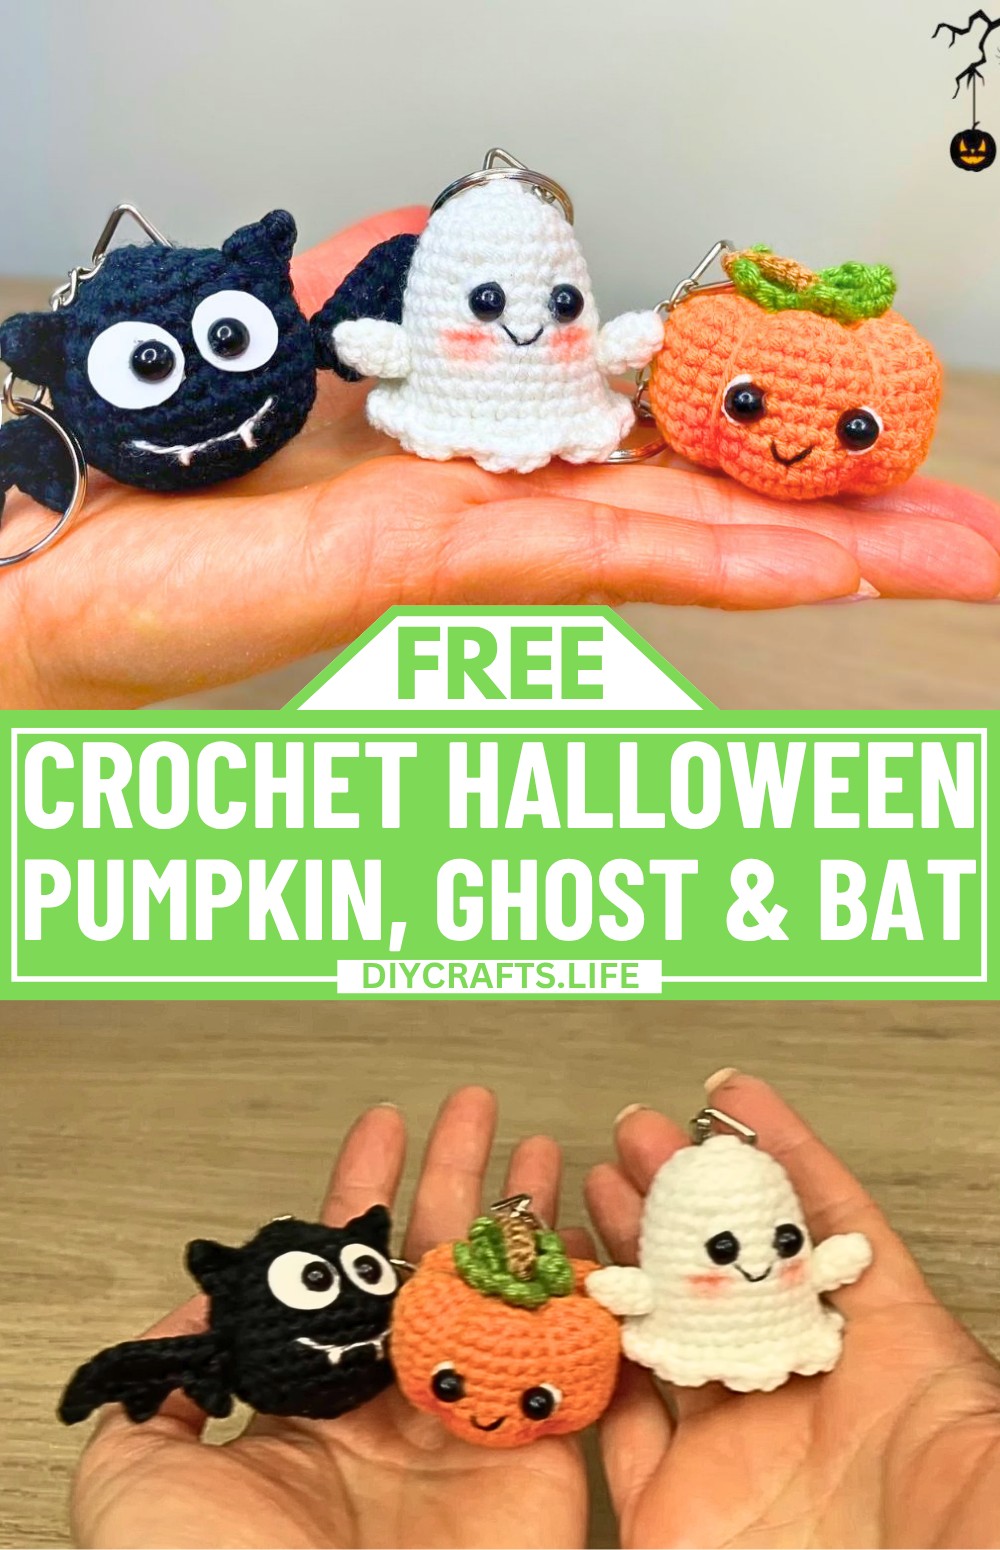
These crochet Halloween keychains are the perfect way to add a festive touch to your keys or backpacks. Featuring a smiling pumpkin, an adorable ghost, and a friendly little bat, they’re full of character and fun. This trio isn’t just for decoration; they make great gifts or seasonal accessories. Their small size and cheerful design make them a mood booster wherever you go.
Easy Halloween Crochet Keychains
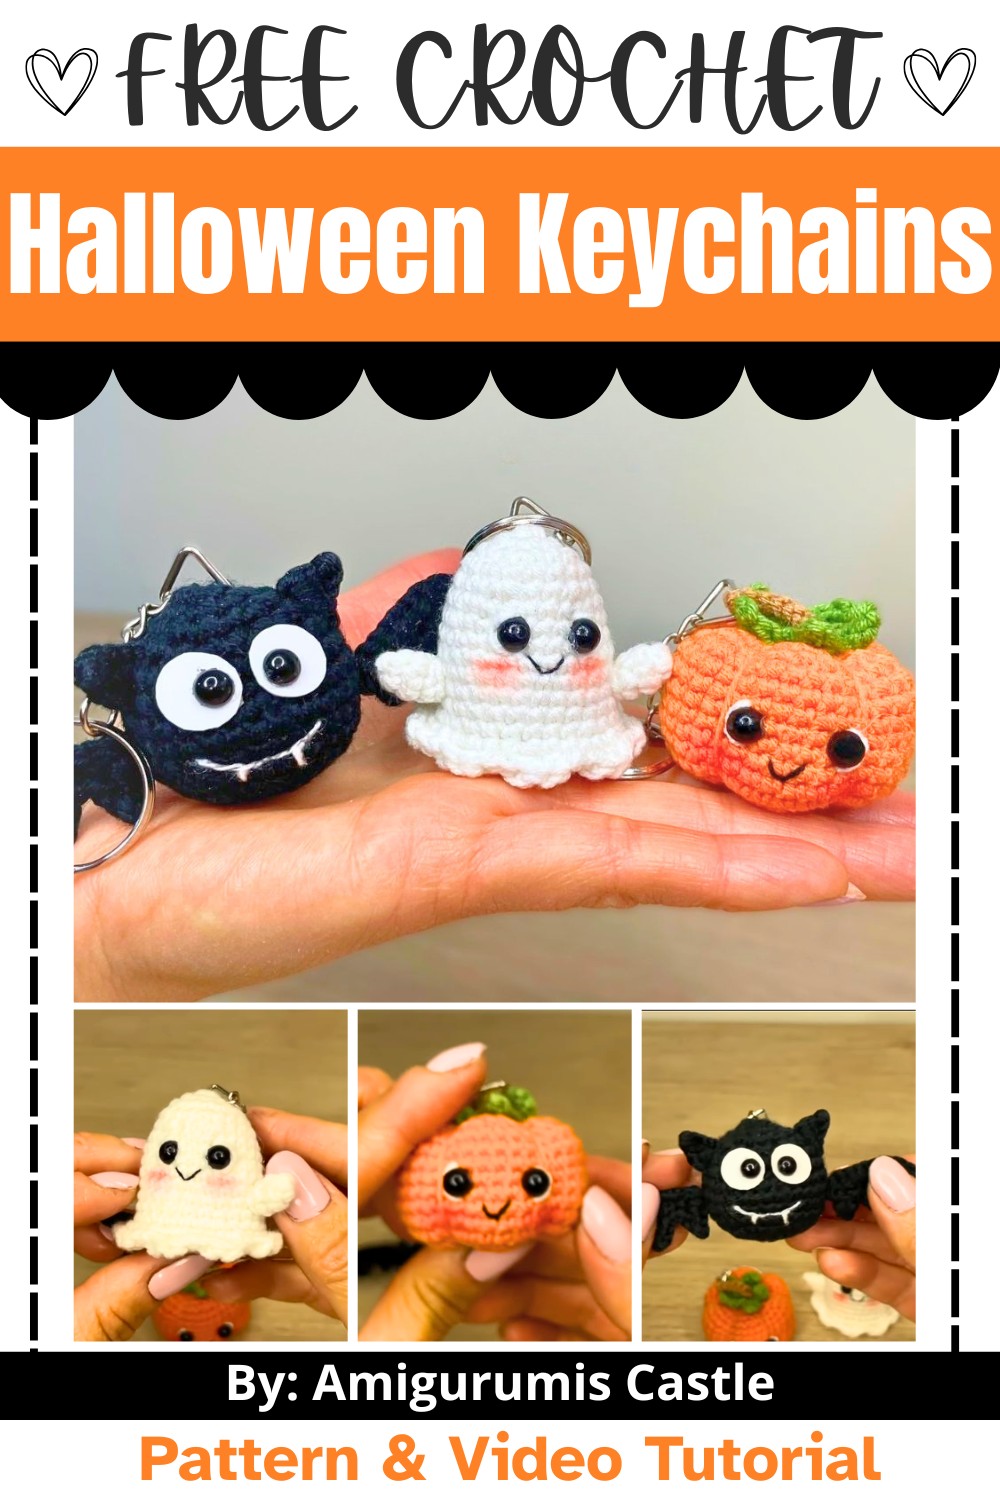
These Halloween pieces are simple to crochet and great for beginners or anyone looking to make something quick and festive. The tutorial walks you through creating each character step by step. Using vibrant yarn colors, orange, black, and white, and a few playful details like tiny eyes, you’ll love watching your creations come to life. Whether you’re making them for yourself or gifting them as spooky surprises, they’re sure to bring Halloween joy with every stitch.
Credit Amigurumis Castle
Materials and Tools Needed
- Yarn:
- White yarn (for ghost)
- Black yarn (for bat)
- Orange yarn (for pumpkin body)
- Green yarn (for pumpkin leaves)
- Brown yarn (for pumpkin stem)
- Additional Supplies:
- Polyester stuffing (to fill each figure)
- Keychain rings (or findings for keychains)
- 5mm safety eyes (three pairs for all characters)
- Blush (for cheeks)
- White embroidery thread (for fangs and eye highlights)
- Black embroidery thread (for mouths and smiles)
- Light gray embroidery thread (for bat's smile)
- Tools:
- Crochet hook (1.75 mm recommended)
- Yarn needle
- Hot glue gun (optional, for assembling and attaching pieces)
- Stitch markers (to track rounds)
- Plastic (cut-outs for eyes if safety eyes aren't available, e.g., from a margarine tub)
Finished Size
- Approximate size of each keychain is 4-6 cm tall, depending on yarn thickness and tension.
Customization Ideas
- For the pumpkin, experiment with different shades of orange or add facial details for a jack-o'-lantern look.
- For the ghost, add accessories like a tiny crochet bow or a heart.
- The bat can be made in other spooky colors, such as purple or dark blue, for variety.
Pattern Abbreviations & Terminology
This pattern uses US Terminology:
- MR: Magic Ring
- sc: Single Crochet
- sl st: Slip Stitch
- inc: Increase (2 sc in the same stitch)
- dec: Decrease (crochet 2 sc together)
- hdc: Half Double Crochet
- dc: Double Crochet
- BLO: Back Loop Only
Step-by-Step Crochet Instructions
1. Ghost Body
- Round 1: With white yarn, start with a magic ring (MR) and make 6 sc into the ring. (6)
- Round 2: Inc in each st around. (12)
- Round 3: [1 sc, inc] x 6. (18)
- Round 4: Sc in each st around. (18)
- Round 5: [2 sc, inc] x 6. (24)
- Round 6: Sc in each st around. (24)
- Round 7: [7 sc, inc] x 3. (27)
- Rounds 8-12: Sc in each st around. (27)Start lightly stuffing the ghost here and continue filling as you work.
- Round 13: [8 sc, inc] x 3. (30)
- Round 14: BLO: Sc in each st around. (30)
- Round 15: [3 sc, dec] x 6. (24)
- Round 16: [2 sc, dec] x 6. (18)
- Round 17: [1 sc, dec] x 6. (12)
- Round 18: Dec x 6. (6)
Cut the yarn, leaving 10cm to sew the hole closed. Pull the thread through the remaining loops and secure.

Ghost Bottom Ruffles
- Reattach yarn to the BLO stitches from Round 14.
- Round 1: [4 sc, inc] x 6. (36)
- Slip stitch into the next st. Place a stitch marker. Pattern:
- 1 sl st, 2 dc, 1 sl st into each stitch around to create “waves.”
Cut yarn and secure.
Ghost Arms (x2)
- Round 1: MR, 6 sc into the ring. (6)
- Rounds 2-3: Sc in each st around. (6)Fasten off, leaving a tail to sew the arms to the body.

Assembly for Ghost
- Attach 5mm safety eyes between Rounds 7 and 8, leaving 2 stitches between them. Use white embroidery thread to add highlights to the eyes.
- Thread black embroidery thread to stitch a small smile, starting below the eyes.
- Attach arms at the side of the body, below the eyes.
2. Pumpkin
- Round 1: With orange yarn, MR, 6 sc into the ring. (6)
- Round 2: Inc in each st around. (12)
- Round 3: [1 sc, inc] x 6. (18)
- Round 4: [2 sc, inc] x 6. (24)
- Round 5: [3 sc, inc] x 6. (30)
- Round 6: [4 sc, inc] x 6. (36)
- Rounds 7-13: Sc in each st around. (36)Stuff the pumpkin as you progress.
- Round 14: [4 sc, dec] x 6. (30)
- Round 15: [3 sc, dec] x 6. (24)
- Round 16: [2 sc, dec] x 6. (18)
- Round 17: [1 sc, dec] x 6. (12)
- Round 18: Dec x 6. (6)
Cut yarn, leaving a long tail (~30cm). Weave this yarn through each stitch of the 6 remaining loops to close the circle. Use the same yarn to create pumpkin ridges (divide into 6 sections by pulling the yarn tightly through the center).

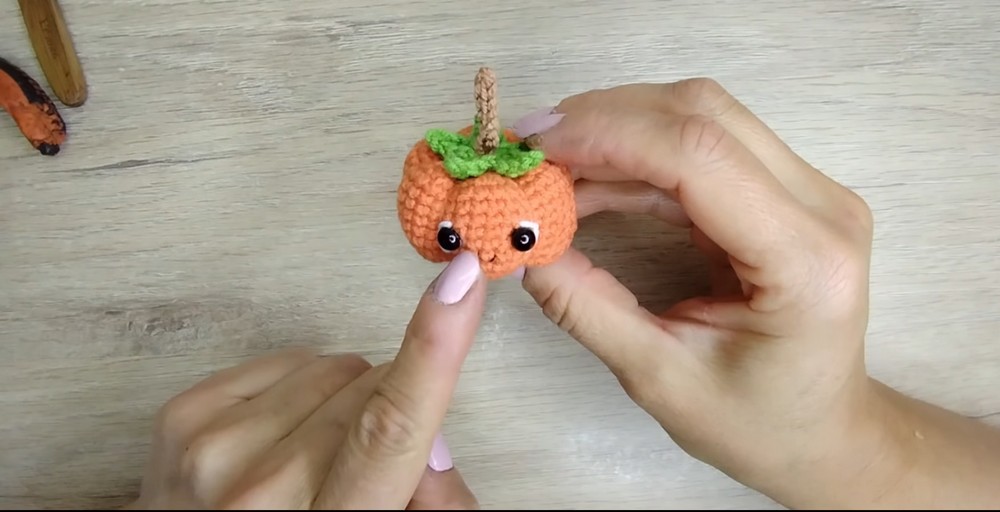
Pumpkin Leaves & Stem
- Leaves: Using green yarn, MR, 5 sc. Into each stitch: ch 3, sl st, sc, hdc. Move on to the next st and repeat for all 5 stitches.
- Stem: Using brown yarn, ch 6. Sc into the 2nd chain from the hook and each remaining stitch. (5 sc)Attach leaves and stem to the top of the pumpkin.
Pumpkin Face
- Add safety eyes with 3 stitches' space between them.
- Add a black mouth thread beneath the eyes. Add blush to cheeks.
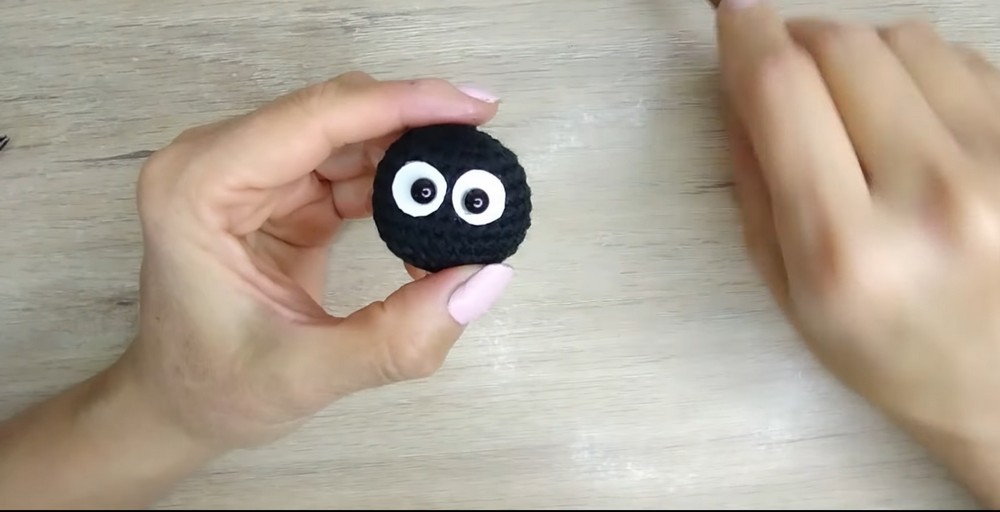
3. Bat
- Round 1: With black yarn, MR, 6 sc into the ring. (6)
- Round 2: Inc in each st around. (12)
- Round 3: [1 sc, inc] x 6. (18)
- Round 4: [2 sc, inc] x 6. (24)
- Round 5: [3 sc, inc] x 6. (30)
- Rounds 6-10: Sc in each st around. (30)Start stuffing as you work.
- Round 11: [3 sc, dec] x 6. (24)
- Round 12: [2 sc, dec] x 6. (18)
- Round 13: [1 sc, dec] x 6. (12)
- Round 14: Dec x 6. (6)
Cut the yarn and close it tightly.
Bat Wings (x2)
- Ch 7. Starting from the 2nd ch from the hook, work: 3 sc, 3 hdc.
- Make an increase in the final stitch to curve the wing. Ch 3, [sl st, hdc] into the first two ch stitches, sl st into the curved corner.
- Ch 3 again, repeat the pattern from the previous step.
Bat Ears (x2)
- Ch 4. Starting in the 2nd ch from hook: sl st, sc, hdc.
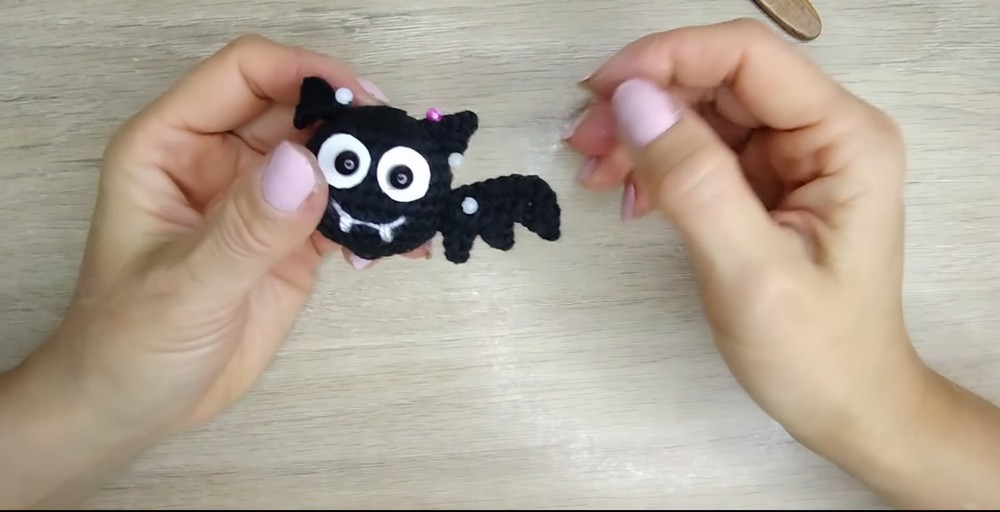
Assembly for Bat
- Attach ears symmetrically to the top of the head.
- Attach wings to the side of the body, aligned with the ears.
- Add safety eyes and thread a smile with fangs.
This completes the Ghost, Pumpkin, and Bat Keychains.
Video Tutorial