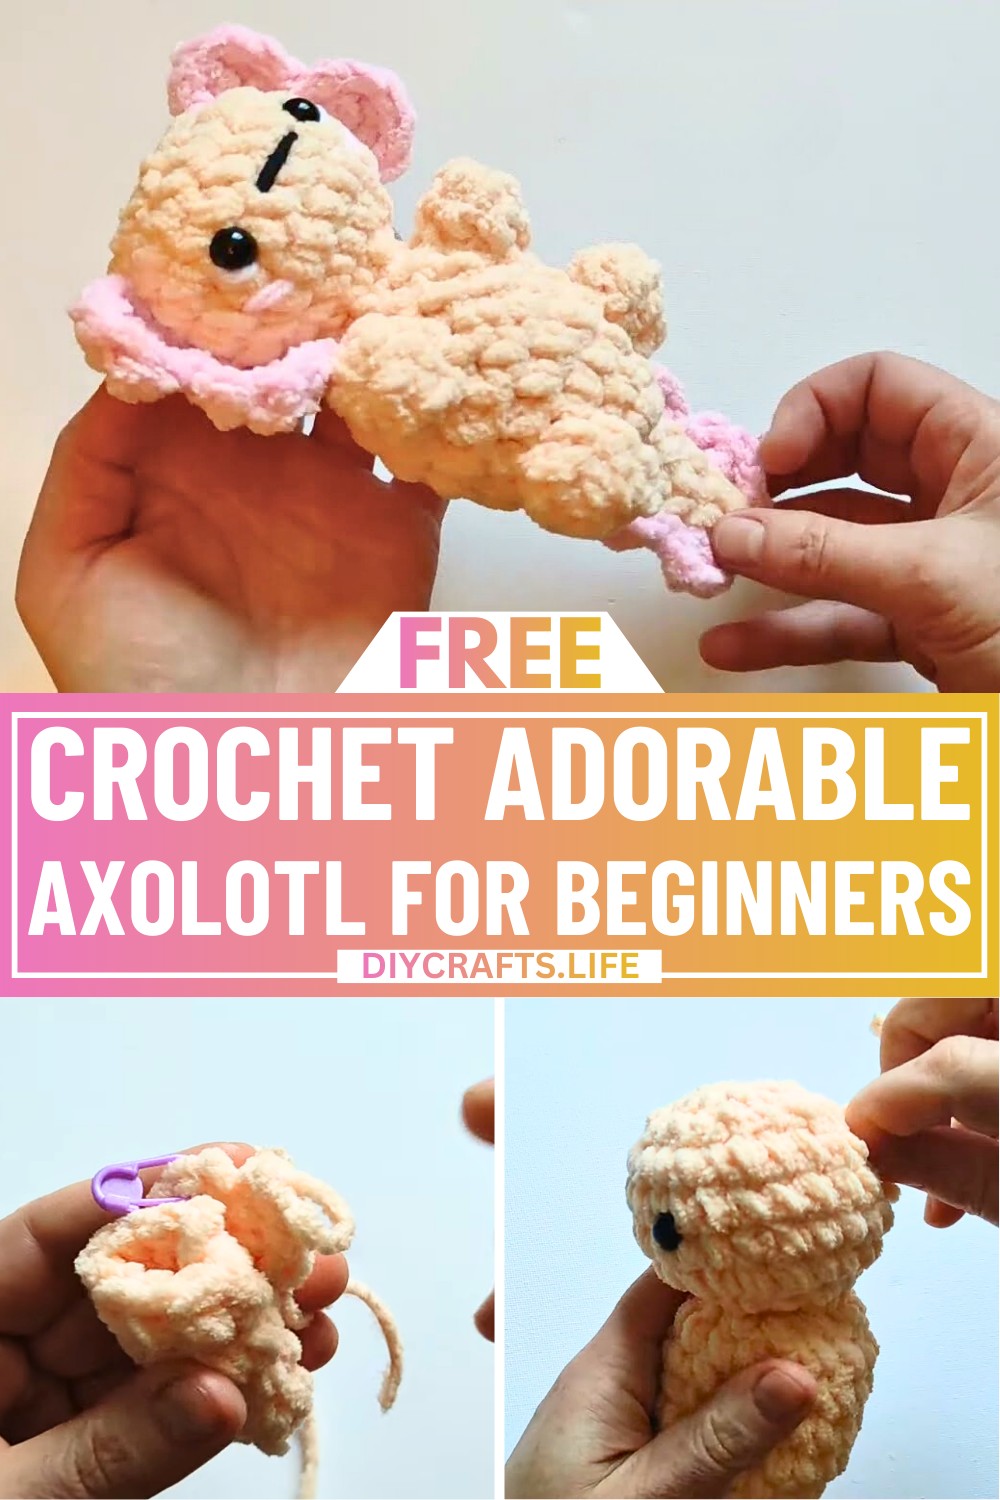
Crocheting an axolotl is a fun and easy way to create a unique toy or decoration. Axolotls are small, cute amphibians with distinctive gills that make them stand out—it’s hard not to adore their charm! This crochet pattern lets you bring that cuteness to life with colorful yarn and simple crochet techniques. Whether you’re adding it as a cheerful decoration to your room or gifting it as a soft and huggable toy, this axolotl is sure to brighten anyone’s day.
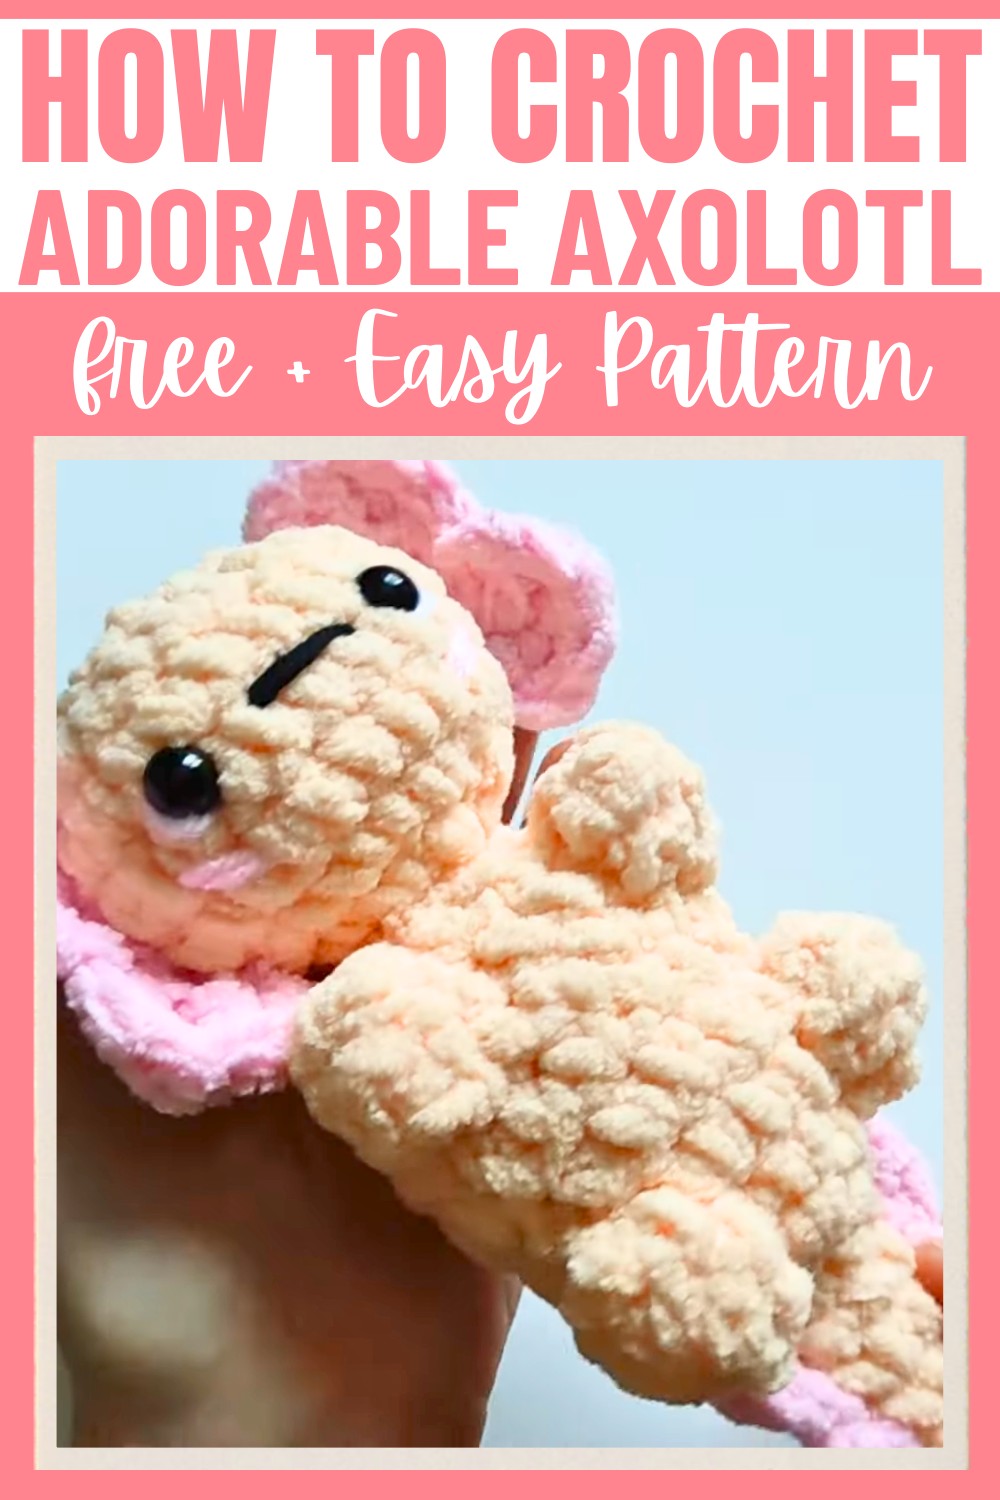
To make your axolotl, you’ll use basic crochet techniques to shape its tail, body, head, and pastel frilly gills. You’ll also stitch on tiny arms and legs and add expressive details like safety eyes or embroidery. Feel free to pick your favorite yarn colors to make it truly your own. The pattern doesn’t require advanced skills, so beginners can enjoy making it while gradually improving their skills. With a little stuffing and attention to detail, your axolotl will come to life with personality and charm.
Credit Hobbi CROCHET
Materials & Tools Needed
- Yarns:
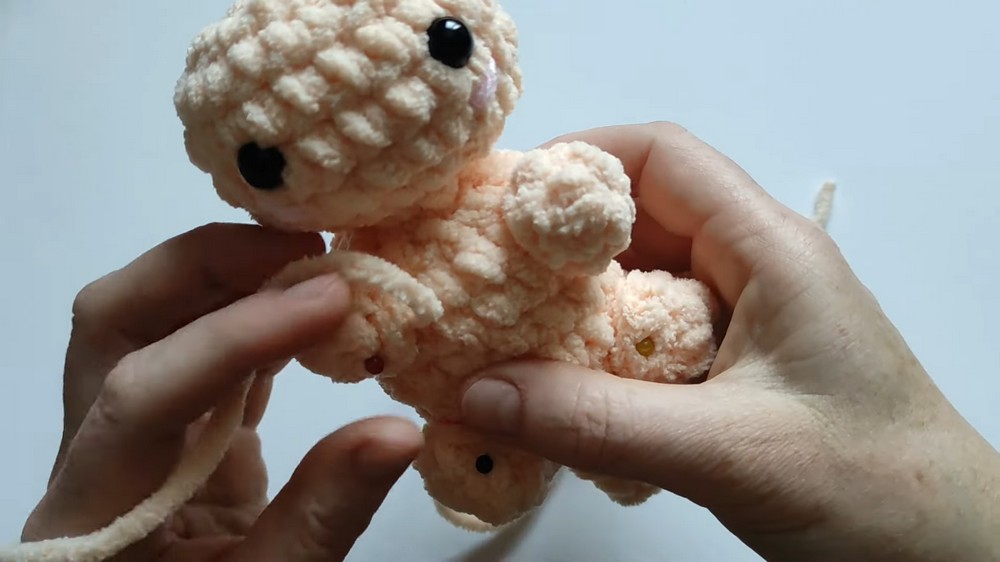
- Peach yarn for the body and tail.
- Pink yarn for decoration (e.g., gills and blush).
- Optional: White and black yarn for facial details.
- Crochet Hooks:
- 5 mm hook
- 12 mm hook can be helpful for tighter stitches.
- Notions:
- Stitch markers
- Safety eyes (or you can embroider eyes for safety if this is intended for children).
- Polyfill stuffing
- Yarn needle for sewing pieces and weaving in ends.
Finished Size & Customization Ideas
- Approximate Finished Size: Depends on yarn and hook size; typically, a small amiugurumi size.
- Customization Ideas:
- Adjust size with different yarn weights and hook sizes for smaller or larger axolotls.
- Change yarn colors for different styles or themes.
- Add decorative elements, like embroidered facial expressions or color variations.
Pattern Abbreviations & Terminology
- ch: Chain
- sc: Single crochet
- sl st: Slip stitch
- inc: Increase (two single crochets in the same stitch)
- dec: Invisible decrease
- Yarn over (yo): Common step in stitches.
Step-by-Step Detailed Crochet Instructions
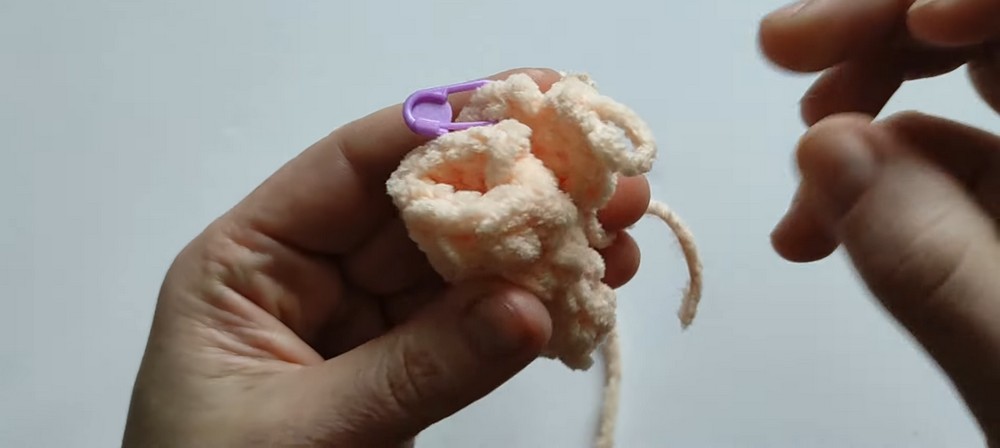
- Tail:
- Begin with a magic loop: Chain 1 to secure.
- Round 1: 4 sc into the magic loop.
- Round 2: (1 sc, inc) around. [6 sts]
- Round 3: (2 sc, inc) around. [8 sts]
- Rounds 4-5: 1 sc in each st around.
- Finish with slip st, end off. Leave yarn for sewing.
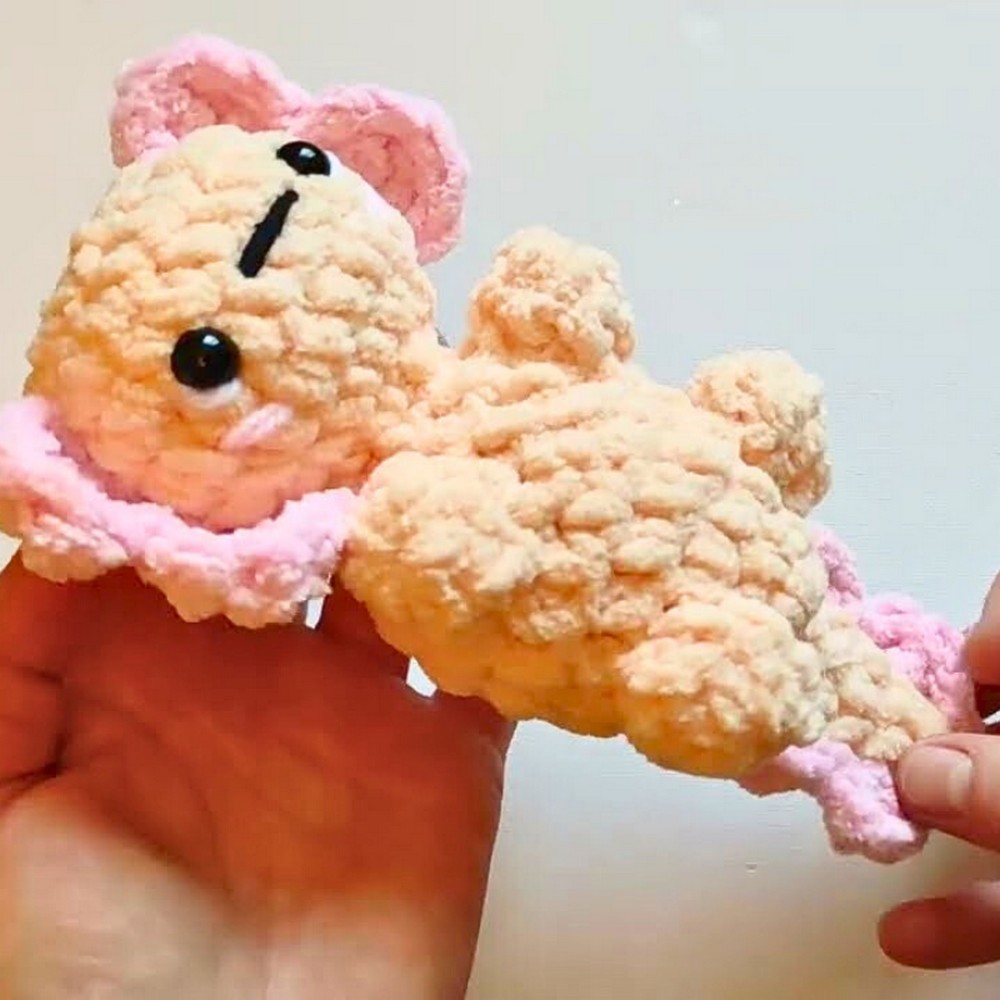
- Body:
- Start with a magic loop, 8 sc into loop.
- Attach tail, aligning body and tail rights sides together.
- Round 1: Attach with sl st, crochet around both pieces (4 sc across tail, continue around). [12 sts]
- Rounds 2-5: 1 sc in each st around.
- Stuff as you go.

- Head:
- Begin at neck with 8 inc around. [16 sts]
- Next round: (1 sc, inc) around. [24 sts]
- Rounds 3-6: 1 sc in each st around.
- Round 7: (1 sc, dec) around. [16 sts]
- Round 8: Dec around, insert safety eyes, and stuff the head.
- Finish: Close top with yarn needle technique.
- Arms and Legs:
- Arms: 6 sc in magic loop, 1 round of sc around. Sl st, cut yarn, and leave for sewing.
- Legs: 8 sc in magic loop, 1 round of sc around. Sl st, cut yarn, and leave for sewing.
- Attach limbs symmetrically to the body using long tails.
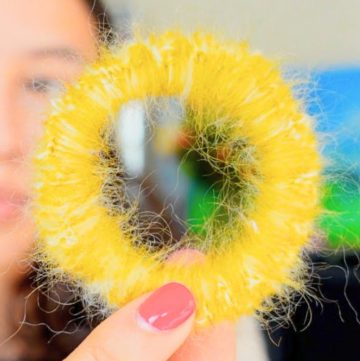
- Decorative Gills:
- Create chains and crochet decorative frills using the pink yarn.
- Attach to head using a yarn needle.
- Finishing Touches:
- Add blush and other facial details using embroidery or additional yarn.
- Secure all ends and ensure safety eyes are properly fastened.
Ensure all pieces are securely attached, and remember to personalize your axolotl with color choices and small touches.