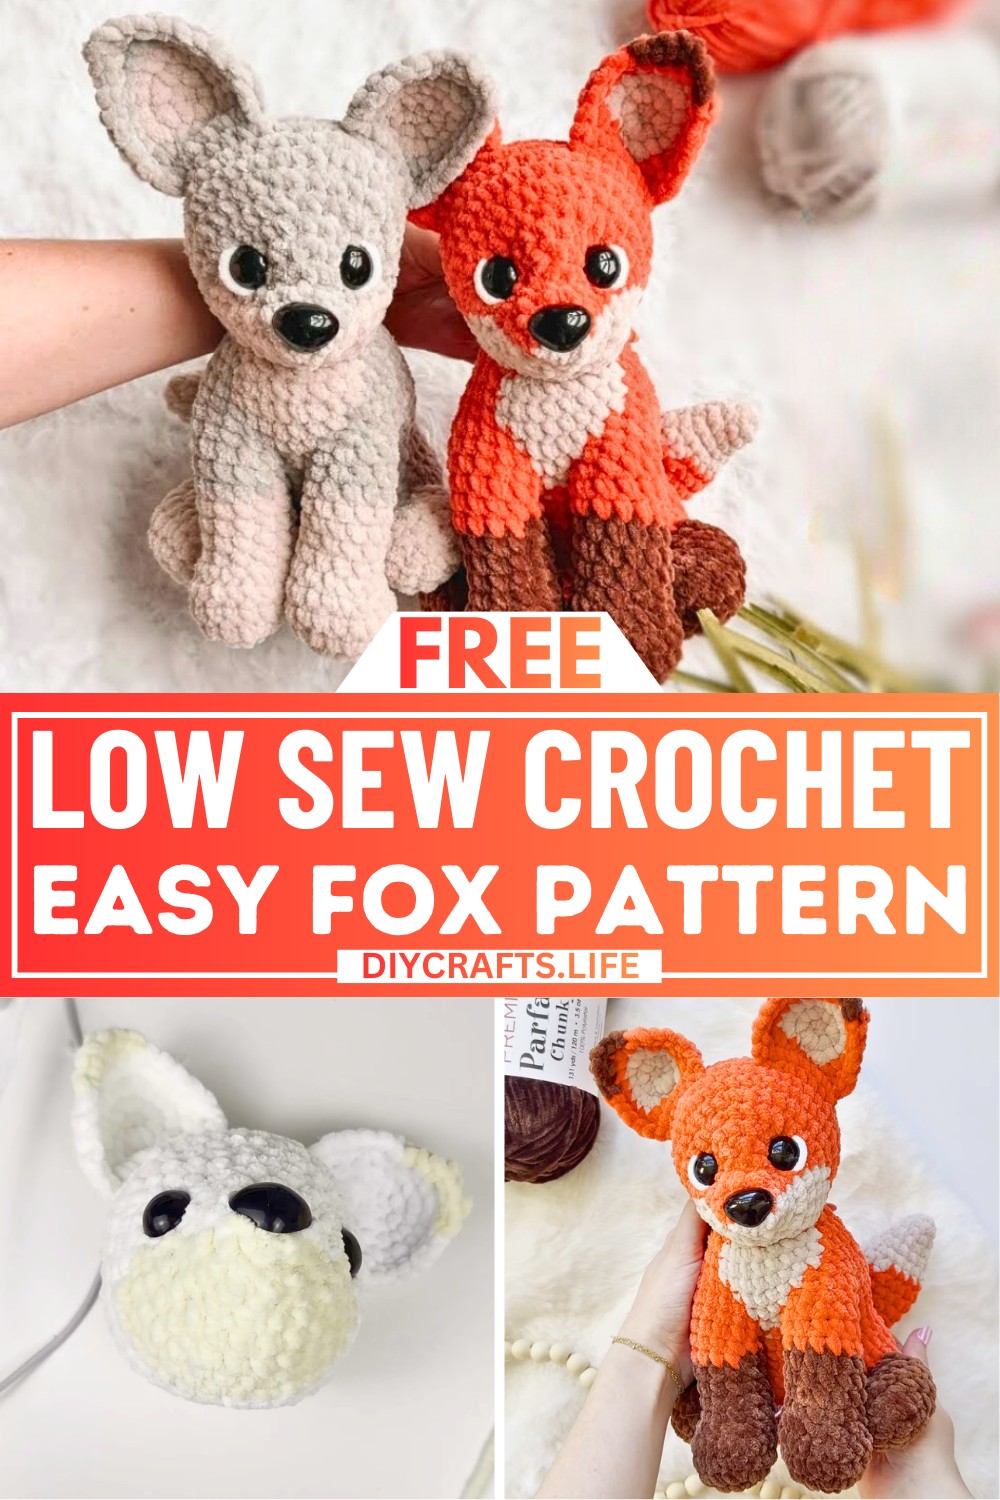
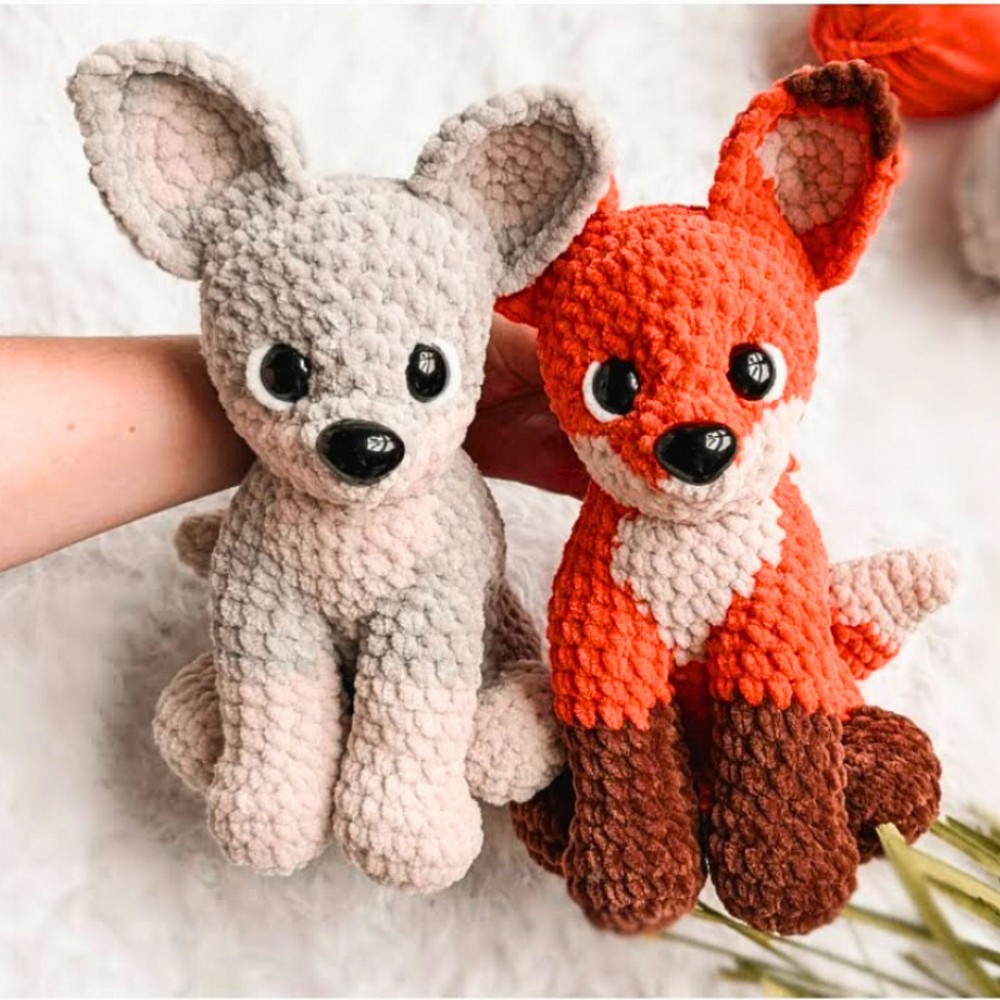
This crochet fox is a charming addition to anyone's home or life. Made with care and love, it’s perfect as a cuddle buddy, a thoughtful gift, or a cute piece of decor for your shelf. Its soft, chunky design makes it extra special—and it’s the kind of item that people will cherish, whether you keep it for yourself or gift it to someone else.
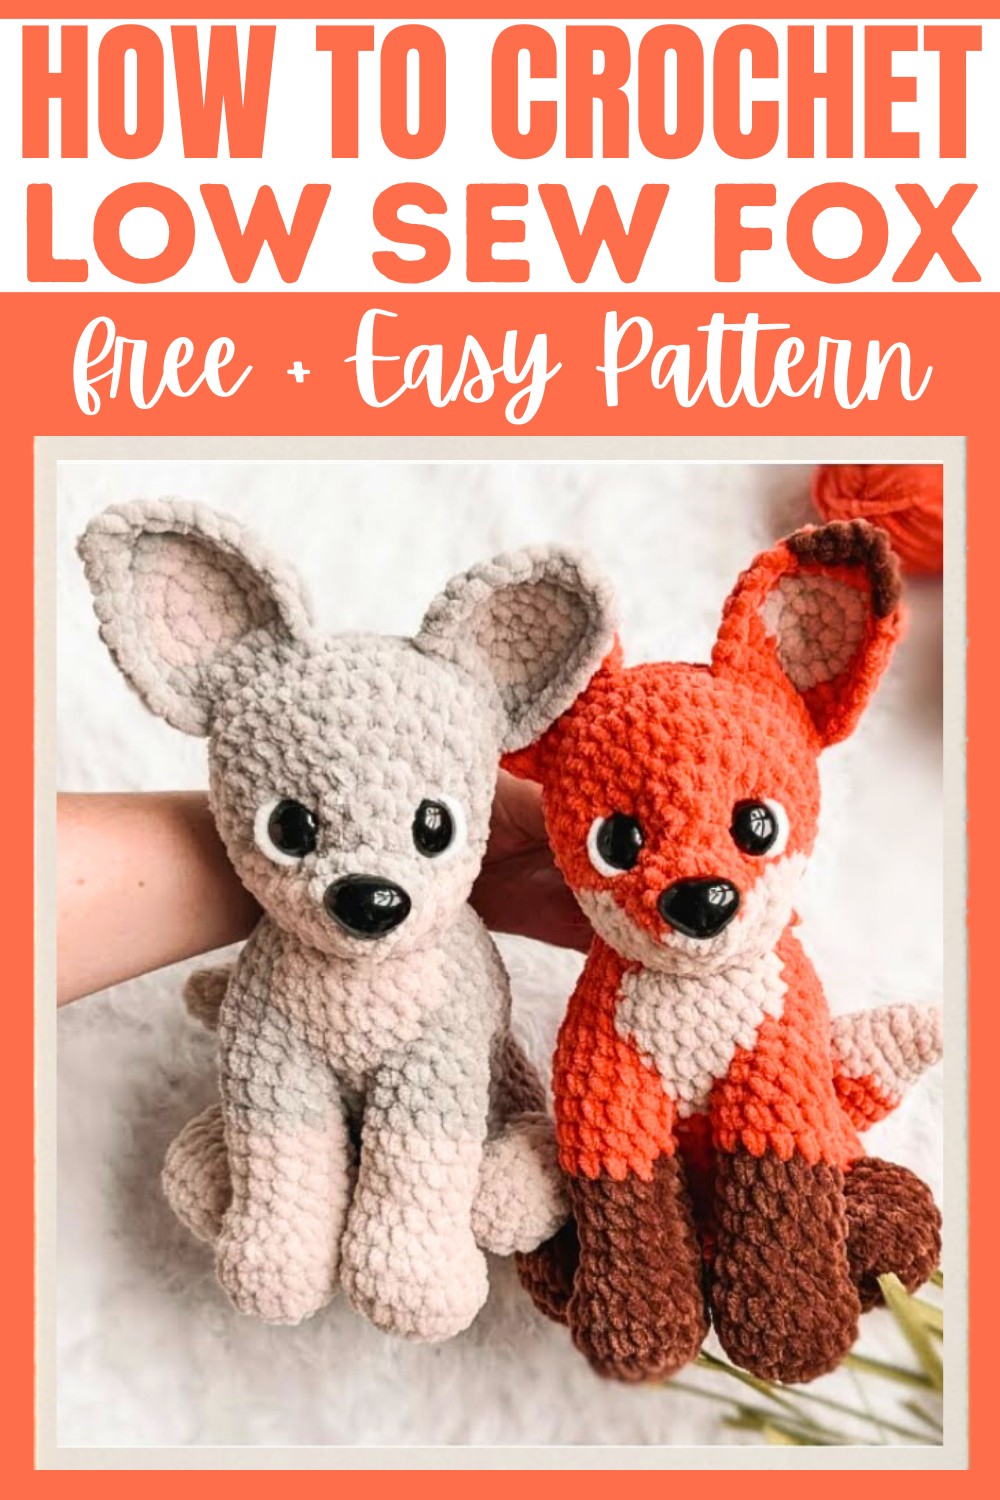
Making this fox is simple, even if you're new to crochet. The pattern focuses on a "low sew" design, meaning most parts are cleverly crocheted together. You’ll have fun putting together the tail, body, legs, ears, and adorable face—all while experimenting with color yarns and shapes. This makes creating the fox a satisfying and relaxing experience, without feeling complicated!
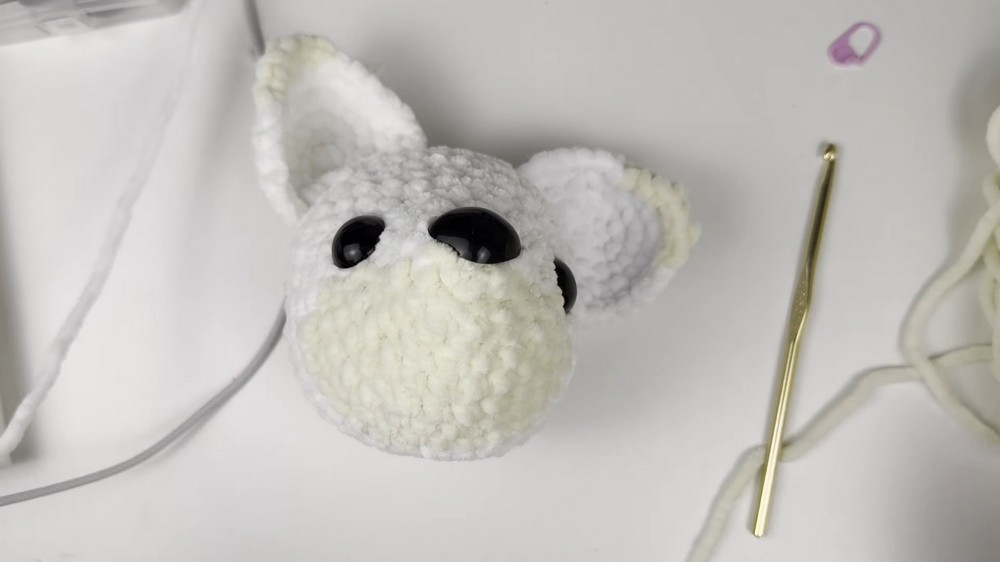
Credit Crochet with Kyra
Materials & Tools Needed
- Yarn:
- Premier Parfait Chunky or your preferred plush/chunky yarn
- Colors:
- White (Main Body)
- Cream (Accent color)
- Sage Green (Scrap Yarn for details, optional)
- Colors:
- Premier Parfait Chunky or your preferred plush/chunky yarn
- Hook Size: 5 mm crochet hook
- Eyes & Nose:
- 20 mm safety eyes
- 26 mm safety nose
- Stuffing: Polyfill or preferred stuffing material
- Stitch Marker (important for rounds)
- Scissors
- Embroidery Needle (for sewing and weaving tails)
Finished Size & Customization Ideas
- Size: Approximately determined by the yarn and hook size used. (Fuzzy plush yarn creates a ~6–8 inch fox in height when sitting.)
- Customization Ideas:
- Change accent colors to make it a wolf or other woodland animal.
- Use contrasting colors for a more vibrant pattern.
- Embroider additional details like paw pads, lashes, or facial features.
Pattern Abbreviations & Terminology
- Ch = Chain
- Sc = Single Crochet
- Hdc = Half Double Crochet
- Inc = Increase (2 sc in the same stitch)
- Dec = Decrease (single crochet 2 stitches together)
- Sl St = Slip Stitch
- MR = Magic Ring / Magic Circle
Notes:
- The pattern is worked in continuous rounds unless otherwise stated.
- Use a stitch marker to keep track of the beginning of rounds.
Step-by-Step Crochet Instructions
The pattern is broken down into parts: Tail, Front Legs, Back Legs, Ears, Body, and Head. Follow each section to assemble your fox.
1. Tail
With Accent Color (Cream):
- Round 1: 6 sc in a Magic Ring (6).
- Round 2: (Sc in next stitch, Inc) x 3 (9).
- Round 3: (Sc in next 2 stitches, Inc) x 3 (12).
- Round 4: (Sc in next 3 stitches, Inc) x 3 (15).
- Round 5: (Sc in next 4 stitches, Inc) x 3 (18).
- Round 6: (Sc in next 5 stitches, Inc) x 3 (21).
- Round 7: 14 sc around.
- Change to Main Body Color (White) in the last stitch.
- Rounds 8–12: 5 rounds of 14 sc each.Decrease and Close Tail:
- Round 13: (Sc, Dec) x 4 + an additional Dec at the end (9).
- Round 14 (Final): (Sc in next 2, Dec) x 2 + Sc in the remaining stitch (7).
- Flatten the top of the tail, and sc through both sides of the tail (3 sc). Fasten off. Leave no tail since the piece will be attached later while crocheting the body.
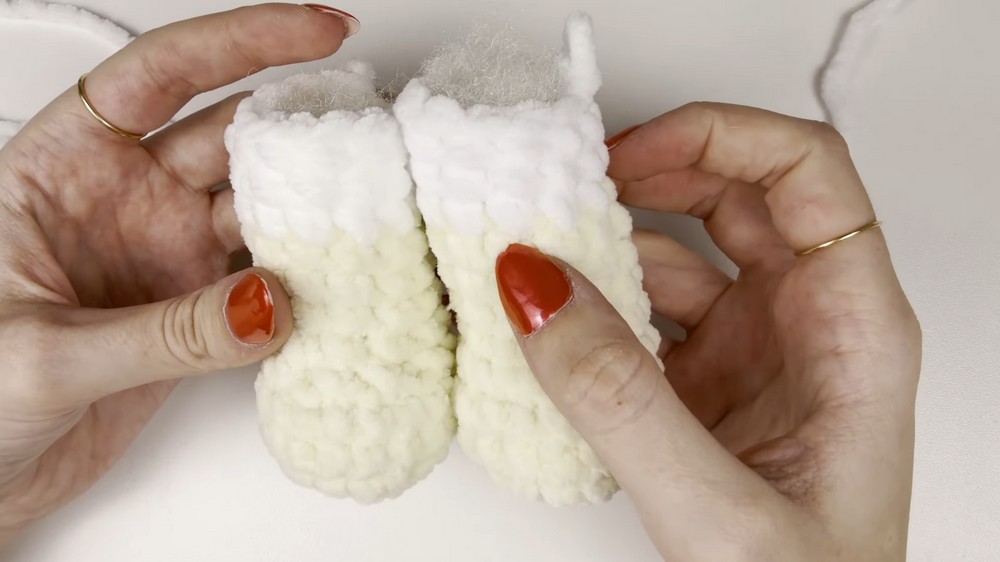
2. Front Legs
Starting with Accent Color (Cream):
- Round 1: 6 sc in a Magic Ring (6).
- Round 2: 6 Inc stitches (12).
- Round 3: (Sc, Inc) x 6 (18).
- Rounds 4–5: 18 sc (2 rounds).Shape the Leg:
- Round 6: 6 Dec stitches, 6 sc (12).
- Rounds 7–10: 12 sc (4 rounds).
- Change to Main Body Color (White).
- Rounds 11–13: 12 sc (3 rounds).
- Stuff the leg lightly. Fasten off and repeat for the other front leg.
3. Back Legs
Starting with Accent Color (Cream):
- Round 1: 6 sc in a Magic Ring (6).
- Round 2: 6 Inc stitches (12).
- Round 3: (Sc, Inc) x 6 (18).
- Rounds 4–5: 18 sc (2 rounds).Final Round:
- Round 6: (Sc, Dec) x 6 (12). Stuff lightly.
- Fold the top flat and sc through both sides (6 sc). Fasten off and make a second back leg.
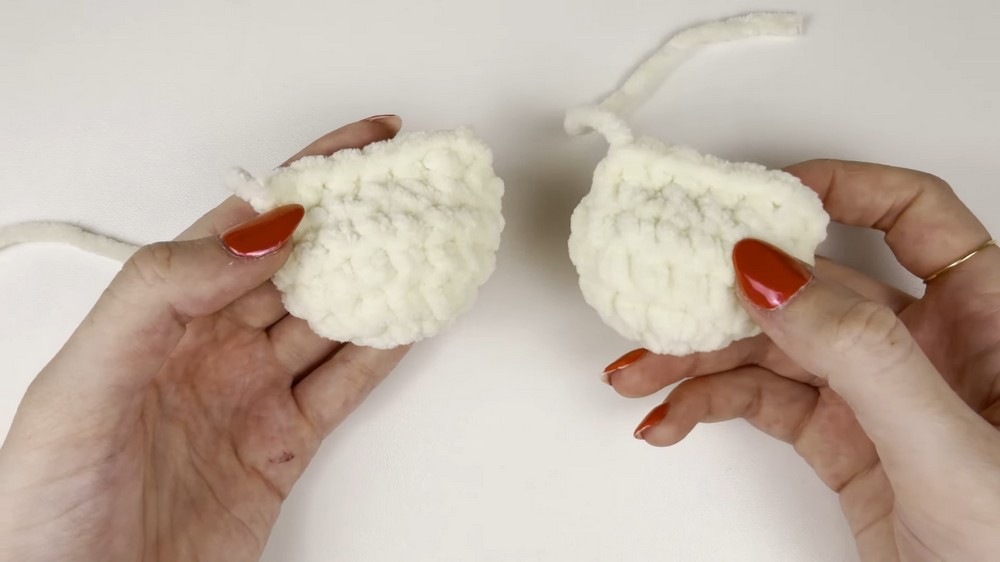
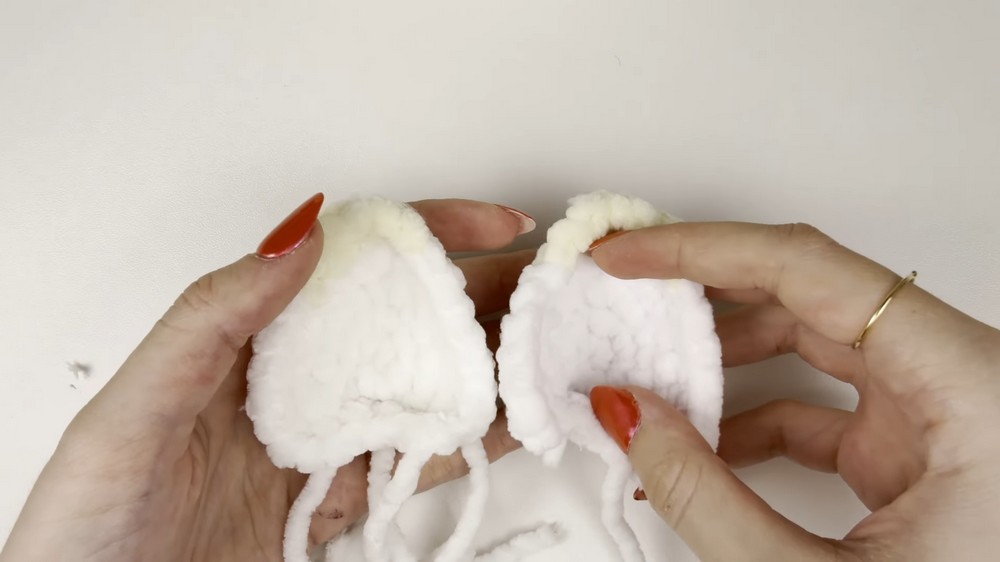
4. Ears
With Main Body Color (White):
- Round 1: 6 sc in a Magic Ring (6).
- Round 2: 6 Inc stitches (12).
- Start shaping using slip stitches and sc as you continue around:
- 3 slip stitches (sl st).
- (3 Sc in one stitch)
- 3 Sc → (3 Sc in the same stitch), repeated across 12–15 stitches, forming the ear tips.
Shaping With Color Changes: Work additional rounds slip stitching and single crocheting in the cream color for ear tips. Each round reduces the width of the ear slightly for a pointed shape. Leave a long tail for assembly.
Make a second ear.
5. Body
With Main Body Color (White):
- Round 1: 6 sc in a Magic Ring (6).
- Round 2: 6 Inc stitches (12).
- Round 3: (Sc, Inc) x 6 (18).
- Round 4: (2 Sc, Inc) x 6 (24).
- Continue increasing and shaping by alternating increments until 48 sc per round.
- Add tail and back legs after reaching 48 stitches. Attach legs by crocheting through both the body and flattened leg tops.
Decrease for Neck: Work Dec rounds to reduce the top opening to fit the head. Leave a tail for sewing.
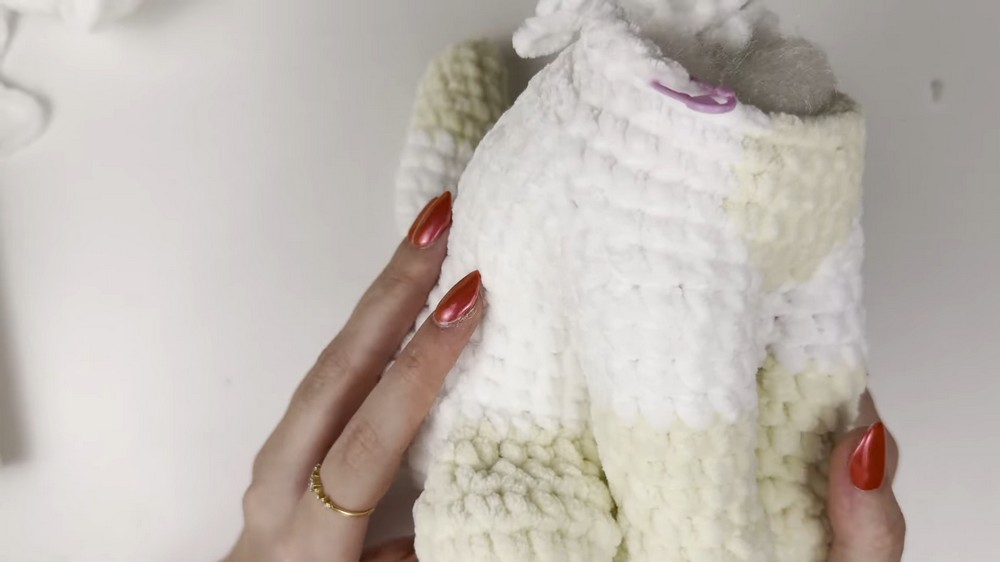
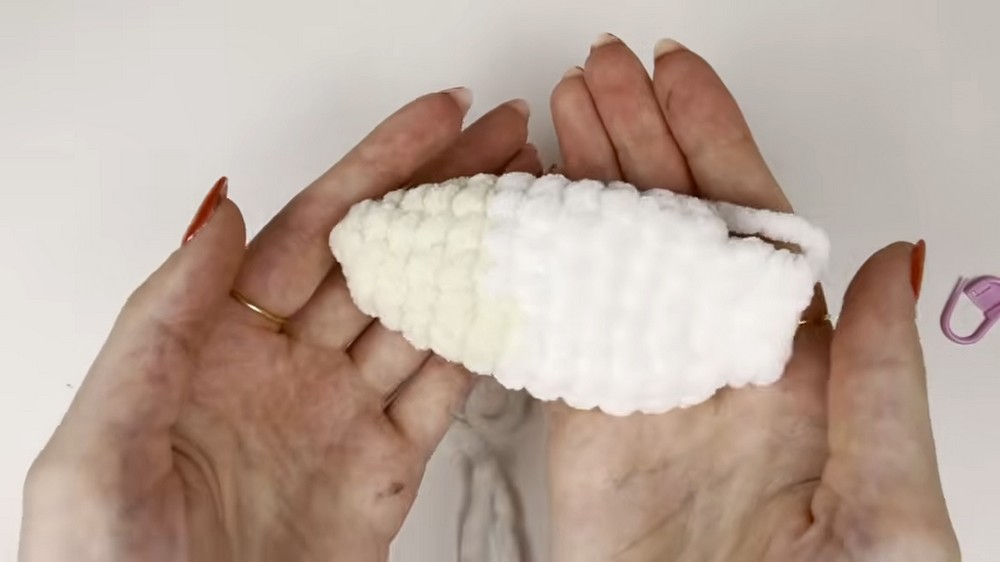
6. Head
With Main Body Color (White):
- Follow the same increase structure as the body until 42 sc per round.
- Add Ears: At the marked location, sc through both the ear and head for 7 stitches.
- Face Shaping: Use color changes for the cream-colored snout area and eye details. Insert safety eyes after shaping the head.
Decrease and Close: Stuff the head as you decrease to close it. Embroider details or attach the safety nose. Leave a tail for sewing.
Assembly & Finishing
- Sew the head to the body using the tail left on the body piece. Insert more stuffing into the neck as needed before sewing the head completely.
- Tuck and secure any loose tails into the body.
- Optional: Use embroidery yarn to pull legs into a sitting position by sewing through the legs and body together, hiding the stitches underneath.
- Embroider details as needed (e.g., mouth, whiskers, etc.).
Customization Tips
- Use multiple colors to represent other animals.
- Add a hat, scarf, or other hand-made accessories for a seasonal touch.
- Use smaller hook size or thinner yarn to adjust the size of the final product.