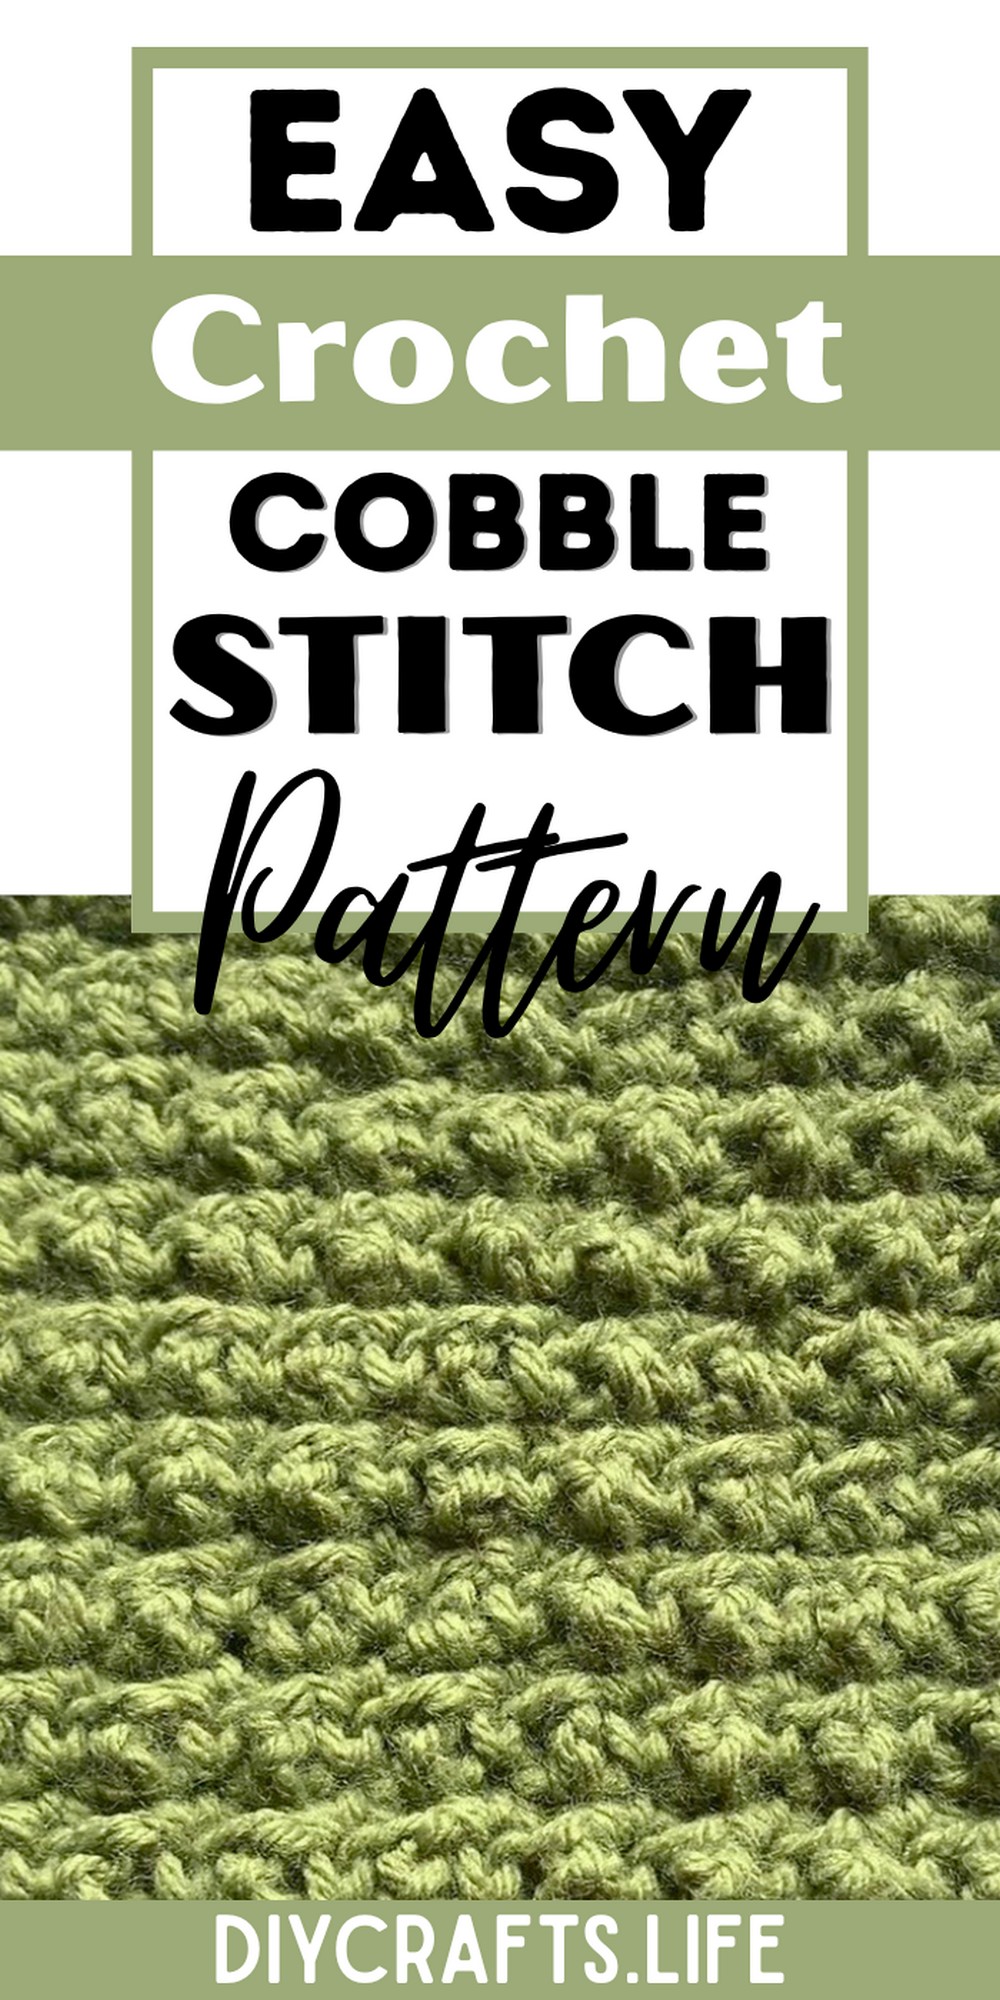
The Crochet Aligned Cobble Stitch is a gorgeous texture-packed design that is both elegant and practical. Perfect for blankets, scarves, or even coasters, its versatility and unique pattern make it a perfect project for crafting cozy, durable, and stylish creations.
This stitch is ideal for creating soft, snug blankets, stylish home décor, and cozy winter accessories. Its aligned cobbled texture offers unmatched durability and visual appeal, ensuring your handmade items stand out while remaining functional and long-lasting.
Crochet Aligned Cobble Stitch
Whether you're a beginner or an experienced crocheter, the aligned cobble stitch is easy to master with practice. Its simplicity allows for creative customization, which makes it perfect for experimenting with colors and designs to reflect your style.
Materials and Preparation
Required Materials:
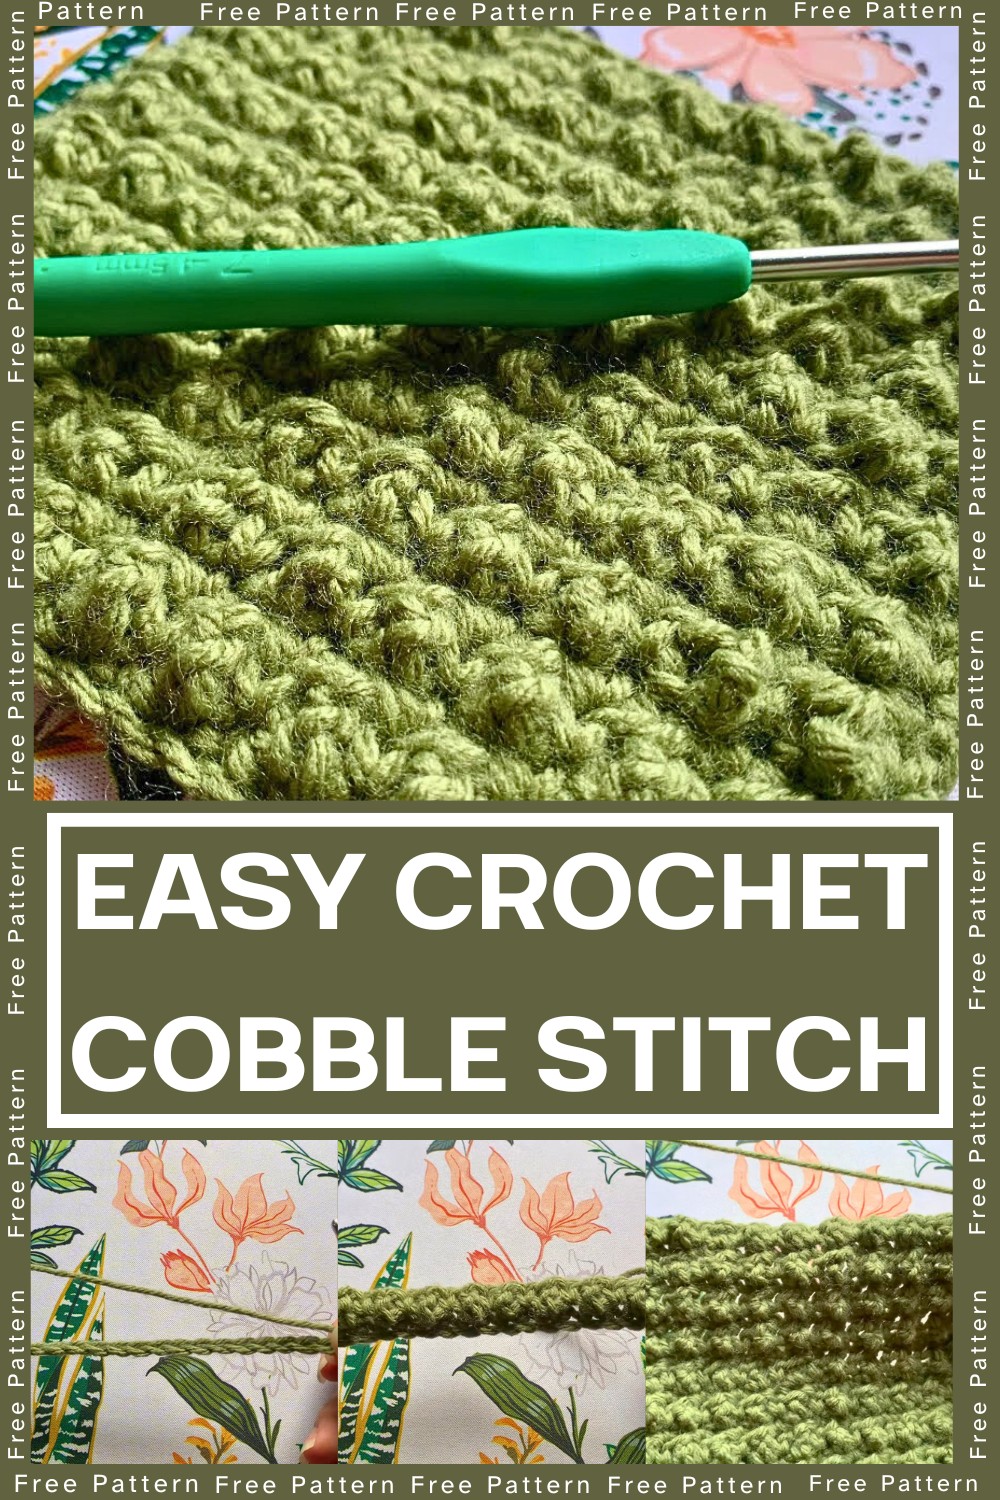
- Yarn: Lion Brand Pound of Love in Olive or any yarn you prefer (ensure an even gauge per your project).
- Crochet Hook: 4.5mm crochet hook, or as recommended for your yarn type.
- Additional Tools:
- Scissors for trimming your ends.
- Yarn needle for weaving in ends.
Yarn Weight:
The tutorial works well with medium-weight yarn. However, you can adapt this stitch to other yarn weights—choose your crochet hook size accordingly.
Abbreviations and Notes
Crochet Abbreviations:
- CH: Chain
- SC: Single Crochet
- TR: Triple (or Treble) Crochet
- YO: Yarn Over
Pattern Notes:
- Always start and finish the rows with a Single Crochet (SC).
- The stitch texture alternates between Single Crochet (SC) and Triple Crochet (TR) stitches in the rows.
- The "textured" side will be the reverse of the flat side (side with smooth stitches).
- To help achieve uniform texture, gently push the Triple Crochet posts out while working or after completing rows.
- You must chain an even number of stitches for this pattern.
Gauge, Approximate Size, and Pattern Notes
Gauge:
The gauge will vary depending on your yarn and hook combination. It’s recommended to crochet a small swatch to test.
Finished Size:
The size depends on your desired project dimensions. Chain the foundation row to match the desired width, ensuring you chain an even number of stitches.
Special Techniques:
The stitch uses a two-row repeat:
- Row 1: Simple Single Crochet (SC) stitches across.
- Row 2: Alternating Single Crochet (SC) and Triple (TR) stitches.

Step-by-Step Pattern
Foundation Row: Chain Base
- Begin with a slip knot (use any method that works for you).
- Chain a foundation row with an even number of chains. Example: chain 24 chains if working on a swatch.
- To chain: YO, pull through the loop on your hook.
Row 1: Single Crochet (SC) Across
- Start in the second chain from your hook. Insert your hook, YO, and pull up a loop. YO again and pull through both loops on your hook. (1 SC complete.)
- Continue SC into each chain stitch across.
- At the end of the row, chain 1 and turn your work.

Row 2: Alternating SC and TR Stitches
- Start the row with a Single Crochet (SC) in the first stitch. Insert your hook, YO, pull up a loop, YO again, and pull through both loops on the hook.
- For the next stitch, work a Triple Crochet (TR):
- Wrap your yarn twice around the hook.
- Insert your hook into the stitch, YO, and pull up a loop. You now have 4 loops on your hook.
- YO, pull through 2 loops; repeat two more times until you have only 1 loop left.
- Alternate between SC and TR stitches across the row. End with a Single Crochet (SC) in the last stitch.
- At the end of the row, chain 1 and turn.
Row 3: Single Crochet (SC) Across
- Work Single Crochets (SC) across, inserting your hook into the top of each stitch (both SC and TR from the previous row).
- End with a Single Crochet (SC).
- Chain 1 and turn your work.

Row 4: Alternating SC and TR Stitches
- Work a Single Crochet (SC) into the first stitch.
- In the second stitch, work a Triple Crochet (TR).
- Alternate SC and TR stitches across the row.
- End with a Single Crochet (SC).
- Chain 1 and turn.

Repeat Rows 3 and 4
Keep repeating Rows 3 (SC Across) and 4 (Alternating SC/TR) until you reach your desired length.
Final Row: Single Crochet (SC) Across
- For the last row of your project, finish with Single Crochets (SC) across.
- Chain 1, cut your yarn, pull your hook out, and tighten the loop.

Finishing Steps
- Use your yarn needle to weave in the ends neatly into the project.
- Trim any excess yarn with scissors.
Additional Tips
- As you work, gently block or flatten your project to ensure that the stitches remain uniform.
- Test the stitch texture periodically by flipping your work; the "pop-out" effect from Triple Crochets should be visible on one side.
Pattern Question
Q: How can I adjust the size of my project using this stitch?
A: Simply adjust the starting chain length to match the desired width, ensuring it matches the stitch multiples mentioned in the tutorial.
Conclusion
The Crochet Aligned Cobble Stitch is a fun and rewarding project that combines simplicity with creativity. Whether you're designing functional accessories or artful decorations, this stitch offers beauty, versatility, and endless possibilities. Try it today!