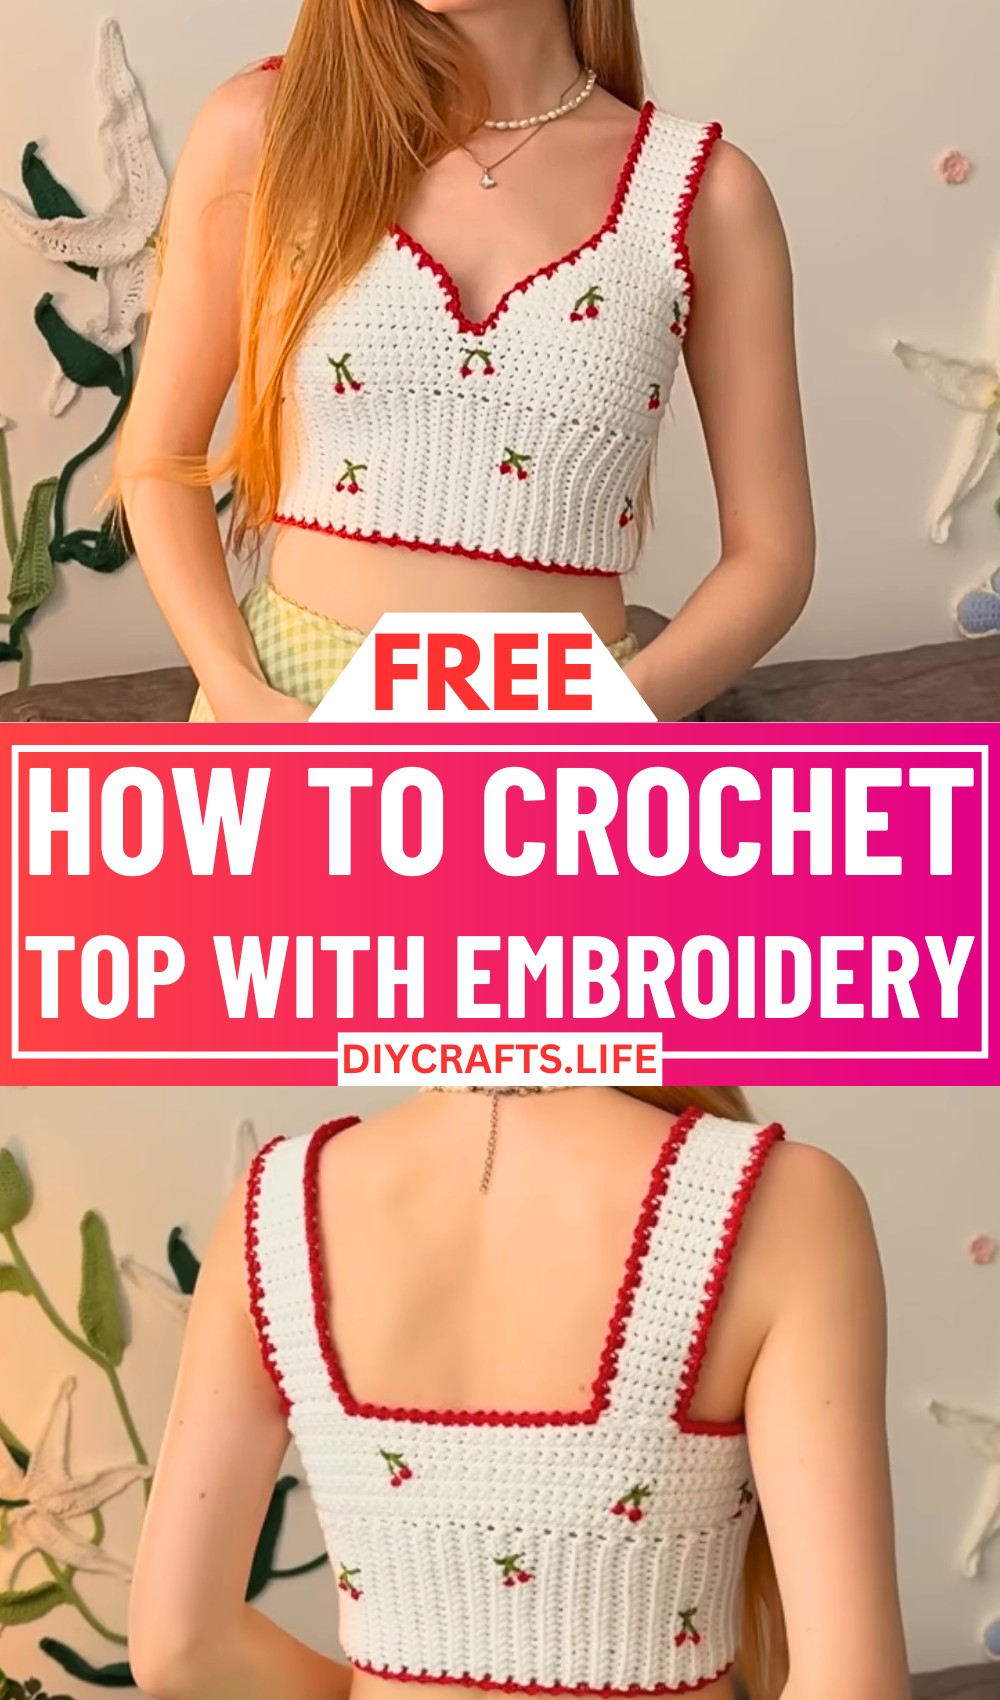
Bring an artistic flair to your wardrobe with the Crochet Top featuring intricate embroidery. This design transforms a simple crochet top into a wearable masterpiece, combining the elegance of crochet with the detailed beauty of hand embroidery. It's a perfect pick for anyone looking to add a creative touch to their outfits with a blend of texture and detail.
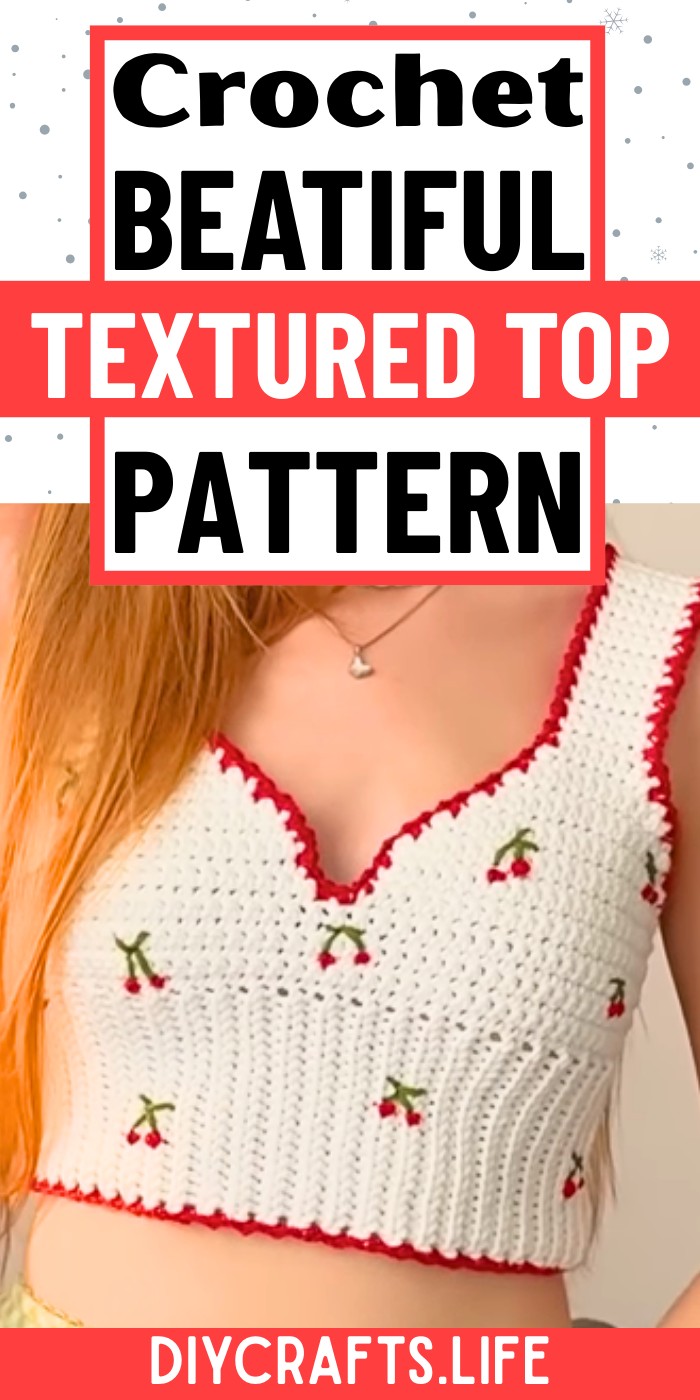
Crochet Top with Embroidery
This pattern stands out with its seamless crochet base enhanced by delicate embroidered patterns, giving it a personal and artistic edge. The embroidery allows for endless customization—choose bold, bright florals or subtle, pastel designs to make it uniquely yours. The lightweight structure and attention to detail make this top both stylish and versatile, adding a handcrafted charm to any occasion.
Credit WONDER NETTING
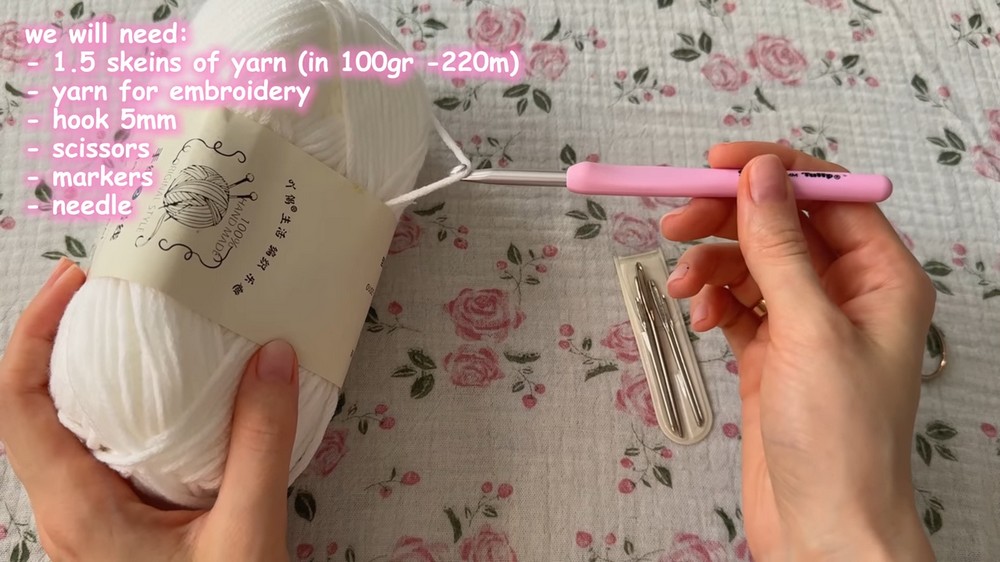
Materials & Tools Needed
- Yarn
- Approximately 1.5 skeins of lightweight yarn (the tutorial uses yarn labeled "Winter from M Bros").
- The yarn feels similar to milk cotton or acrylic, perfect for a summer top. Choose any color depending on your design theme.
- Embroidery Yarn
- Various colors of embroidery yarn for details (e.g., red for cherries, green for leaves). Ideally, thinner embroidery yarn works best for precise designs.
- Crochet Hook
- 5mm hook for the main project.
- A smaller hook (such as 3.5mm - 4mm may be used) for edging to ensure precision.
- Yarn Needle
- For sewing seams, securing ends, and working embroidery details.
- Scissors
- To trim excess yarn ends.
- Optional Tools
- Stitch Markers: To track rounds, rows, and special stitch points.
- Use Pinterest or embroidery templates for design inspiration (e.g., flowers, bows, lemons).
Finished Size & Customization Ideas
- Approximate Size
- Bottom Section Width: Approximately 51 cm flat before stretching (for medium width). Adjust length and rows to fit your chest and waist.
- Strap Width: Suggest a width of 6 cm with total strap rows (39 rows) customizable to preference.
- Customization Suggestions
- Adjusting Size:
- Start Wider or Narrower: Add or subtract air loops in your foundation chain for larger or smaller sizes.
- Increase rows in the bottom section to produce a longer top.
- For the strap length, continue additional rows until it fits comfortably over your shoulders.
- Adjusting Style:
- Embroider designs: You can experiment with cherries, lemons, bows, hearts, flowers, or custom designs. Pair edge colors to match embroidery (yellow edging for lemons, pink edging for bows).
- Play with yarn thickness: Choose chunky yarn for a bold textured look or fingering-weight yarn for a more lightweight top.
- For the bottom edge, leave the edging plain OR use a decorative stitch pattern for added flair.
- Adjusting Size:
Pattern Abbreviations & Terminology
- Abbreviations
- Ch: Chain
- Sl st: Slip Stitch
- Sc: Single Crochet
- Dec: Decrease
- R: Row
- Terminology
- Air Loops: Foundation chains that set the width of your piece.
- Slip Stitch Seam: A seam created by slip stitching panels together, leaving minimal visibility on the right side.
- Embroidery Design: Decorative details applied with a yarn needle, such as cherries or other theme-inspired patterns.
- Strap Shaping: Rows shaped via decreasing at the beginning and end to create the tapered width for straps.
Step-by-Step Detailed Crochet Instructions
Bottom Section of the Crochet Top
- Foundation Chain
- Make 18 air loops to begin (or adjust for wider/narrower width). This chain measures 13 cm.
- Row 1: Slip Stitches
- Starting from the second loop from the hook, work Slip Stitches (Sl st) across the entire chain.
- Tip: Hold the yarn loosely while working slip stitches to prevent tightening or shrinking the fabric width.
- Starting from the second loop from the hook, work Slip Stitches (Sl st) across the entire chain.
- Row 2 and Onwards:
- Chain 1, turn your work. Work Slip Stitches (Sl st) into the back loops only for the next row. Repeat this row pattern until the fabric stretches to fit snugly around your chest.
- Joining the Bottom Section
- Fold the fabric in half and join the edges using Slip Stitch along the aligned stitches. This creates an invisible seam on the right side.
Upper Section - Working the Body of the Top
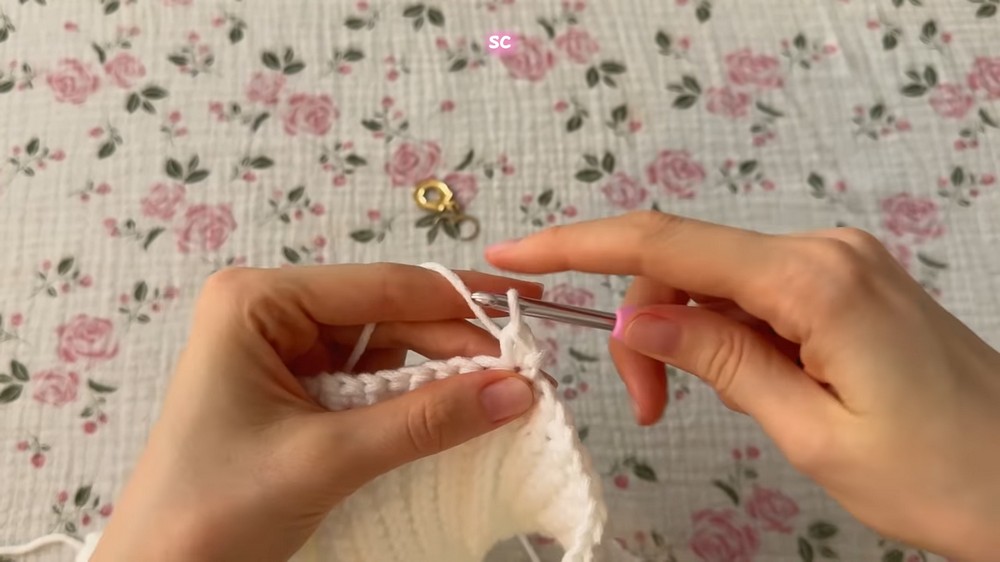
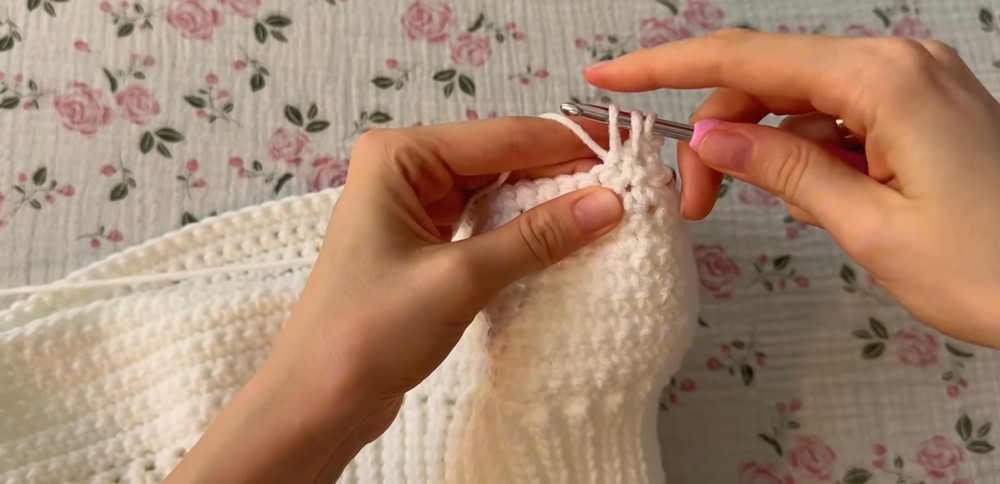
- Creating Single Crochets Round
- Once joined, turn your work right-side out. Chain 1 and begin making Single Crochets (Sc) into the bars between the rows and into the ridges of the slip stitches.
- Place a marker on the first single crochet to track the start of the round. Join the round with a slip stitch into the first Sc at the end.
- Build Single Crochet Rows
- Continue repeating rows of Sc without increasing until you reach 7 rows (or the desired number for the top’s height).
- End the rounds by creating separate sections for the neckline.
Neckline Shaping
- Divide Sections
- Mark the center stitch of the neckline with a stitch marker while leaving room for 25 stitches on each side.
- Work Right Side First
- Attach your yarn to the marked center stitch and begin crocheting from the wrong side to maintain consistent texture.
- Follow existing Sc rows, starting with a Decrease at the beginning and end of each row (e.g., pull up three loops and crochet them together).
- Straps
- Once you reach 7 stitches wide after rows of Decreases, continue straight rows (no decreases) for 39 rows (or adjust to your desired strap length).
- Next Section
- Repeat the shaping steps for the left side of the neckline to mirror the right section.
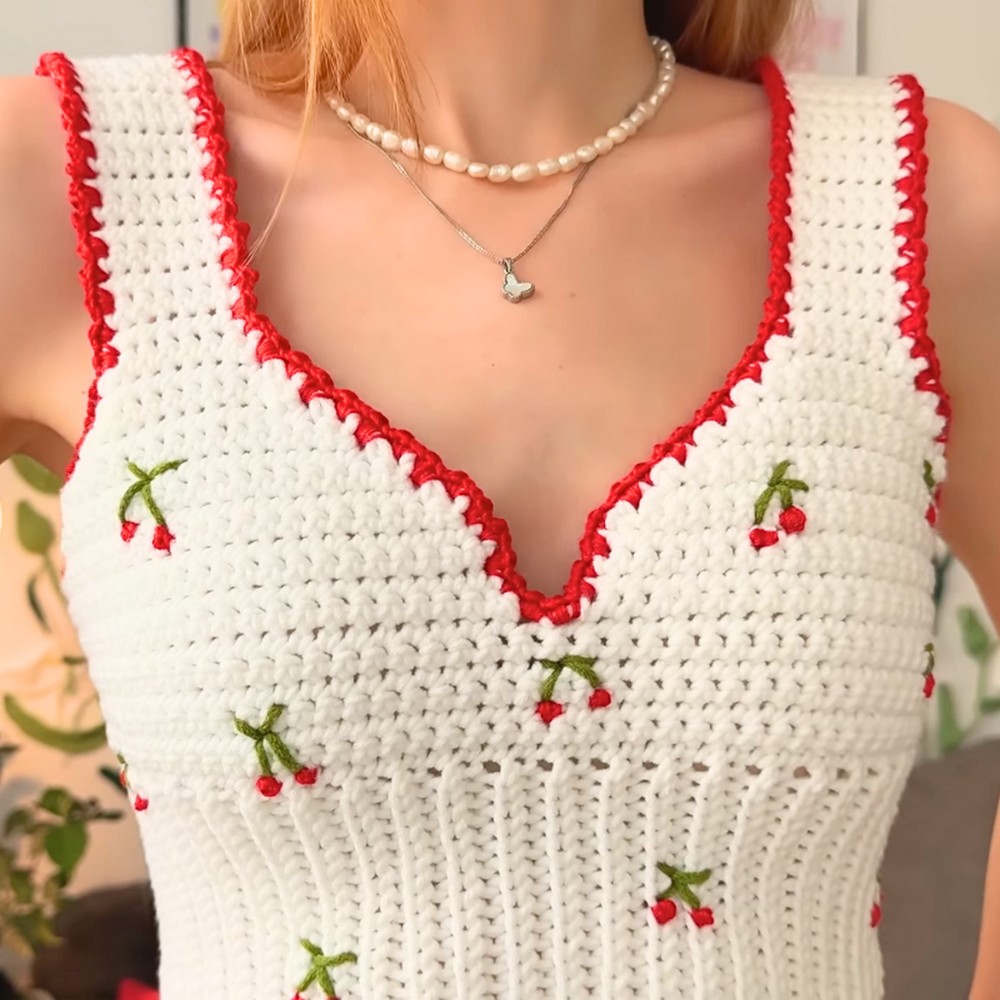
Embroidery Design
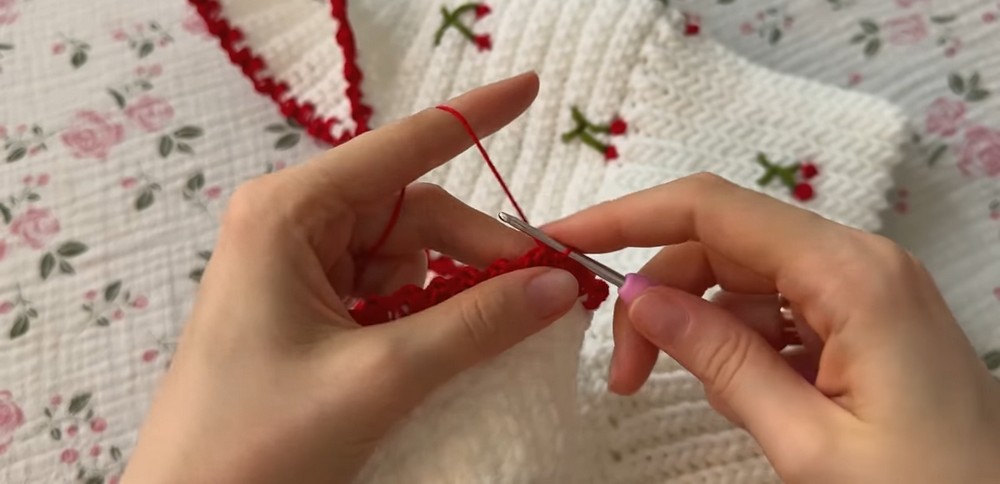
- Cherries (or Other Designs)
- Use red yarn to create small cross-stitches for cherries. Carefully shape each cross to ensure uniform size.
- Create accompanying leaves by threading green yarn and working diagonal stitches between berries.
- Securing Embroidery
- Pull the yarn to the wrong side and tie a knot to secure. Weave ends to prevent unraveling.
Edging the Top
- Edging Pattern
- Work edges of the straps, neckline, and bottom section with a decorative stitch pattern:
- Insert hook into the side stitches of rows, and work Sc, Dc, Sc into the same stitch before moving to the next row.
- Work edges of the straps, neckline, and bottom section with a decorative stitch pattern:
- Joining Edges
- At the end of each edging row, secure with a slip stitch, chain 1, and weave in loose ends.
- Bottom Edge
- For the bottom edge, insert your hook into the bars between rows and repeat the decorative edging pattern.
Tips & Notes
- Stretch Factor: Ensure the bottom part of the top has enough stretch; this ensures a snug yet comfortable fit.
- Embroidery Inspiration: Search Pinterest or embroidery tutorials for creative ideas tailored to the look you want. Designs like lemons, bows, or flowers work well for a summer vibe.
- Finishing Details: Switch to a smaller crochet hook for edging or embroidery details if precision is needed.
- Make it a Dress: Extend the bottom section with additional rows to create a flared dress version with embroidery accents.