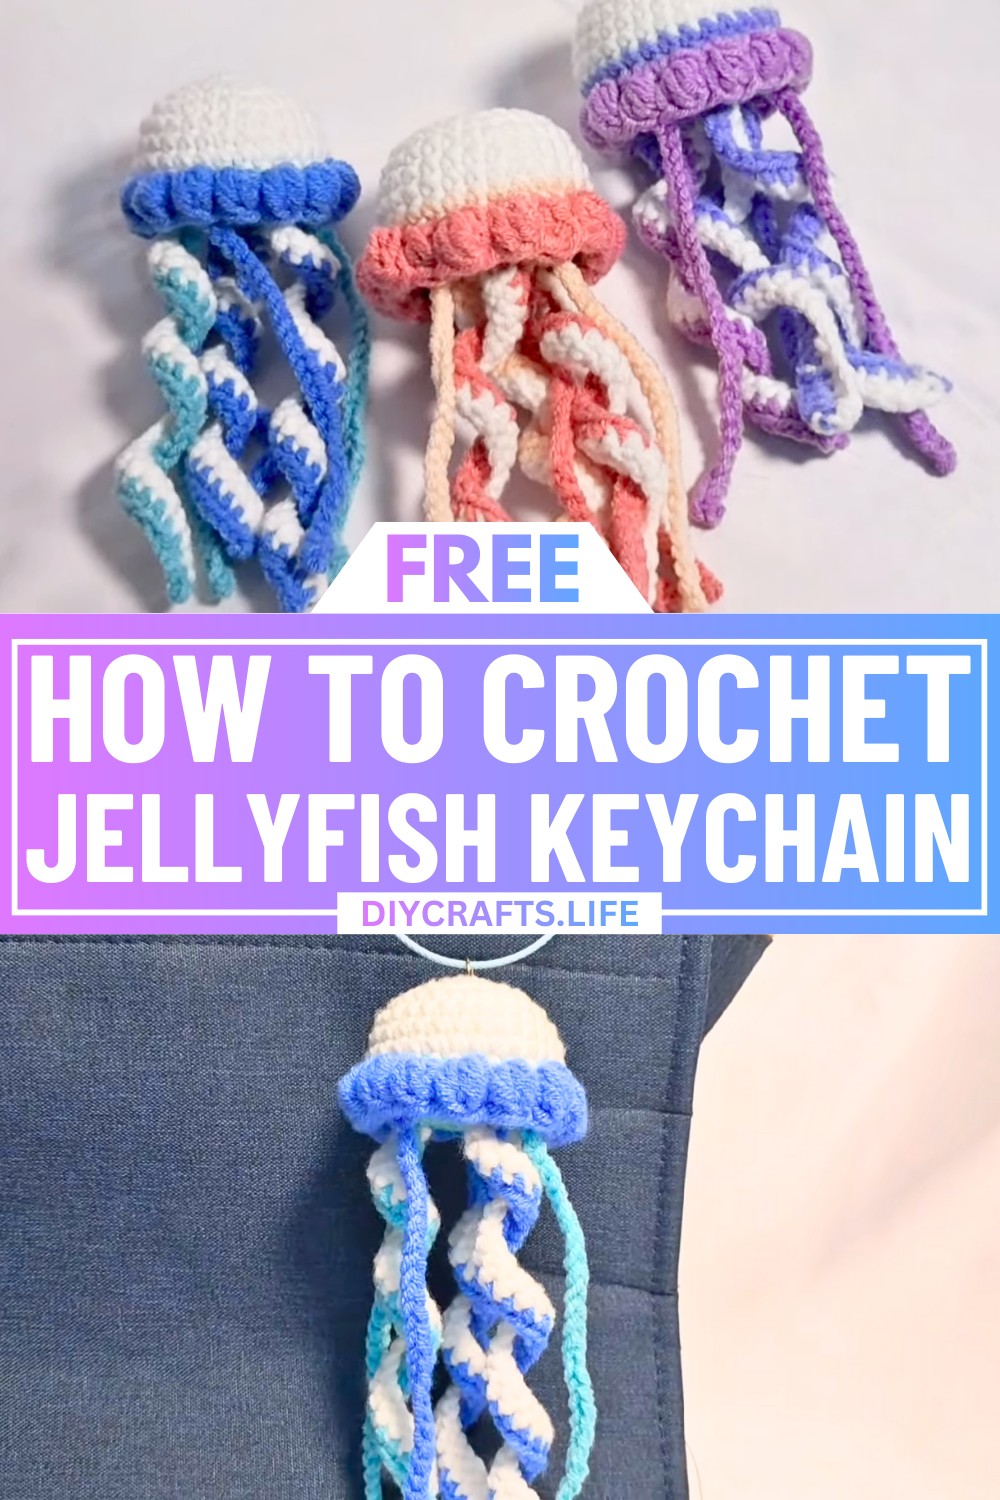
Craft something magical and playful with a crochet jellyfish design that beautifully combines elegance and whimsy. With its delicate tentacles and textured body, this project promises to spark creativity and bring smiles to everyone. Perfect for accessories or thoughtful gifts, this jellyfish design invites you to express your personality through color choices and patterns while showcasing your crochet skills.
This design stands out because of its intricate attention to detail—from the layered tentacles that create movement, to the charming frill that wraps around its body. The clever use of stitches like the magic ring and bubble stitch adds depth and texture, making the jellyfish visually captivating. Whether you’re looking to decorate bags as keychains, brighten up a desk space, or simply enjoy crafting a unique piece, this pattern combines simplicity and artistry to suit all purposes. Choose your favorite colors and personalize each jellyfish for a truly personal touch.
Credit from littlespot
Required Materials
To crochet a jellyfish, you’ll need the following materials:
- Yarn: 5 ply milk cotton yarn (2 mm thickness)
- Crochet hook: 3.0 hook
- Scissors
- Yarn needle:
- Stitch marker
Step-By-Step Instructions
Body:
- Start with a Magic Ring
- Wrap the yarn around your fingers to create the magic ring. Hook under the first strand of yarn and hook into the second strand. Pull the yarn up to create the starting chain for the ring.
- Round 1:
- Make 6 single crochets (SC) into the magic ring.
- Pull the loose yarn end to close the ring.
- Round 2:
- Make an increase by crocheting 2 SC into each stitch around. (12 stitches in total.)
- Round 3:
- Alternate between 1 SC in the first stitch and an increase (2 SC in the next stitch). Repeat until the end of the round.
- Round 4:
- Crochet 2 SC in the next two stitches, and then an increase (2 SC in one stitch). Repeat to complete the round.
- Round 5:
- Crochet 3 SC, then an increase, repeating the pattern until the round is completed.
- Rounds 6 to 8:
- Make 1 SC in each stitch of every round.
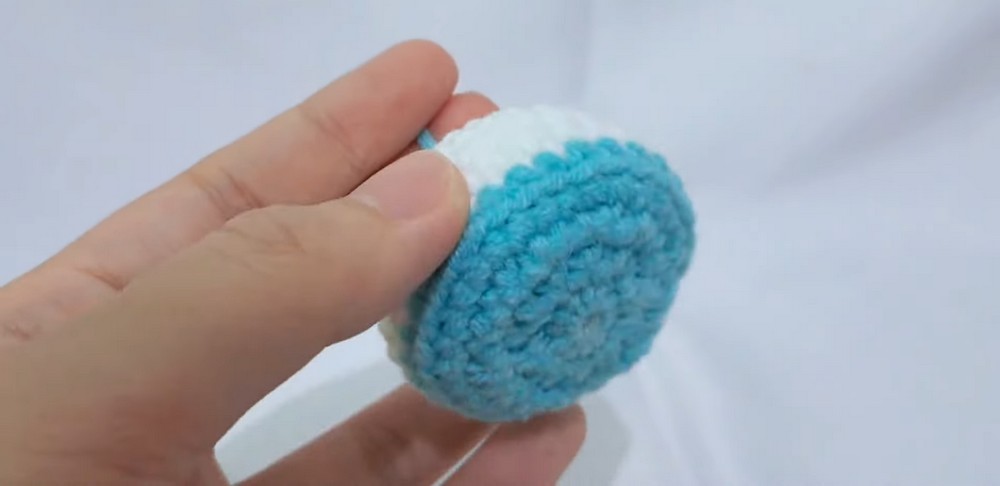
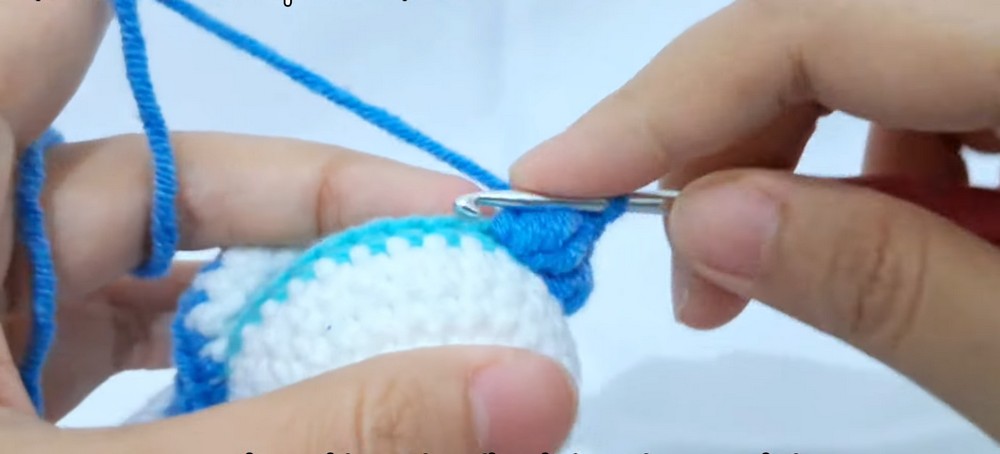
- Change Yarn Color:
- For Round 9, switch to your second yarn color (e.g., blue) and secure with a double knot. Trim the previous color’s yarn.
- Round 9:
- Crochet 1 SC per stitch, using only the back loops.
- Round 10:
- Continue with 1 SC for every stitch.
- Round 11:
- Crochet 3 SC in the first three stitches, then make a decrease (connect two front loops from consecutive stitches). Repeat to complete the round.
- Insert Stuffing:
- Add stuffing into the jellyfish body before completing the final round to shape the jellyfish.
- Final Round:
- Make decrease stitches until the hole at the bottom of the body is closed.
- Cut the yarn and weave in the ends.
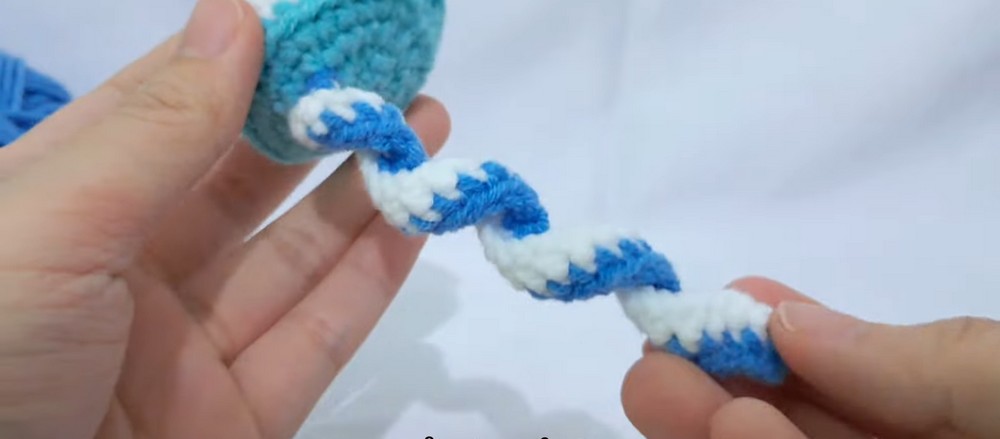
Tentacles:
Big Tentacles:
- Make a slip knot and insert it between rounds 2 and 3 on the bottom of the jellyfish body.
- Create a chain of 36 stitches.
- Skip the first chain and make 1 SC in each of the 35 chains.
- Change yarn color for detailing (optional) by tying a double knot, trimming the old color, and securing the slip stitch to the jellyfish body.
- Work back along the chain using 1 SC in every stitch.
- Complete three large tentacles in total.
Small Tentacles:
- Use a slip knot and attach it between rounds 3 and 4 on the bottom of the body.
- Create a chain of 30 stitches.
- Add 1 SC in each chain, ensuring these tentacles are slightly shorter than the larger ones.
- Create four small tentacles in total.
Frill:
- Attach yarn to the front loop of Round 10.
- Begin with a chain stitch, then crochet a bubble stitch into the next stitch:
- Yarn over, insert the hook, yarn over, pull up a loop, yarn over, pull through two loops—repeat until there are 5 loops on your hook. Yarn over, pull through all 5 loops.
- Alternate a bubble stitch and a slip stitch for every stitch in the round, creating a row of frills.
- By the end of the round, you should have 15 bubble stitches in total. Finish with a slip stitch and weave in the ends.
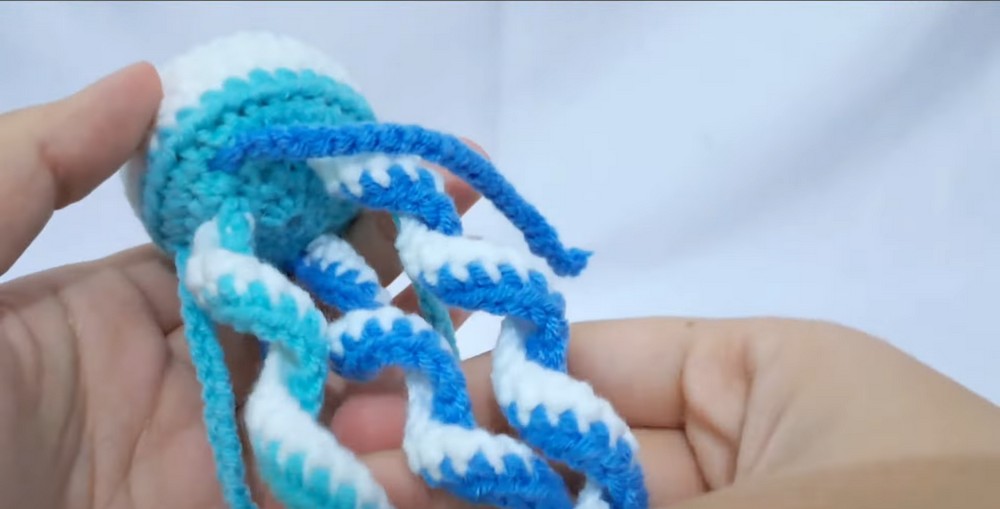
Final Steps:
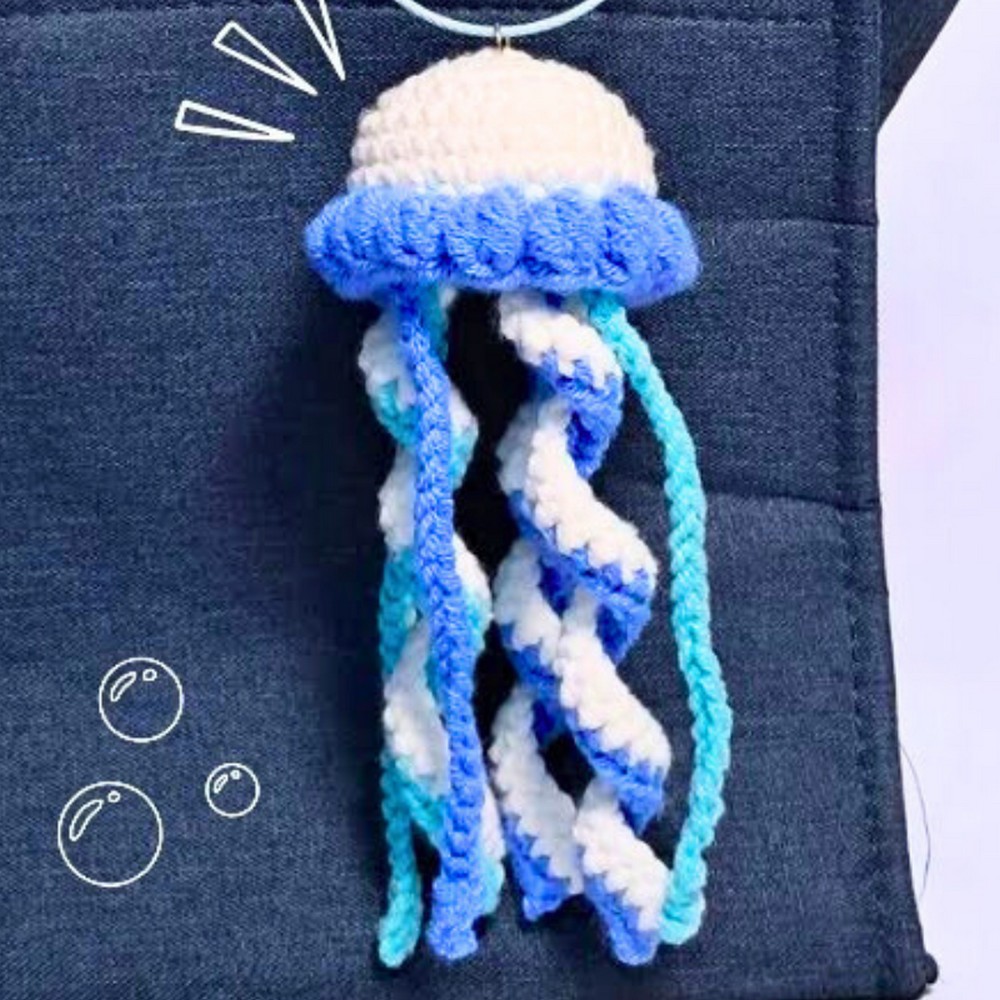
- Organize the tentacles (big and small) for proper alignment.
- Trim any excess yarn and secure all loose ends.
- Your crochet jellyfish is now complete!