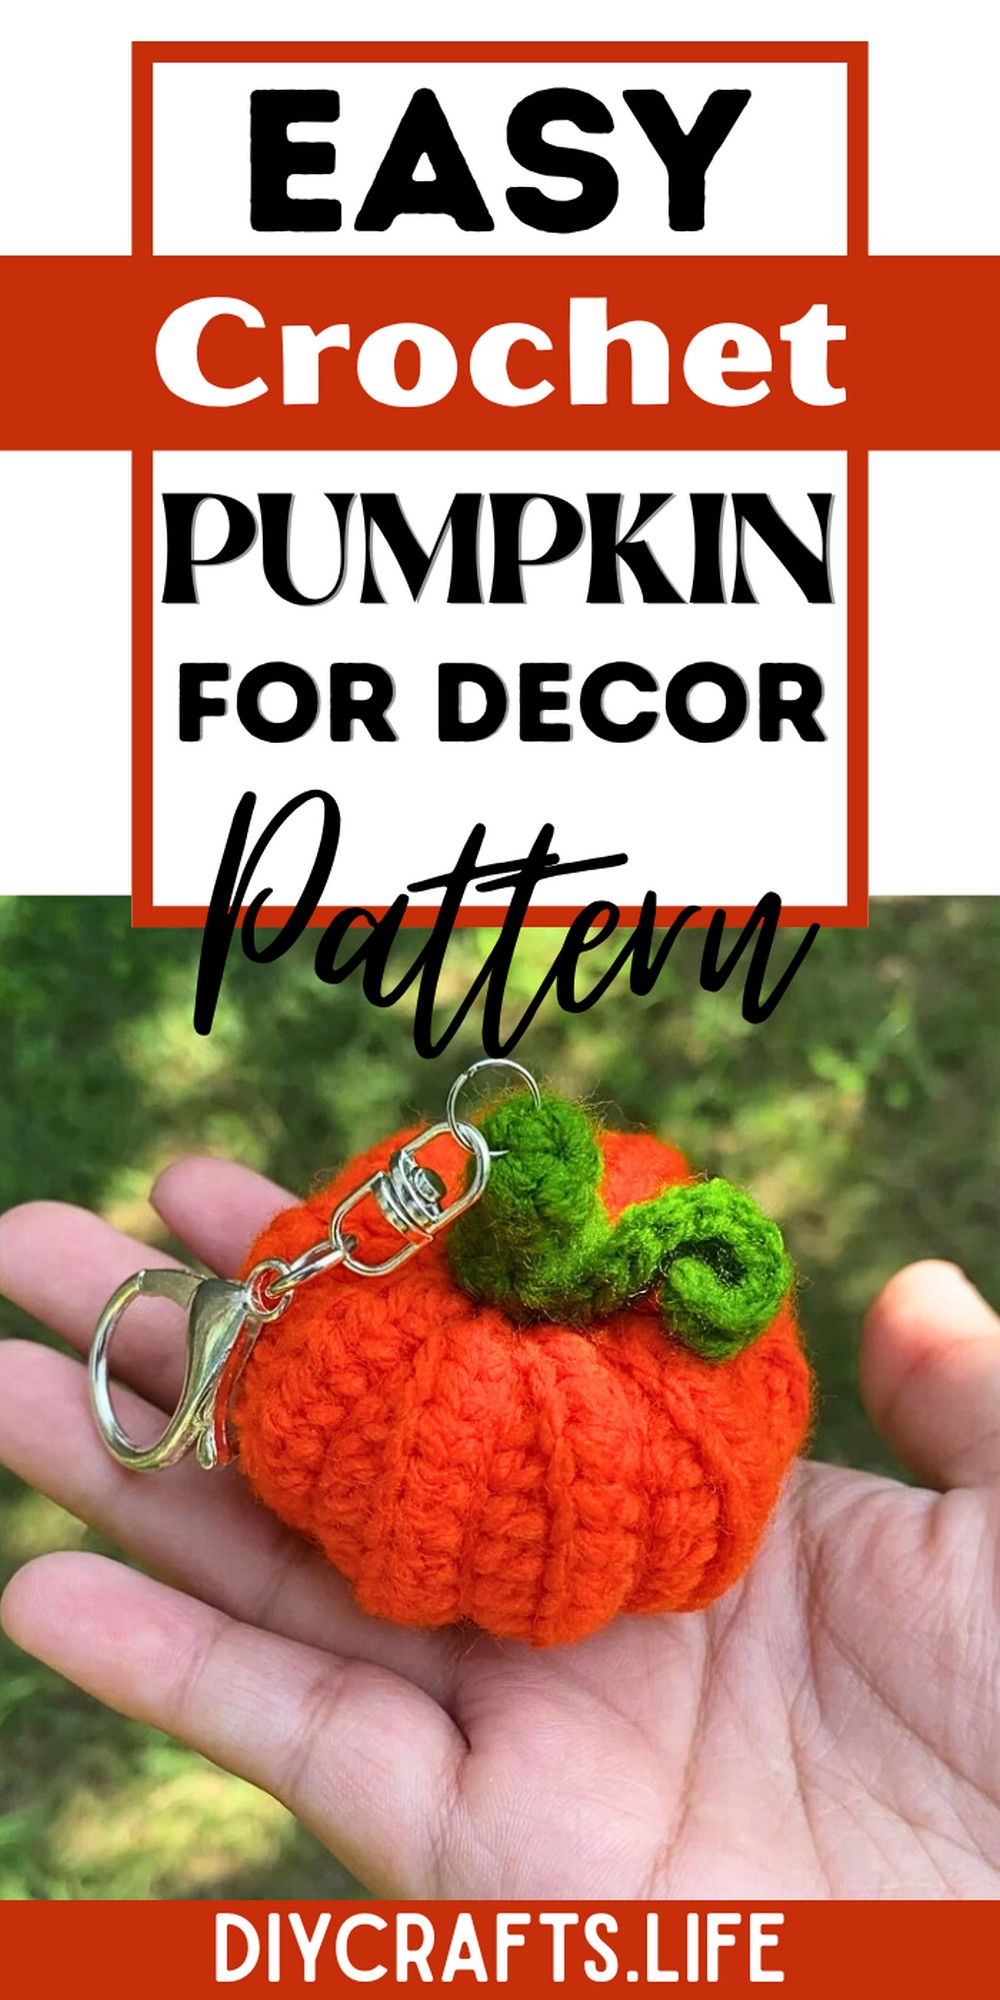
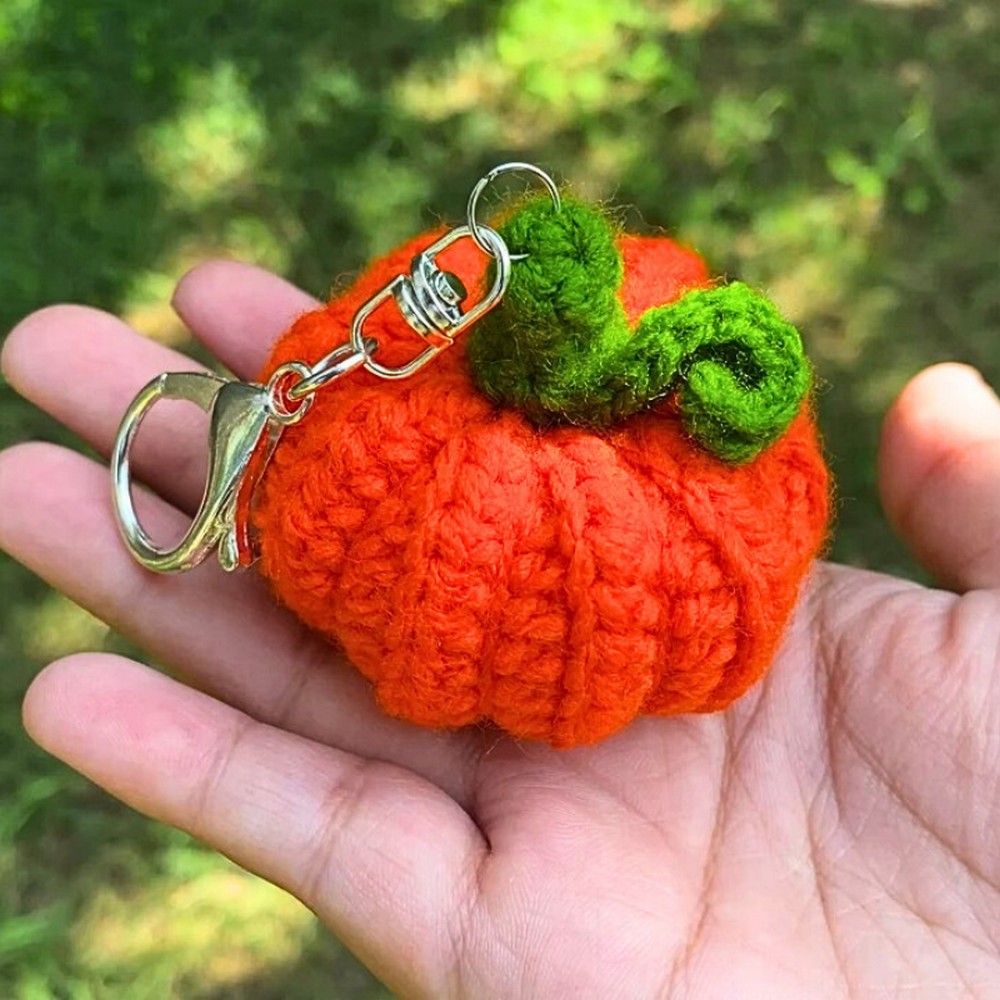
Create a charming crochet pumpkin that’s perfect for seasonal décor or year-round accent pieces. This project blends simplicity and style, resulting in adorable, versatile pumpkins that add warmth to any space. Great for festive setups or gifting, it's a fun and cozy craft for all!
Crochet pumpkins are durable decorations, bringing a rustic and appealing vibe to homes. Use them as tabletop arrangements, festive centerpieces, or soft toys for kids. Their plush texture and timeless design make them not only functional but also visually captivating.
Crochet a Pumpkin for Fall Décor
Creating a crochet pumpkin is both fun and flexible, allowing for customization with colors, sizes, or patterns. Whether you're a beginner or an expert, crafting this piece brings joy and endless creativity. It’s a relaxing project with rewarding results for all skill levels!
Materials and Preparation
To crochet your pumpkin, you will need the following:
- Yarn: Medium or worsted weight yarn (e.g., orange for the pumpkin body, plus green for the stem).
- Hook: Crochet hook size G/4mm or H/5mm (adjust depending on your yarn and tension).
- Optional: Brown yarn for pumpkin ribs (for detail).
- Stuffing: Polyester fiberfill or old scraps to fill the pumpkin.
- Tapestry Needle: For sewing and finishing details.
- Scissors: To trim excess yarn.
Make sure to choose yarn colors that complement your desired pumpkin look, whether natural or whimsical!
Abbreviations and Notes
Here are commonly used crochet abbreviations:
- CH: Chain
- SC: Single Crochet
- HDC: Half Double Crochet
- INC: Increase (two single crochets in the same stitch)
- DEC: Decrease (single crochet 2 stitches together)
- ST(s): Stitch(es)
- SL ST: Slip Stitch
Important Notes:
- Beginners may find it helpful to practice the stitches (SC, INC, DEC) before starting the pumpkin.
- Use stitch markers to keep track of your rounds if working in continuous rounds.
- Crochet tightly to avoid the stuffing showing through the stitches.
Gauge, Approximate Size, and Pattern Notes
Gauge: Not essential for this project, but aim for tight, even stitches for a neat result.
Finished Dimensions: The pumpkin size will depend on the number of rounds and your stitch tension. This tutorial typically creates small pumpkins around 4-6 inches in diameter.
Special Techniques:
- The pumpkin ribs are created by sewing or using specific shaping techniques detailed in the steps.
- Optional: Use color changes for creative decorations on the pumpkin.
Step-by-Step Pattern
1. Create the Pumpkin Base
Foundation:
- Start with an adjustable/magic ring.
- CH 1, then crochet 6 SC into the ring. Pull the ring closed and SL ST to the first stitch to close the round.
Round 1:
- CH 1. Make 2 SC in each stitch around (total: 12 stitches).

Round 2:
- CH 1. SC in the first stitch, 2 SC in the next stitch. Repeat around (total: 18 stitches).
Round 3
- CH 1. SC in first 2 stitches, 2 SC in next stitch. Repeat around (total: 24 stitches).
Round 4 and Beyond:
- Continue increasing in this manner until your pumpkin reaches your desired width (e.g., 30-40 stitches).

2. Build the Pumpkin Body
- Work even SC stitches around for several rounds (this defines the pumpkin’s height; typically, 6-10 rounds).
3. Shape the Pumpkin
Decreasing Rounds:
-
Begin shaping by decreasing gradually:
- SC 2 stitches, DEC in the next. Repeat around.
- Next round: SC 1 stitch, DEC in the next. Repeat around.
-
Continue decreasing until there are 8-10 stitches remaining. Stuff the pumpkin with fiberfill before completely closing.

4. Close the Base
- Use a tapestry needle to weave through the remaining stitches and pull tight to close. Fasten off securely.
5. Add the Pumpkin Stem
Stem Instructions:
- Create the stem with green or brown yarn:
- CH 6, then SC back into each stitch (work in rows to form the stem). Roll and sew it securely at the top of the pumpkin.
Optional: Add ribs by threading brown yarn along the curved height of the pumpkin, pulling slightly to create an indented look.

6. Final Touches
- Trim excess yarn and weave in ends.
- Use your creativity to add embellishments like curly vines, leaves, or decorative stitches.

Pattern Question
Question: How do I adjust the size of the crochet pumpkin?
Answer: To make the pumpkin bigger or smaller, simply add or reduce the number of stitches in the initial chain and rounds while following the same pattern structure.
Conclusion
Crocheting a pumpkin is an enjoyable, relaxing project that combines style and usefulness. Whether for seasonal décor or everyday charm, it’s a delightful craft everyone can enjoy. Bring your creativity to life and make timeless, handmade pieces worth cherishing!