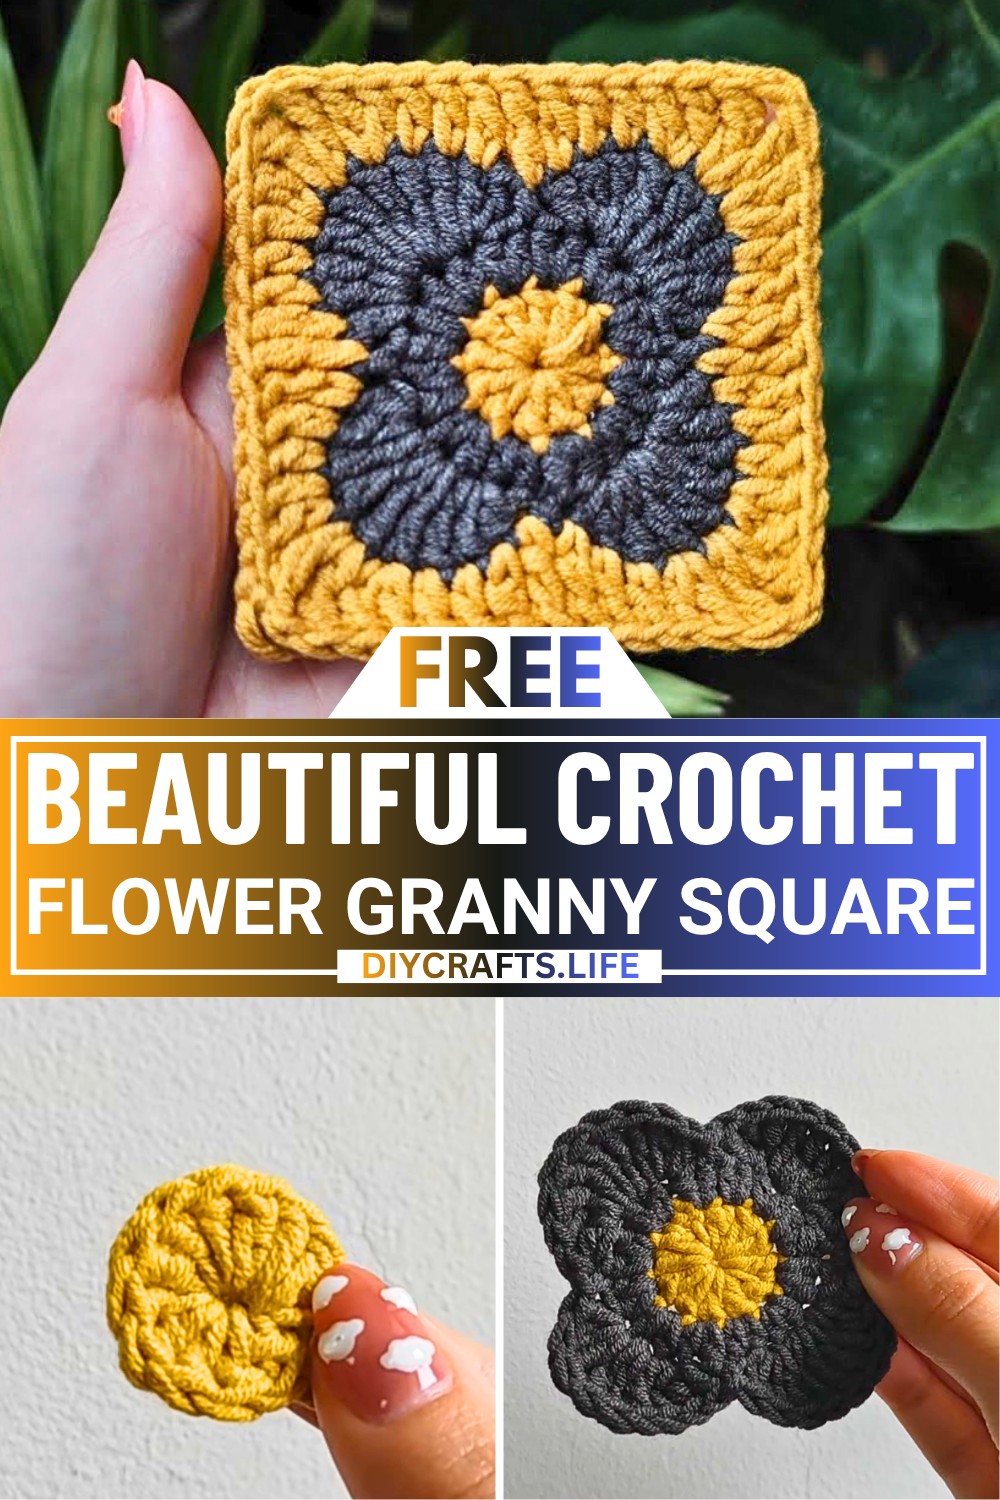
Crocheting a flower granny square is a wonderful way to bring a pop of color and creativity to your designs. This square combines the elegance of a blooming flower with the versatility of the classic granny square. Whether you're looking to craft a cozy blanket, decorate a bag, or spice up home décor like pillows or table runners, this stunning design will give your work a cheerful and eye-catching touch.
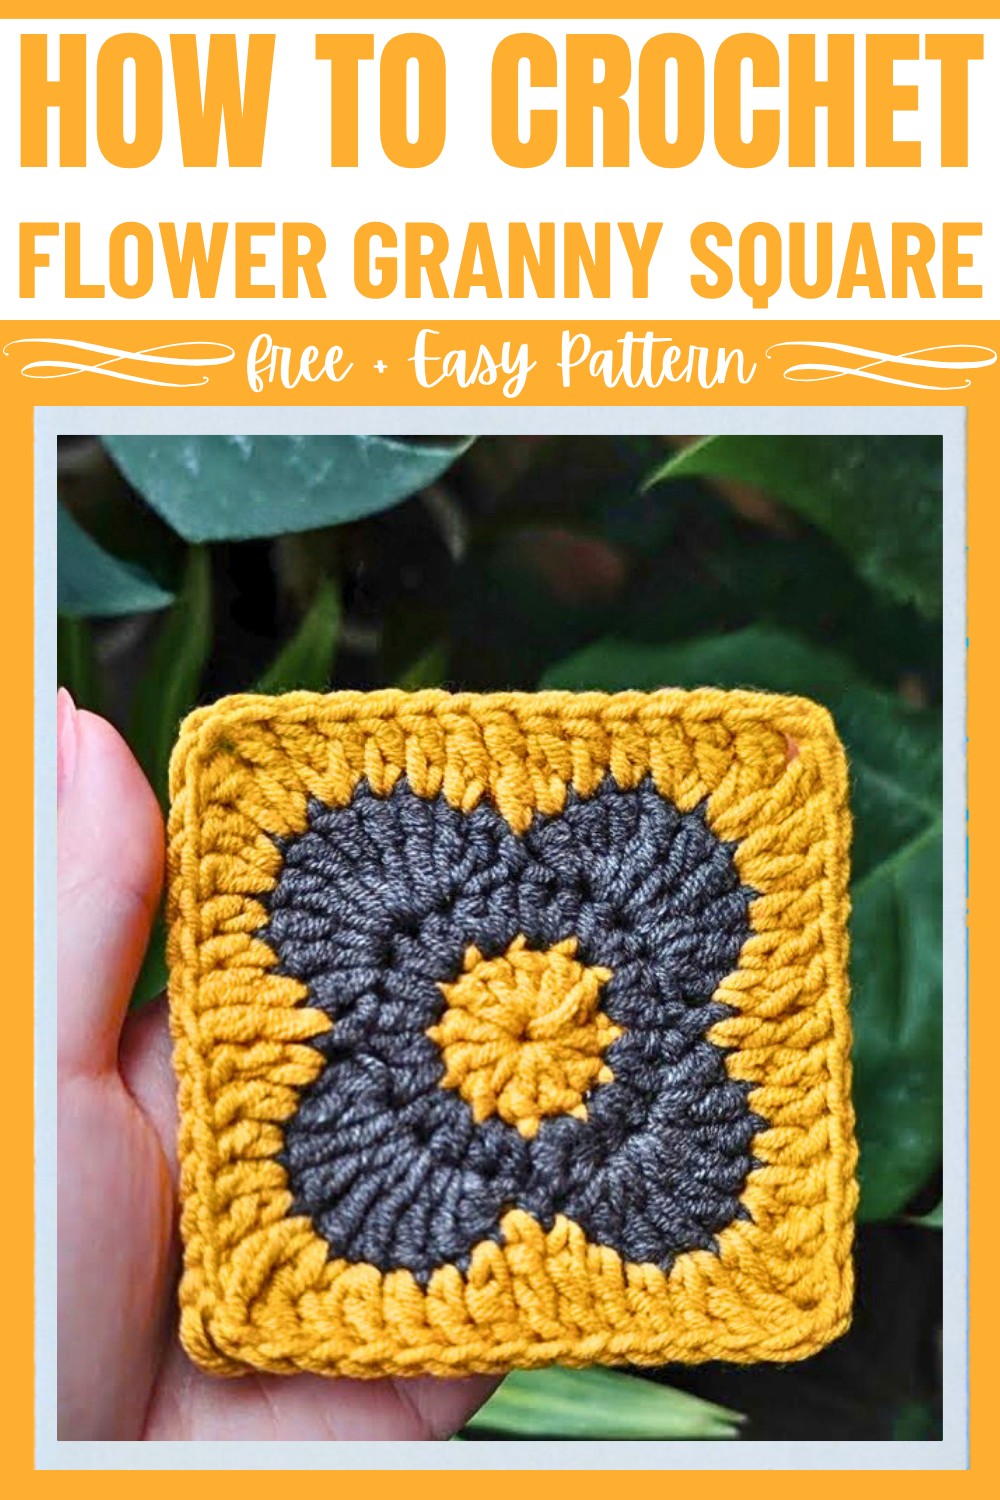
You’ll start with a magic ring to create the flower’s center, followed by rounds of stitches to build its petals and square base. Each round introduces layers of texture and color, making the granny square bloom beautifully. By blending double crochets, extended stitches, and trebles, you’ll form a flower that stands out, surrounded by a neat square frame. Add vibrant contrasting yarns for a lively look or subtle tones for something more calming.
This pattern’s charm lies in its floral-centered design that makes projects feel fresh, warm, and handmade with love. With a bit of yarn and focus, your finished piece will be a lovely addition to any creative crochet work.
Credit day la hanh
Materials & Tools Needed:
- 3.0 mm crochet hook
- Milk Cotton yarn size 5 ply, 125 g (4.4 oz), 220 m (241 yds)
- scissors
- darning needle
Pattern Abbreviations & Terminology:
This pattern uses US crochet terms. Below are the abbreviations:
- ch: Chain
- dc: Double Crochet
- hdc: Half Double Crochet
- tr: Treble Crochet
- sl st: Slip Stitch
- st(s): Stitch(es)
- magic ring: Magic Circle
- YO: Yarn Over
- extended dc: Extended Double Crochet (similar to dc with an extra step)
Step-by-Step Detailed Crochet Instructions
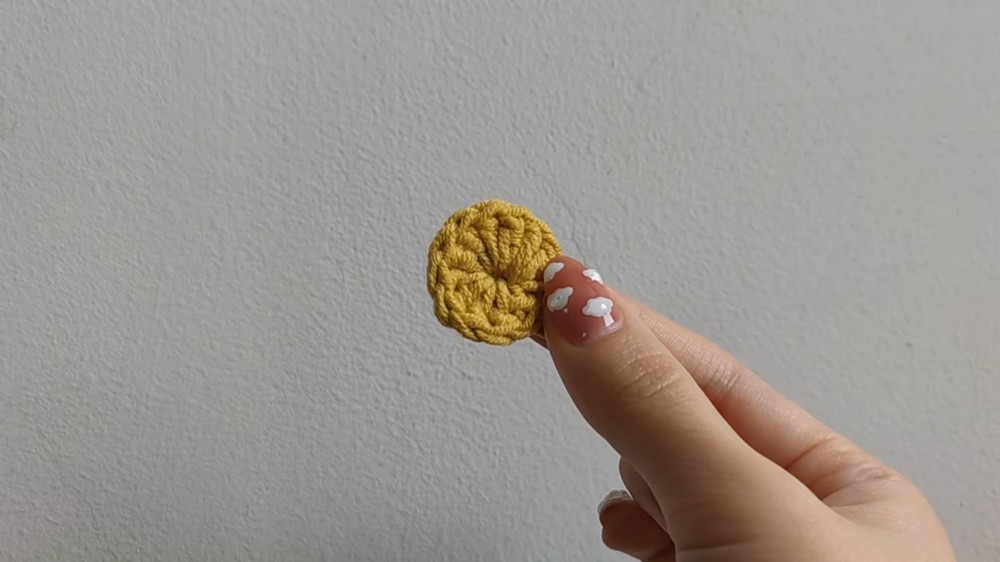
Round 1: The Center of the Flower
- Start with your first color (e.g., mustard yellow).
- Make a magic ring (refer to the provided tutorial for forming and securing a magic ring).
- Ch 1, then work 11 dc into the magic ring.
- Stitch Count: 12 dc (count the starting chain as the first dc).
- Pull the magic ring tight to close the circle.
- Slip stitch into the second chain of the starting ch 2 to join the round.
- Ch 1, cut the yarn, and fasten off.
Round 2: Adding the Base for Petals
- Attach your second color (e.g., gray yarn) with a slip knot.
- Make a standing hdc in any stitch from the previous round.
- Into the same stitch, work a second hdc.
- In each stitch around, make 2 hdc (this is an increase round).
- Stitch Count: 24 hdc.
- Join with a sl st into the first standing hdc of the round.
- Ch 1, cut the yarn, and fasten off.

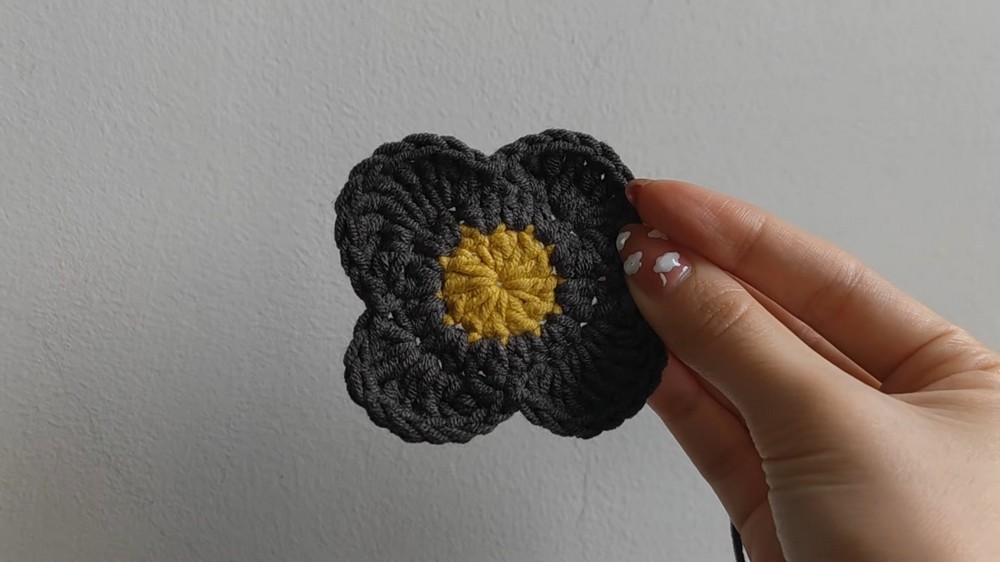
Round 3: Creating the Petals
- Attach your third color with a slip knot.
- Begin in any stitch:
- Work 1 dc, 1 extended dc, and 1 tr in the same stitch.
- In the next stitch, create 3 tr stitches in the same stitch.
- In the following stitch, work 1 tr, 1 extended dc, and 1 dc in the same stitch.
- Skip the next stitch, and make a sl st in the following stitch to anchor the petal.
- Repeat the petal sequence around:
- (Skip 1 stitch, [1 dc, 1 extended dc, 1 tr] in one stitch, 3 tr in the next stitch, [1 tr, 1 extended dc, 1 dc] in the next stitch, sl st in the next stitch).
- Petals Formed: 6 petals in total.
- Finish the round with a final sl st, ch 1, cut the yarn, and fasten off.
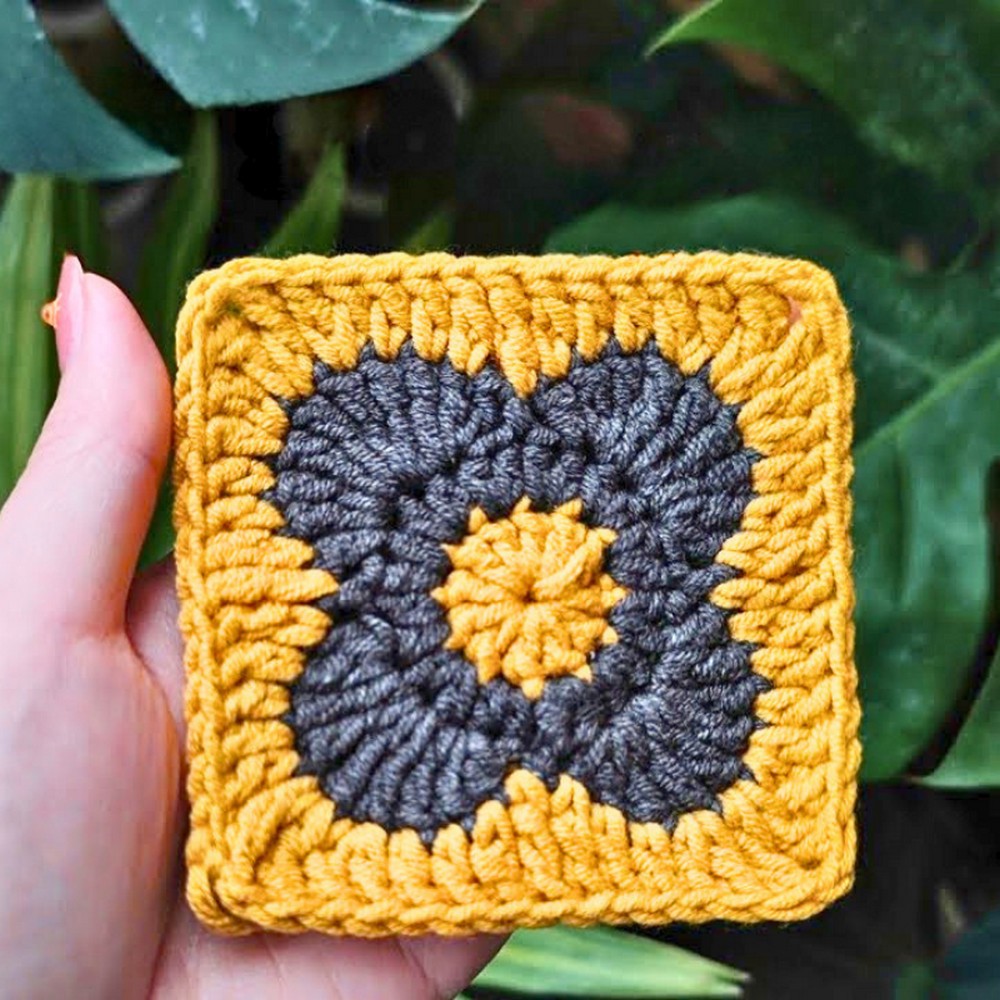
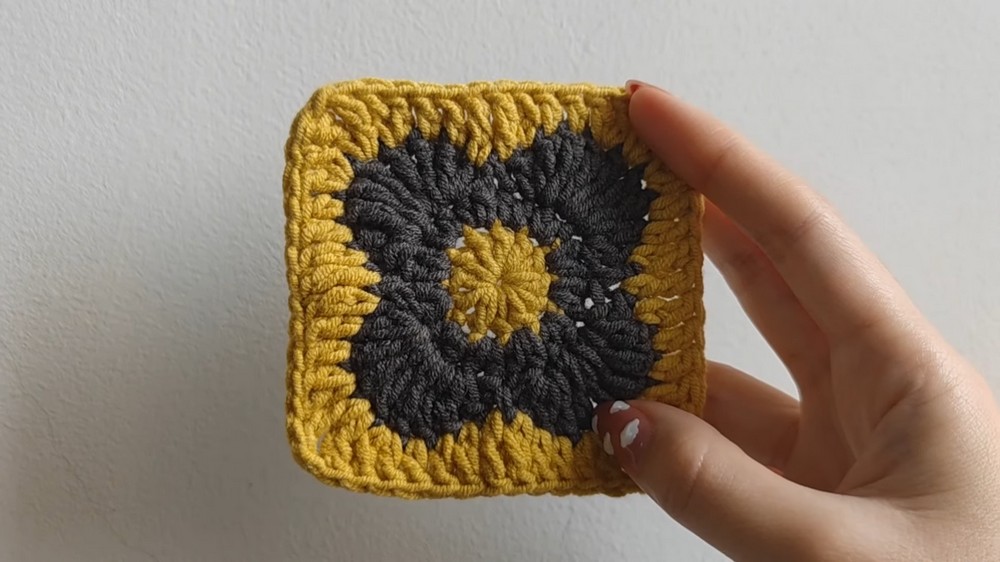
Round 4: Forming the Granny Square Edges
- Rejoin the first color (mustard) or use a contrasting color.
- Start in the highest point of a petal (the second tr of the group of 3 trs):
- Work 1 tr, ch 1, and another tr in the same stitch (this forms a corner).
- In the next stitch, work 1 extended dc and 1 dc in the same stitch.
- Work 1 dc into each of the next 2 stitches.
- Into the next stitch, work 1 extended dc.
- Into the sl st (base between petals), work 1 tr.
- Continue this sequence around:
- Form corners by working [1 tr, ch 1, 1 tr] into the highest point of each petal.
- Work intermediate stitches (extended dc, dc, etc.) to create straight edges.
- Finish the round by joining with a sl st into the first standing tr, ch 1, and cut the yarn.
Finishing Techniques:
- Weave in all yarn ends securely with a tapestry needle.
- Block the granny square (if needed) to make it lie flat and achieve sharp corners.