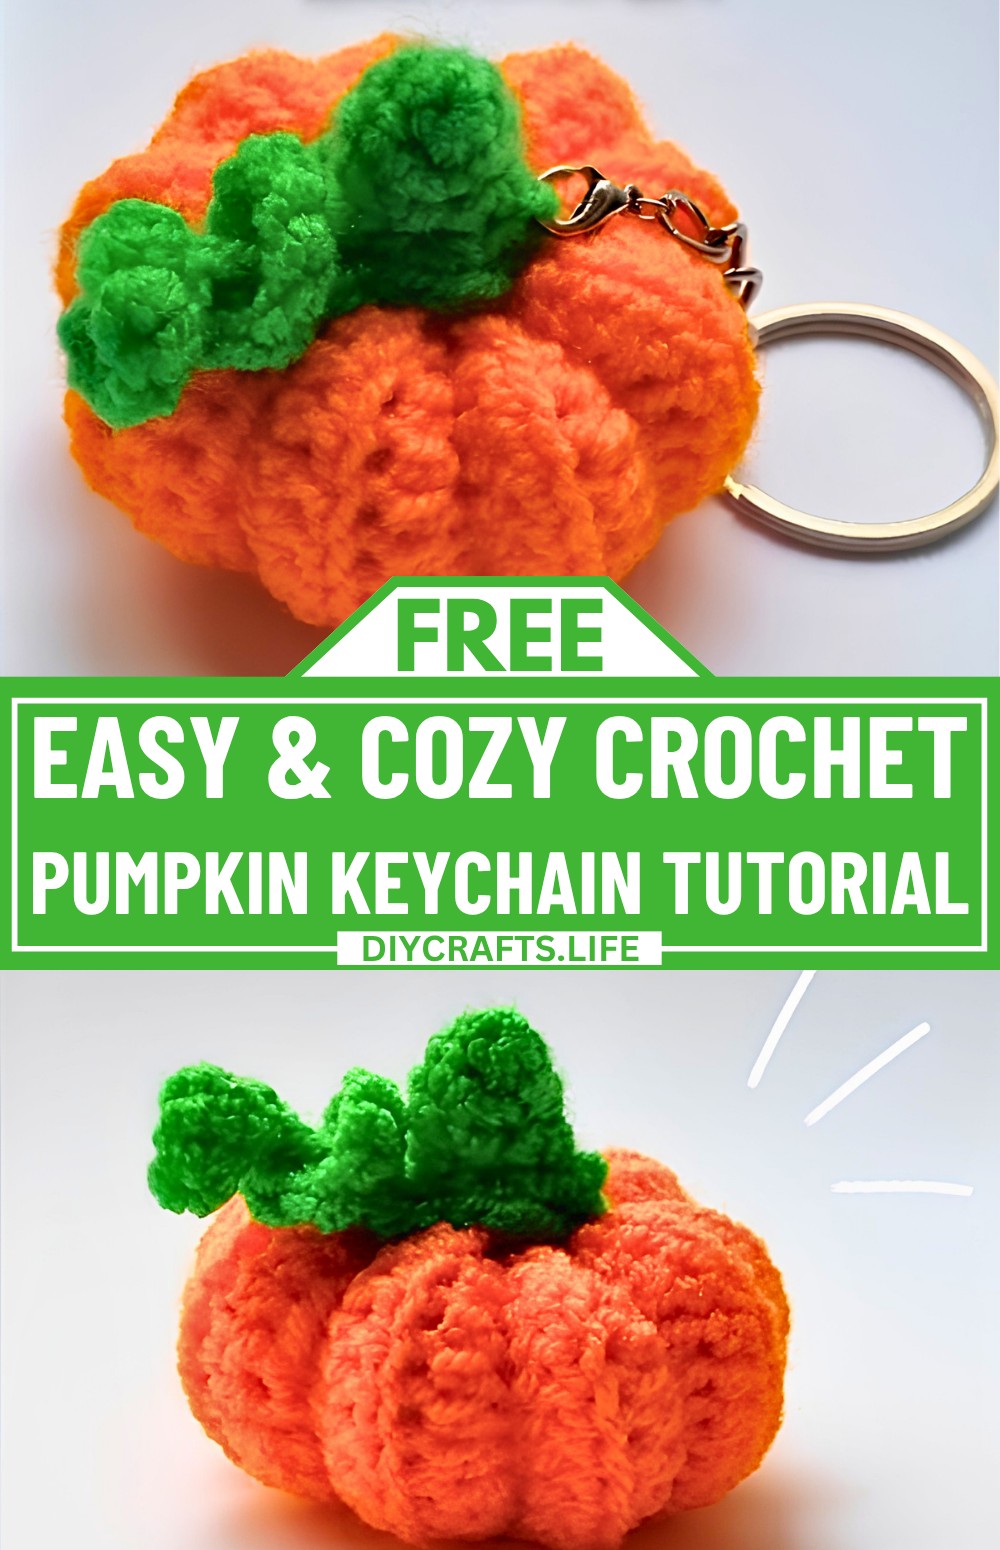
This is not just a small crocheted pumpkin keychain; it's a tiny design that instantly grabs attention. Handcrafted with care, this keychain carries a soft charm that sets it apart from ordinary accessories. Every stitch reflects a soft creative touch, turning it into something more than just another crocheted keychain. When attached to bags or keys, it makes a quiet yet noticeable statement. And this is just the beginning; keep reading to see what makes this crochet pumpkin keychain truly stand out.
Beautiful Crochet Pumpkin Keychain Tutorial
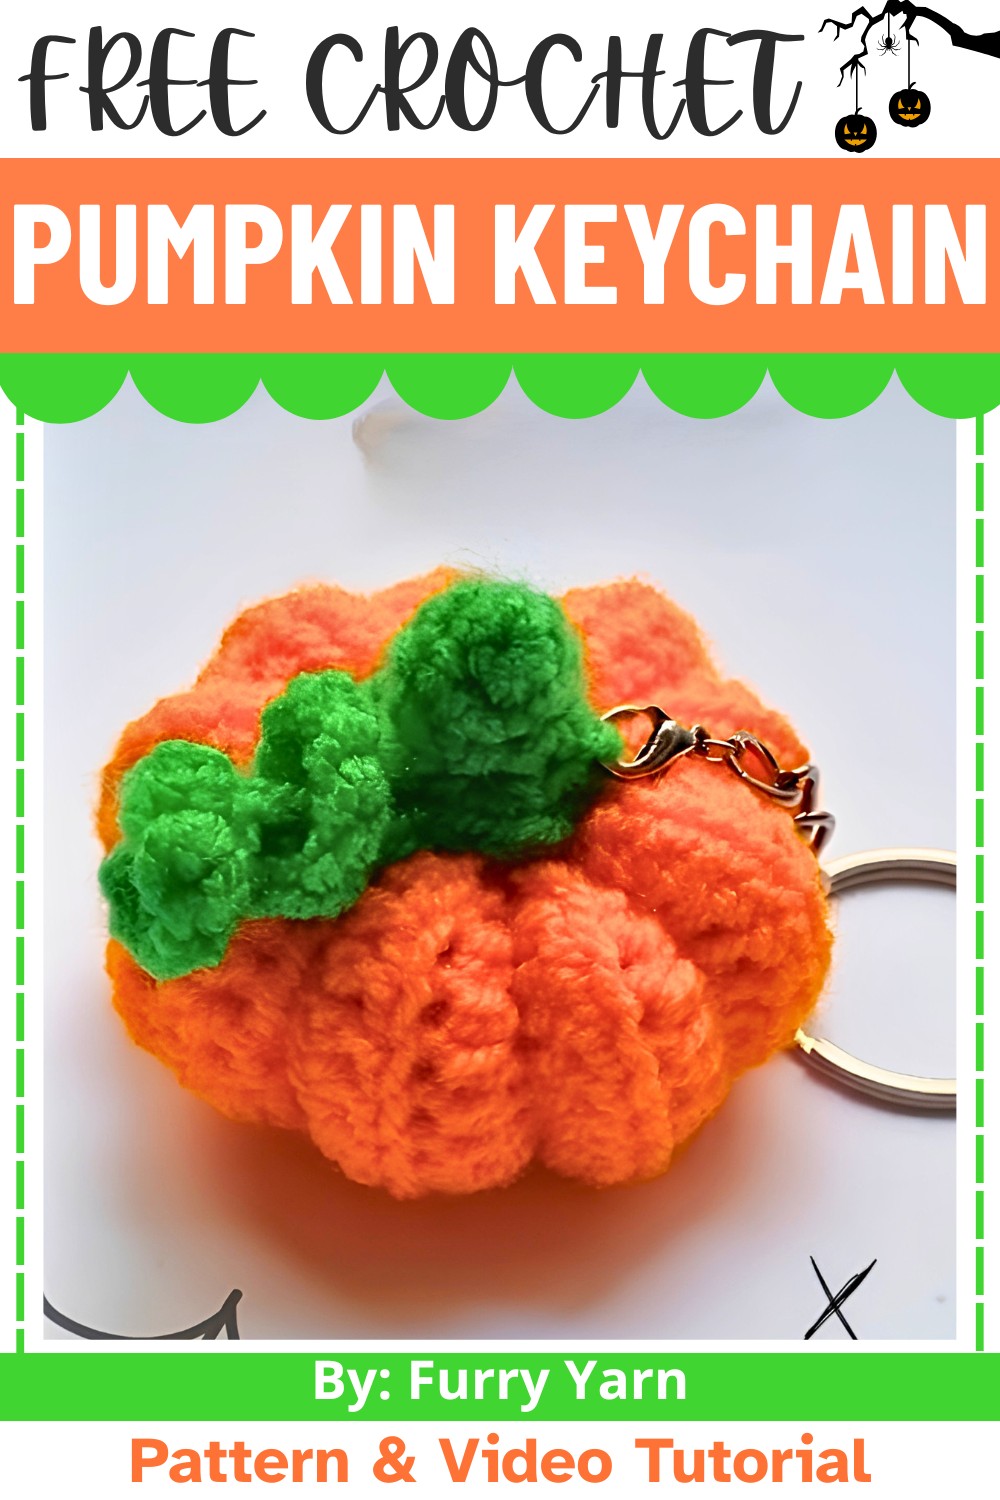
You will enjoy how simple this crochet pumpkin is to make, from shaping its textured body to sewing it closed and attaching the keychain. The process uses basic crochet techniques that come together naturally to form a stuffed pumpkin. Along the way, you can also make tiny leaves that add an extra touch of cuteness. This beginner-friendly piece is perfect for anyone who wants to try something creative without complexity. In the end, you turn simple yarn into a charming handmade crochet piece. It works beautifully as both a decorative item and a thoughtful gift, making this crochet pumpkin keychain truly special.
Credit Furry Yarn
Materials & Tools Needed
- Yarn
- Medium (Worsted) weight yarn in orange for the pumpkin base.
- Green or brown yarn for the stem.
- Crochet Hook
- Size appropriate for your yarn (generally 3.5 mm to 4.0 mm for medium-weight yarn).
- Fiber Stuffing
- To fill the pumpkin.
- Needle
- For sewing and assembling the pumpkin parts.
- Scissors
- Keyring
- To make it into a keychain.
Finished Size & Customization Ideas
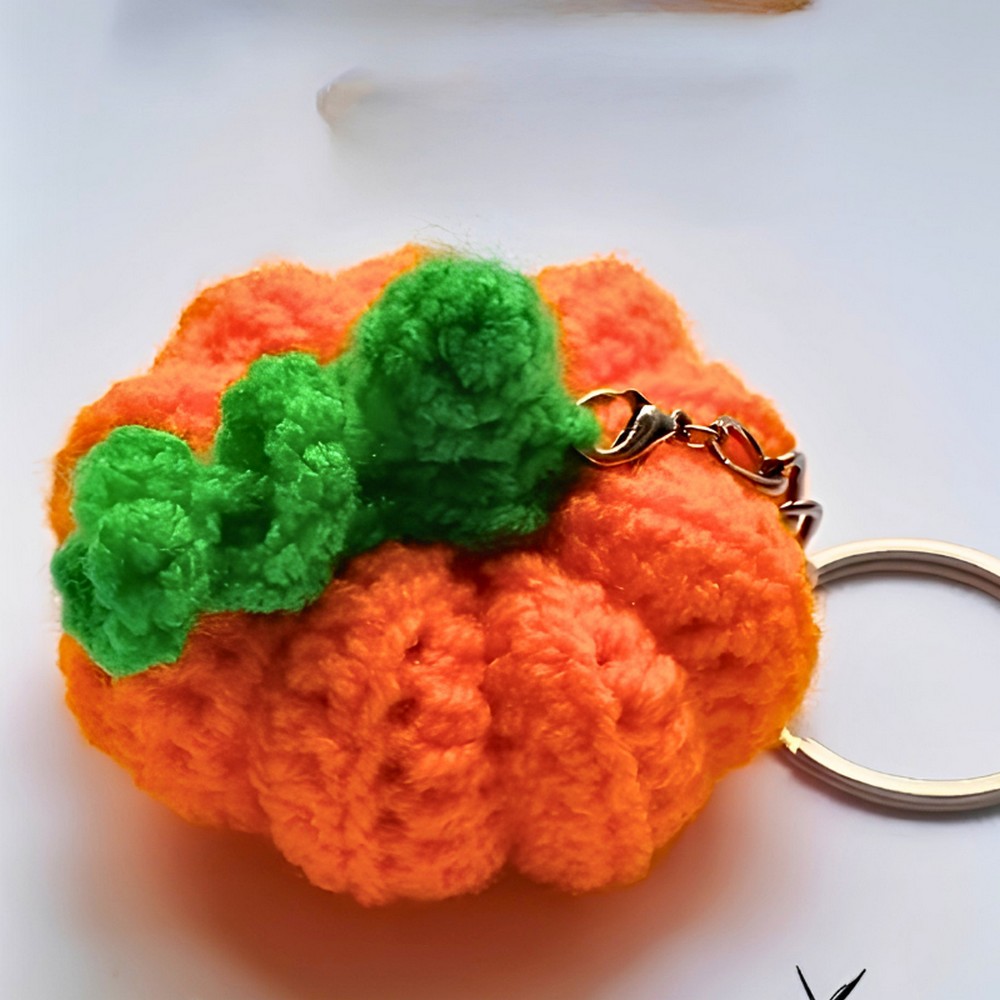
- Finished size: Approximately 2 inches in diameter when stuffed (based on medium-weight yarn and recommended hook size).
- Customization Ideas:
- Use different yarn colors for multicolored pumpkins.
- Add beads or embellishments for decorative features.
- Insert scented stuffing for a seasonal fragrance.
Pattern Abbreviations & Terminology
- ch – Chain
- sl st – Slip Stitch
- sc – Single Crochet
- hdc – Half Double Crochet
- inc – Increase (2 stitches in the same space)
- blo – Back Loop Only
- MR – Magic Ring
Terminology follows US crochet standards.
Step-by-Step Detailed Crochet Instructions
This pattern consists of two main components: the pumpkin body and the stem.
Pumpkin Body
- Start the Base
- Slip Knot & Chain Foundation: Begin by making a slip knot. Chain 15 stitches.
- Row 1
- Skip the first chain. Work one hdc in each chain across (total: 15 hdc).
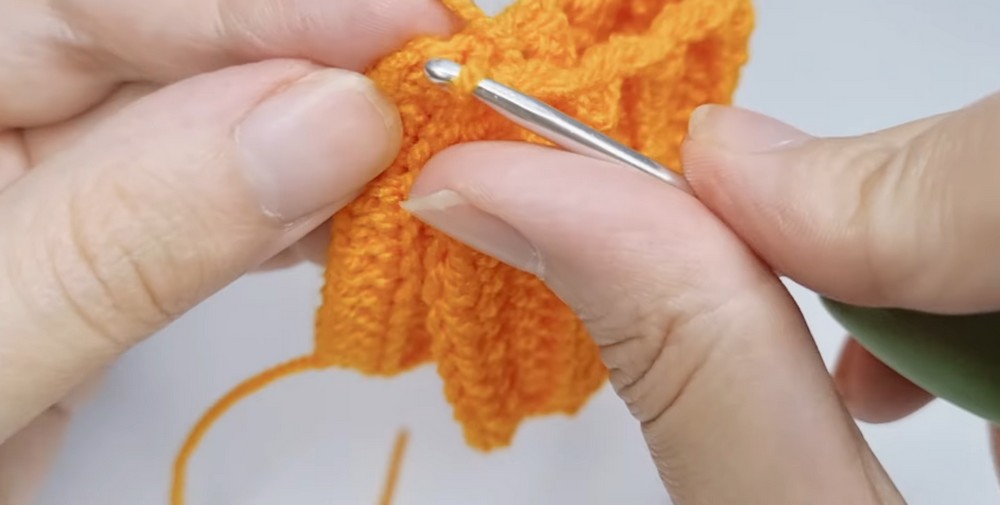
- Row 2
- Turn Your Work. Chain 1. Work in the back loop only (blo) of each stitch across. Make 1 hdc in the last stitch through both loops.
- Rows 3–17
- Repeat Row 2 for a total of 17 rows (18 rows when complete).
- Form the Cylinder
- Fold the piece in half. Align the edges and work slip stitches through the back loops together across the row to join both edges (creating a tube).
- Close One End
- Chain 1, tie off the yarn, and use your needle to sew one end of the tube closed. Secure with a knot.
- Stuff the Pumpkin
- Push fiber stuffing into the tube until firm.
- Close the Other End
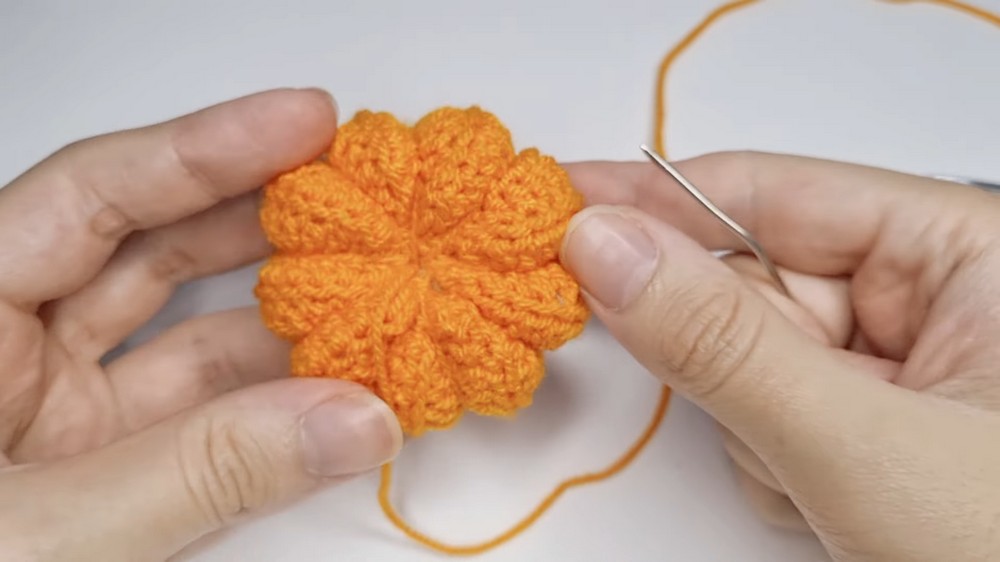
- Sew and gather the other end closed, pulling tightly to shape the pumpkin. Use the needle to create ridges by stitching through the pumpkin multiple times to form the segments.
Stem
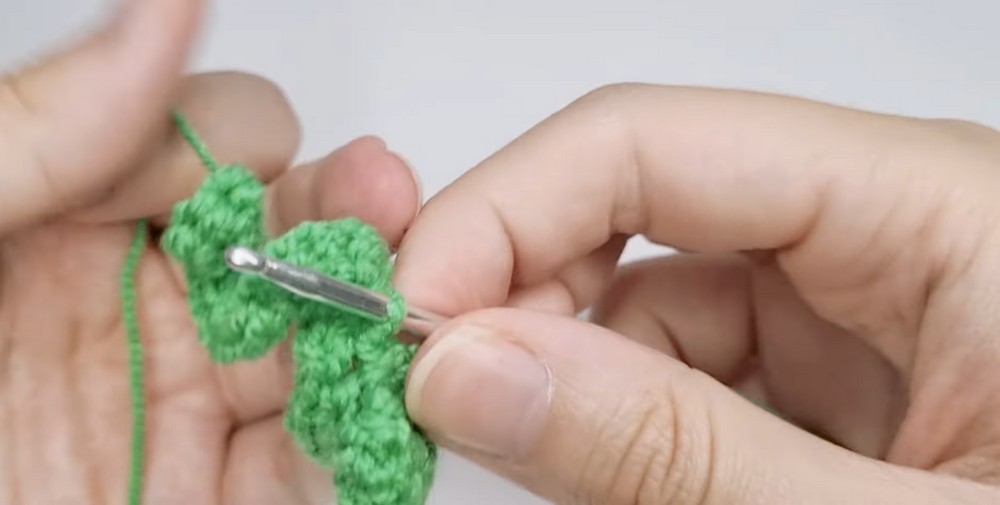
- Start with a Magic Ring (MR)
- Wrap yarn around your fingers and insert hook into the circle. Chain 1.
- Round 1
- Work 4 sc into the Magic Ring. Pull the ring closed.
- Round 2
- Work 1 sc in the first stitch, followed by 2 sc (Inc) in the next stitch. Repeat this pattern twice. You should have 6 sc total.
- Round 3 & 4
- Work 1 sc in each stitch around (6 sc total per round).
- Finishing the Stem
- Chain 11 for a curly tendril. Skip the first chain and work 2 sc into each chain for an increased, curled effect.
- Assembly
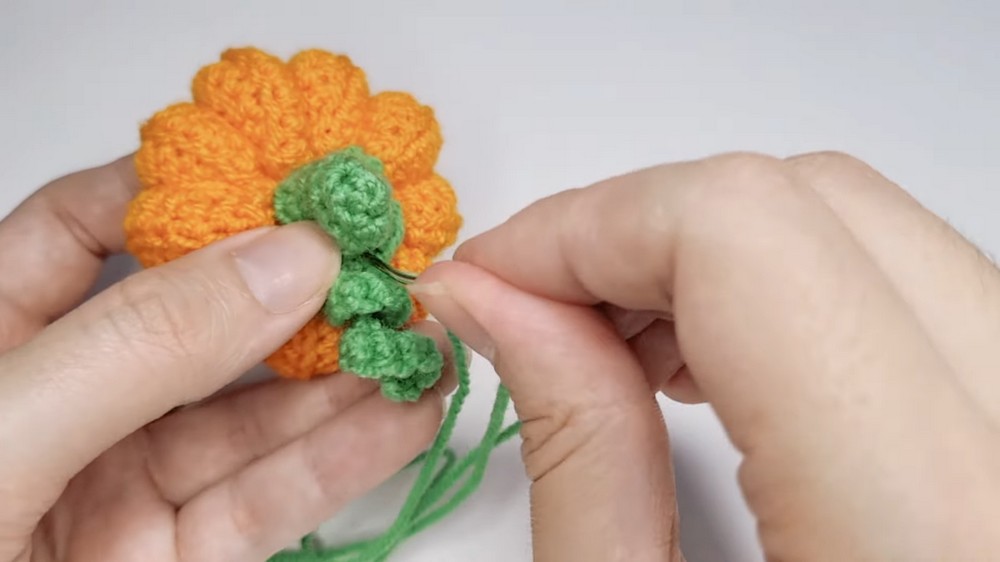
- Tie off the yarn and cut excess. Sew the stem to the top of the pumpkin securely.
Final Assembly
- Connect the Stem to Pumpkin
- Use a needle to sew the stem onto the center of the pumpkin top.
- Attach the Keyring
- Fix the keyring at the top of the stem or directly onto the pumpkin body using your needle or hook. Ensure it’s securely fastened.
Finishing Techniques
- Secure Loose Ends
- Weave in or trim any visible loose yarn tails.
- Shape the Pumpkin
- Adjust the stuffing and tug gently on stitched ridges to perfect the pumpkin’s shape.
- Optional Add-ons
- Add embellishments like small leaves or beads for decoration.