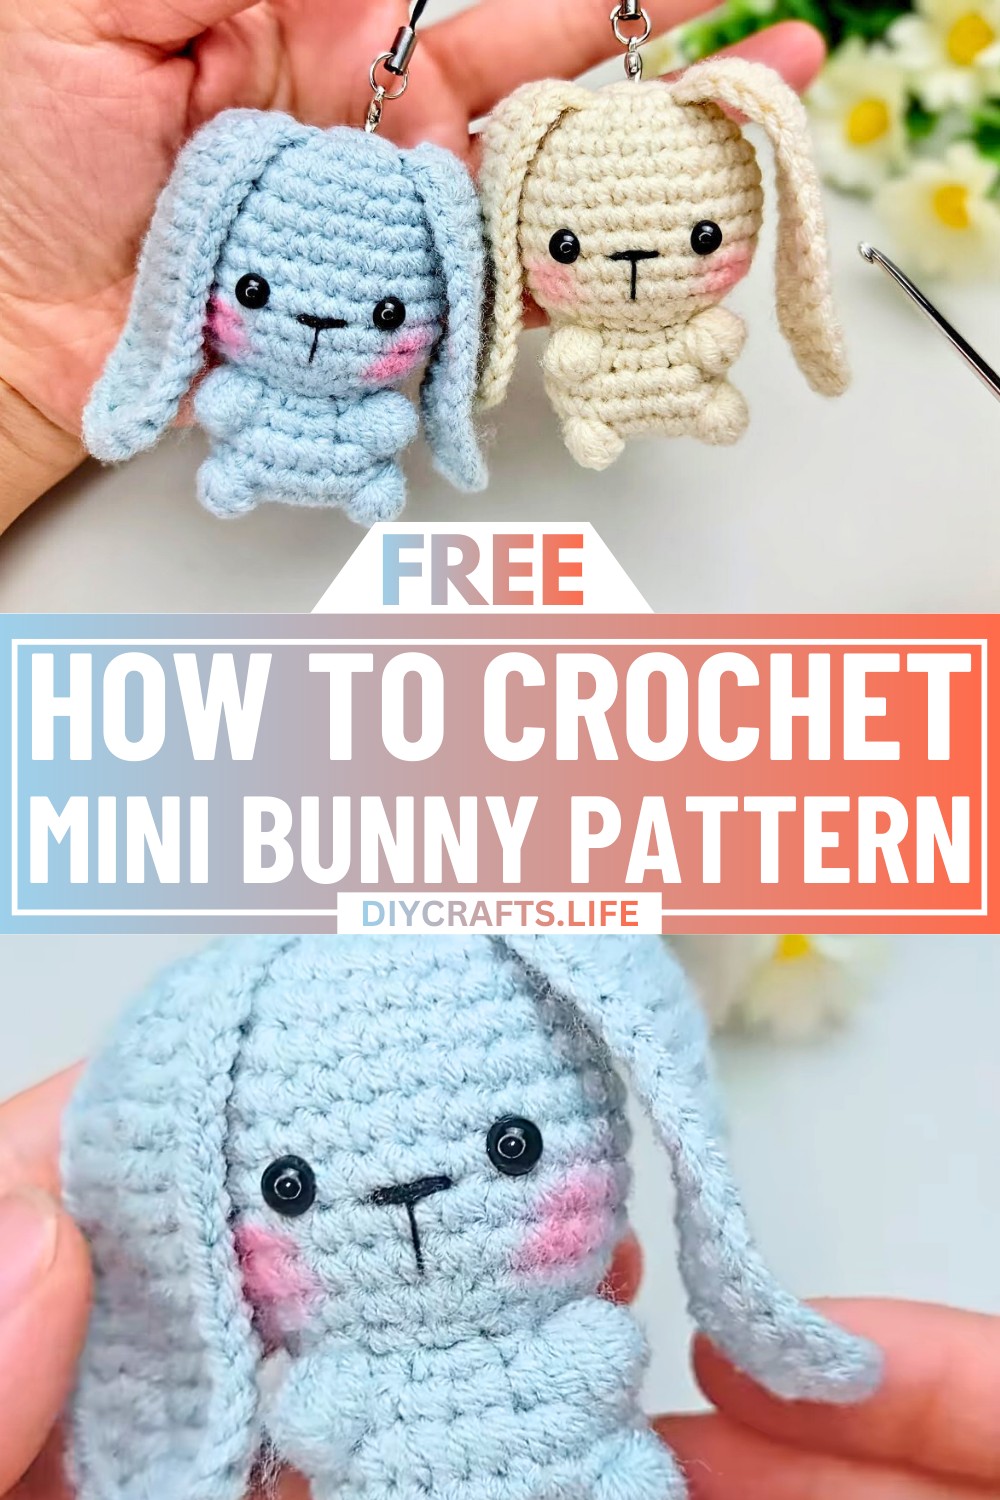
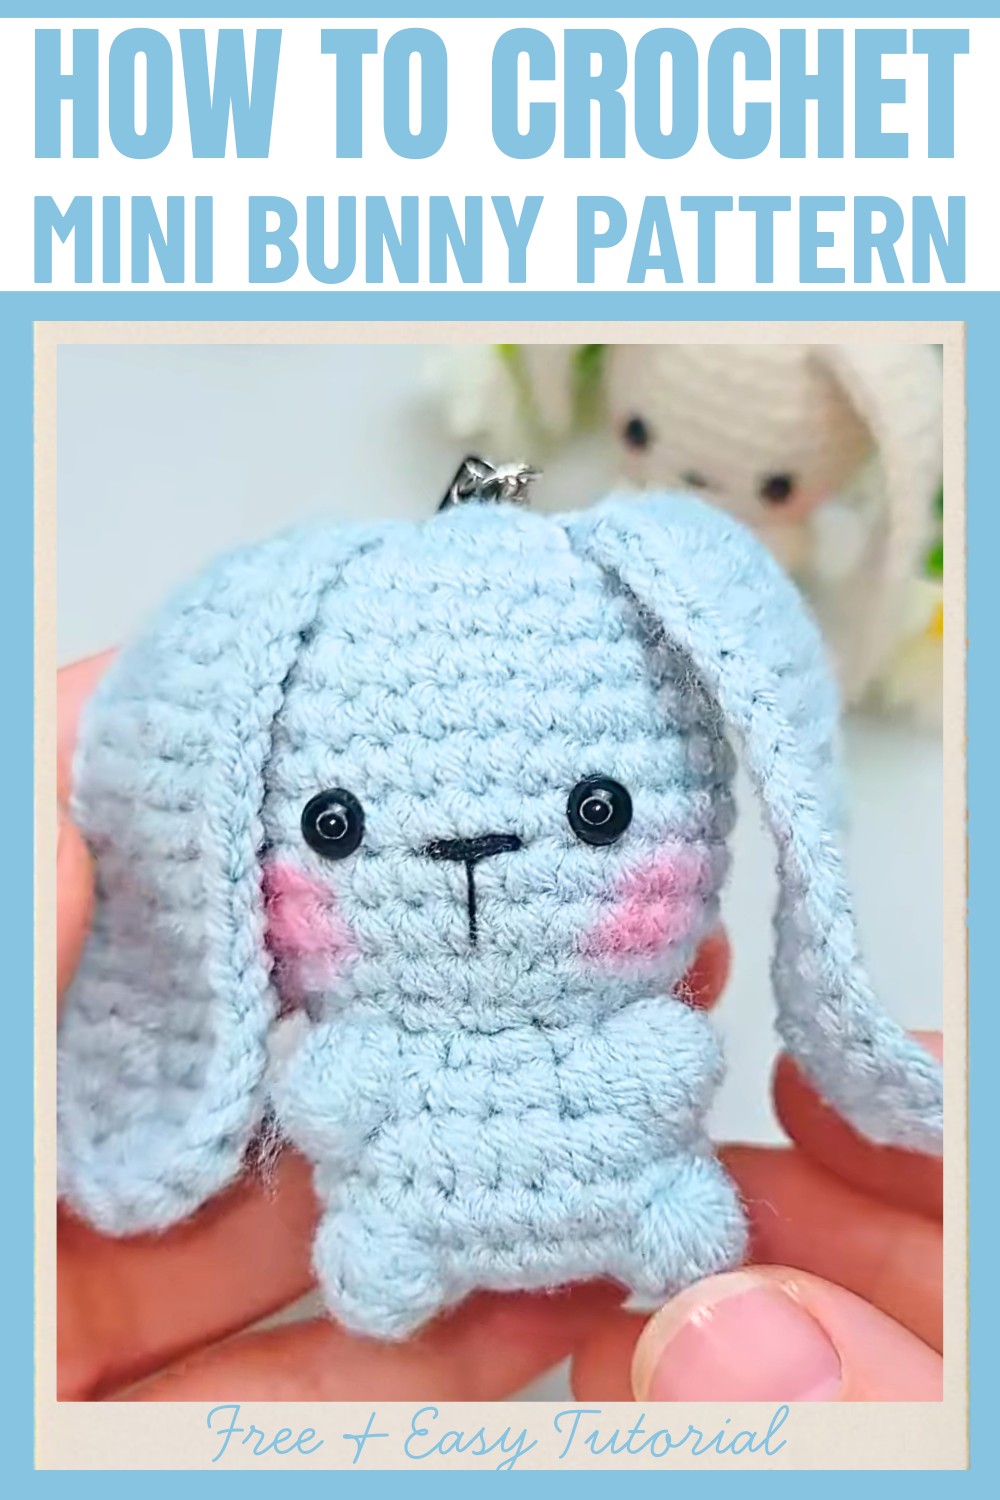
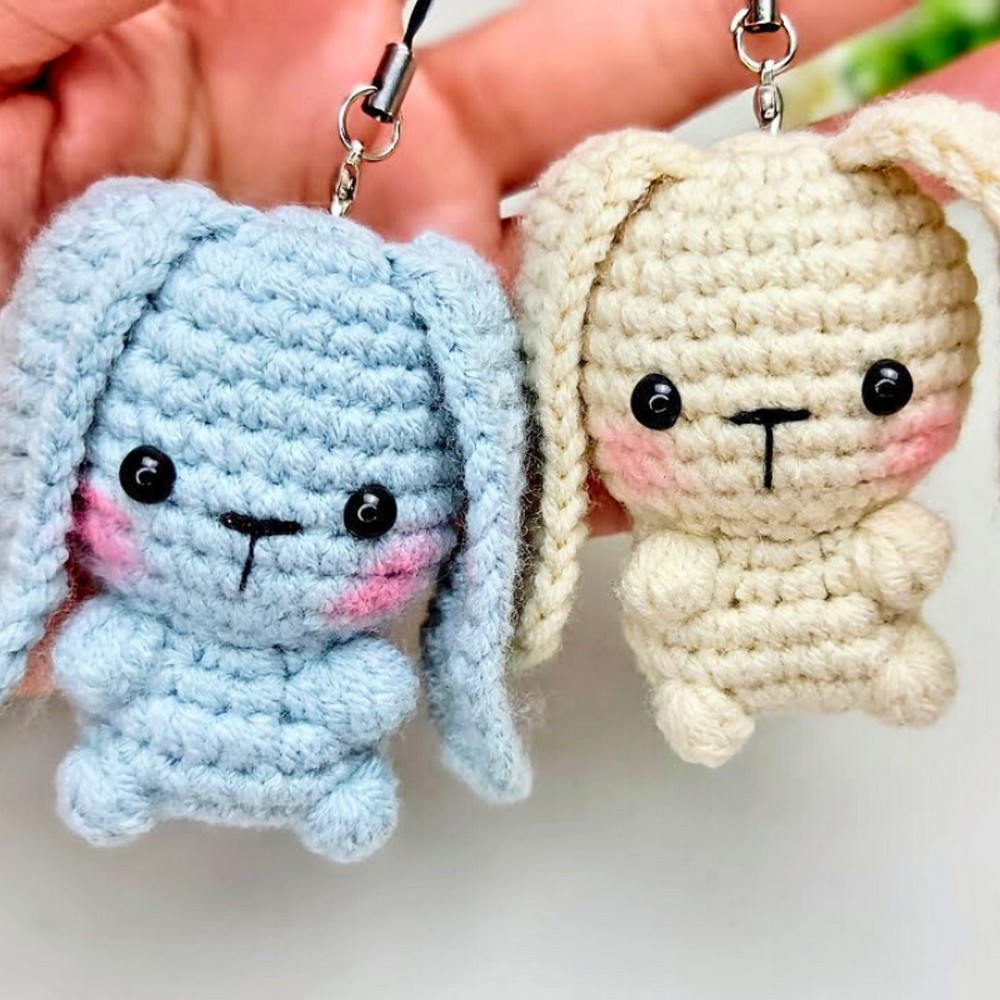
A crochet mini bunny is a small, adorable creation that can brighten up any space. It's perfect as a gift, a cute toy, or a cheerful home accent on shelves or tables. This little bunny makes people smile and is ideal for beginners. Its simple yet charming design makes it fun to create, while also giving a sense of accomplishment.
The process is straightforward and enjoyable. With just a few basic steps, like crocheting its ears, body, and adding stuffing, the bunny takes shape quickly. Beginners and kids will love how simple and satisfying it feels to finish this project. It can be used as a memorable handmade gift or kept as a personal treasure, decorating your space with its playful presence.
Credit Crochet By Hui
Materials & Tools Needed
- Milk Cotton Yarn — 4 strands (Choose a soft and fluffy yarn for the bunny.)
- Crochet Hook — Size 2.0 mm
- Scissors
- Darning Needle (For sewing and weaving in ends)
- Fiber Stuffing (To fill the bunny)
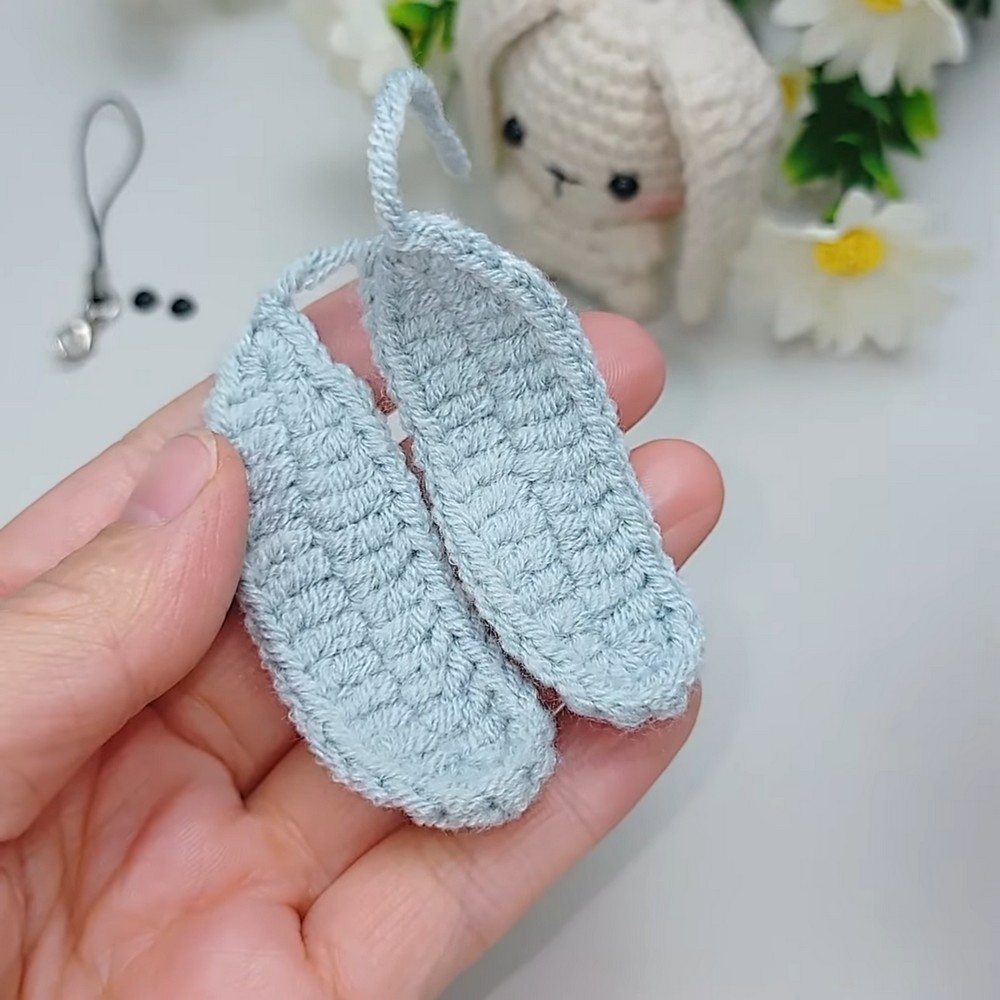
- Optional: Safety eyes, blush for cheeks, or embroidery thread for details.
Finished Size & Customization Ideas
- The finished mini bunny will measure approximately 5-6 cm (2-2.5 inches) tall. It is perfect as a small decoration, keychain, or gift.
- Customization Ideas:
- Use different yarn colors for ears, body, or accessories.
- Add a tiny bow tie, flower, or felt accessories.
- Use safety eyes or embroidered eyes depending on your preference.
Pattern Abbreviations & Terminology
Here are common crochet abbreviations used in the pattern:
- sl st: Slip stitch
- ch: Chain stitch
- sc: Single crochet
- hdc: Half double crochet
- dc: Double crochet
- inc: Increase (Make 2 stitches in the same stitch)
- dec: Decrease (Join two stitches into one)
- st(s): Stitch(es)
Note: This pattern uses US terminology.
Step-by-Step Crochet Instructions
Part 1: Bunny Ears
You will make two ears following this method:
- Start with a slip knot and chain 15 stitches (ch 15).
- Insert your hook into the second chain from the hook, twist the fabric slightly, and work into the back stripe.
- Row 1:
- Start with 1 sc on the first chain.
- Make 1 hdc, followed by 11 dc (long stitches) in sequence.
- In the last stitch, make 7 dc into the same stitch to form the base curve of the ear.
- Twist the fabric, then mirror the stitches:
- Work 11 dc along the opposite side.
- Make 1 hdc and 1 sc.
- Finish with a sl st, pull out the loop, and break the yarn. Tidy up the loose ends.
- Repeat to make a total of two identical ears.
Part 2: Main Body
Start from the top:
- Round 1:
- Make a magic ring or ch 2 and work in the first chain.
- Crochet 10 sc in the ring. Join the round with a sl st (total: 10 sc).
- Round 2:
- Work 1 inc (2 sc in one stitch), repeat this around for 16 sc total.
- Attach one ear by making 2 sc through the base of the ear.
- Make 2 sc, attach the second ear the same way.
- Finish remaining sc around (total: 16 sc).
- Round 3:
- Alternate 1 sc and 1 inc (total: 24 sc).
- Round 4:
- Work 24 sc evenly around (no increases, total: 24 sc).
- Round 5:
- Alternate 3 sc and 1 inc (total: 30 sc).
- Rounds 6-10:
- Repeat 30 sc evenly around for five rounds to form the body cylinder.
- Round 11:
- Alternate 3 sc and 1 dec (total: 24 sc).
- Round 12:
- Alternate 1 sc and 1 dec (total: 16 sc).
- Finishing:
- Stuff the bunny body gently with fiber filling.
- Round 13:
- Work 16 sc by picking the outer loops only to begin shaping the base.
- Round 14:
- Crochet 6 sc, followed by 5 dc into one stitch (popcorn/jujube shape), repeat sequence around (20 sc).
- Round 15:
- Crochet 7 sc, make knitting patterns (popcorn stitches), then finish with 24 sc evenly.
- Round 16:
- Evenly crochet 24 sc stitches around.
- Round 17:
- Alternate popcorn stitches and single crochet stitches for a textured finish (24 sc).

Part 3: Finishing Touches
- Stuff the Bunny: Add fiber stuffing to fill out the bunny shape gently and evenly.
- Close Up: On the last round with 16 sc, fasten off and leave a long tail. Use a darning needle to sew the closing carefully, pulling tightly to secure.
- Attach Details:
- Sew or glue safety eyes.
- Add embroidery for the face (nose and mouth) using black thread.
- Customize with blush or accessories.