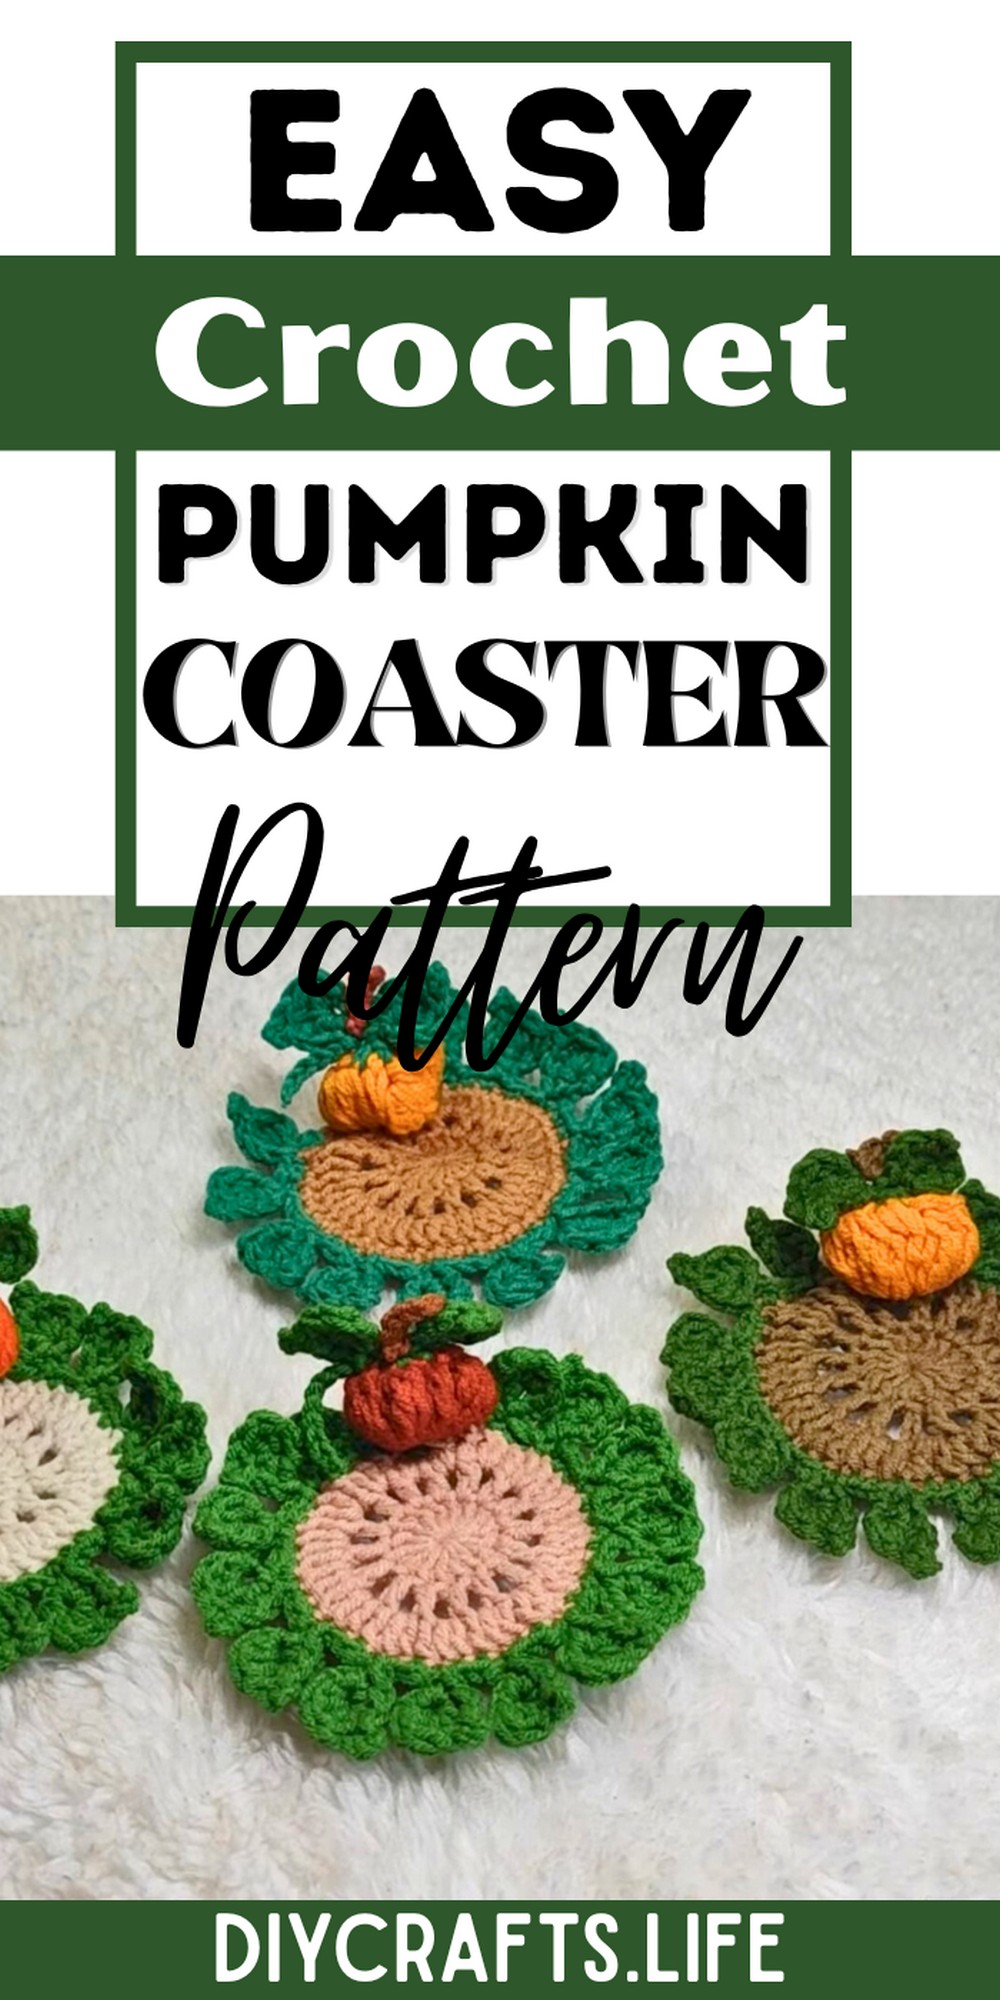
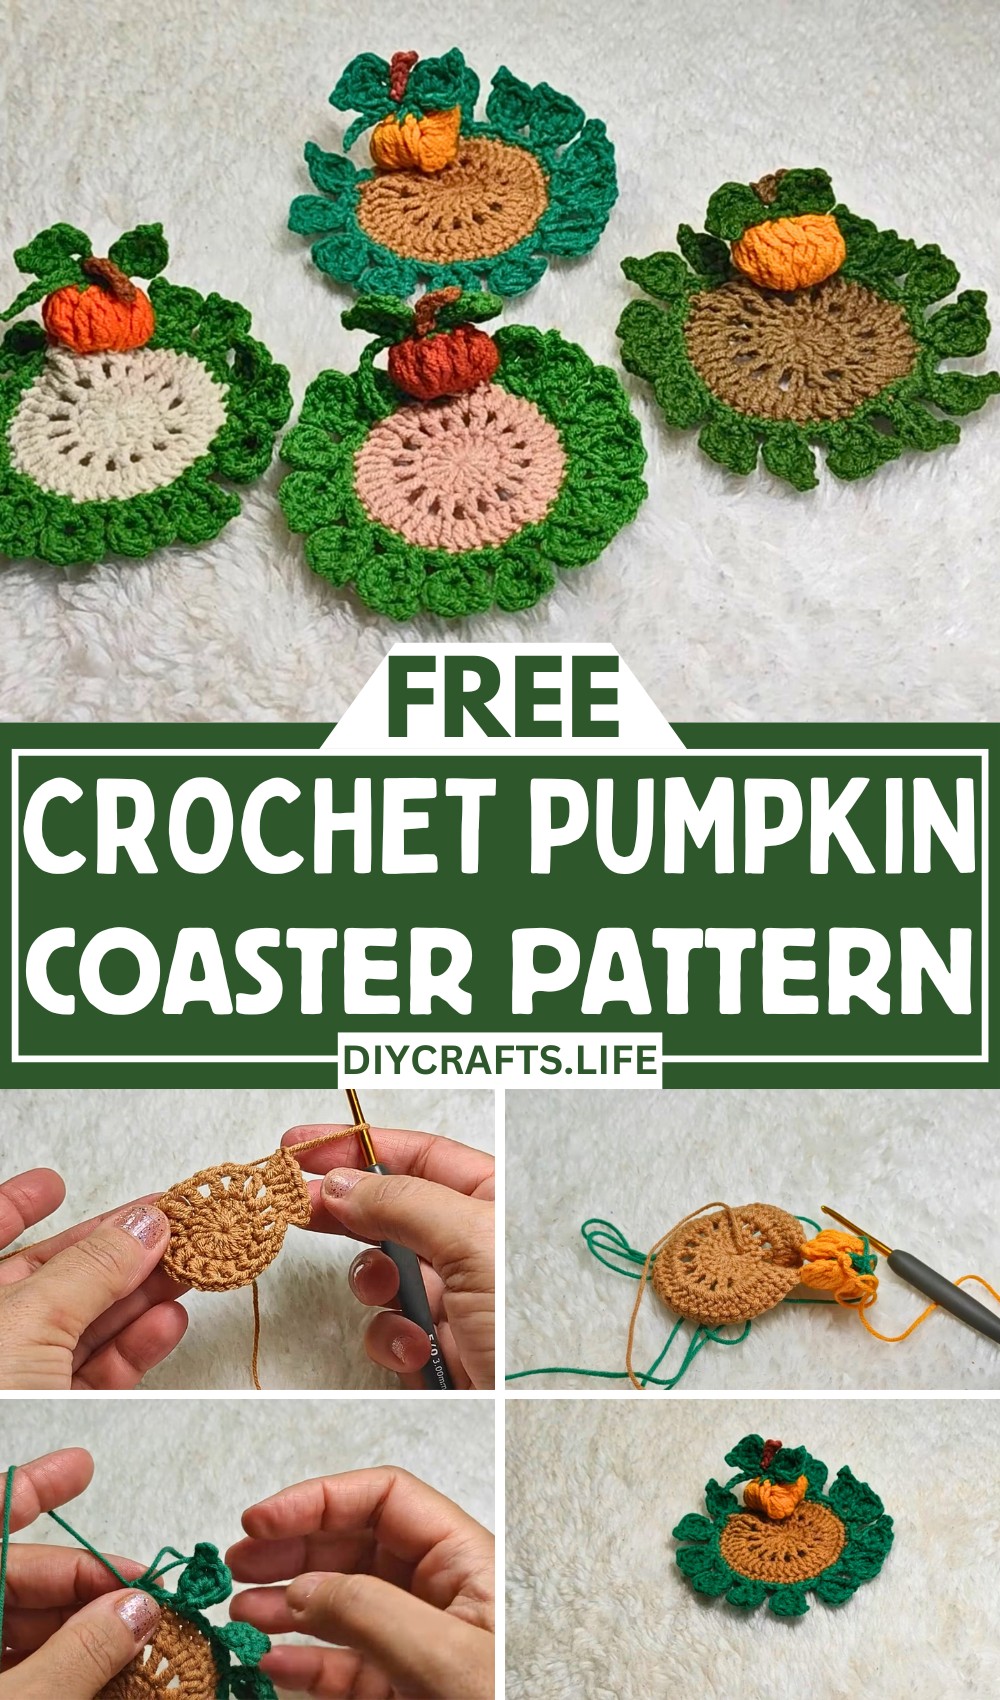
This Halloween-themed crochet project is perfect for creating pumpkin-shaped coasters with delicate leaf details. These charming coasters combine beauty and practicality, making them a festive addition to your home. Easy to customize and versatile, they’re sure to delight your guests.
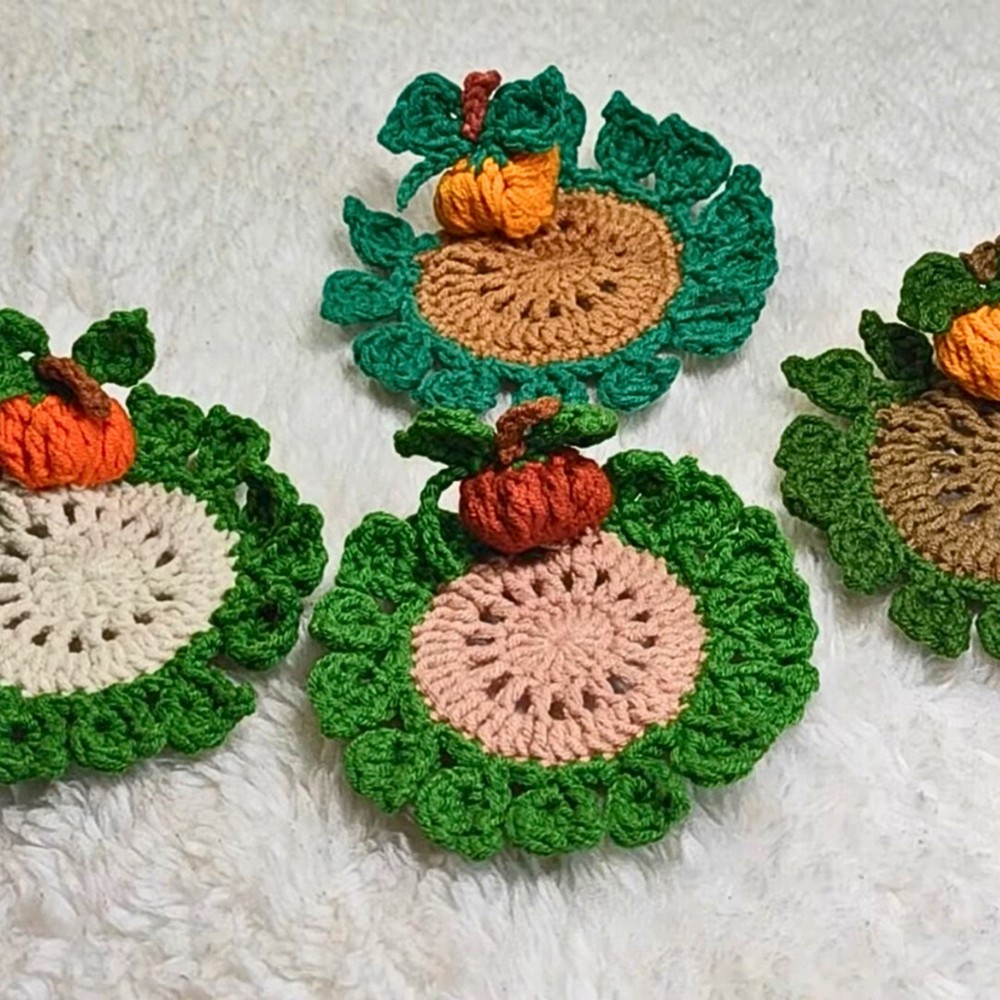
These pumpkin coasters are both decorative and functional, perfect for protecting your surfaces while adding seasonal charm. Made with soft yet durable cotton yarn, they offer longevity and a natural look. Their unique details, such as textured leaves and a vibrant color palette, enhance their appeal.
Crochet Pumpkin Coasters for Halloween
Crafting these coasters is fun and suitable for beginners and experts alike. The design is easy to adjust with different colors or sizes, letting your creativity shine. With simple tools like yarn, a hook, and scissors, you’ll enjoy making these delightful, functional pieces step by step.
Materials and Preparation
To create this adorable crochet pumpkin coaster, perfect for Halloween, you'll need:
-
Yarns:
- Orange cotton yarn for the pumpkin base.
- Green cotton yarn for pumpkin leaves and vine.
- Brown cotton yarn for the pumpkin stalk.
- Optional: Use ordinary cotton yarn (not too thick, 4-ply).
-
Hook:
- 3 mm crochet hook
-
Other Tools:
- Scissors to cut the yarn
- Darning needle for sewing and hiding yarn ends
Abbreviations and Notes
Abbreviations:
- MR: Magic Ring
- CH: Chain
- SC: Single Crochet
- DC: Double Crochet
- SL ST: Slip Stitch
- YO: Yarn Over
Notes:
- Each coaster involves four different colors (orange, green, brown, and base color).
- Be sure to pull yarn ends tightly to close stitches neatly.
- Use the 4-ply yarn and 3 mm hook for best results, but adjust as needed.
Gauge, Approximate Size, and Pattern Notes
- Gauge: Not critical. However, ensure stitches are tight enough to maintain coaster shape.
- Approximate Size: Each coaster measures around 4–5 inches in diameter.
- Pattern Notes:
- This pattern includes working in rounds and clusters for shaping the pumpkin.
- Focus on clusters for creating the pumpkin's texture.
- No gauge swatch is required, as this is a decorative item.
Step-by-Step Pattern
Base of Coaster
Round 1:
- Start with an MR (Magic Ring).
- CH 1 to secure the ring, then CH 3 (counts as the first DC).
- Work 15 DC into the ring (16 total, including initial CH 3).
- Pull the yarn tail to close the ring tightly. SL ST into the top of CH 3 to complete the round.
Round 2:
- CH 3 to begin.
- (DC in next stitch, CH 1) repeat around, making a chain between every DC.
- SL ST into the top of CH 3 to close the round.
Round 3:
- CH 3 to begin.
- Work 2 DC in each CH-1 space from the previous round, then 1 DC directly into each DC stitch.
- Alternate: 2 DC in space, 1 DC in stitch.
- Repeat until the end. SL ST into the top of CH 3 to close.

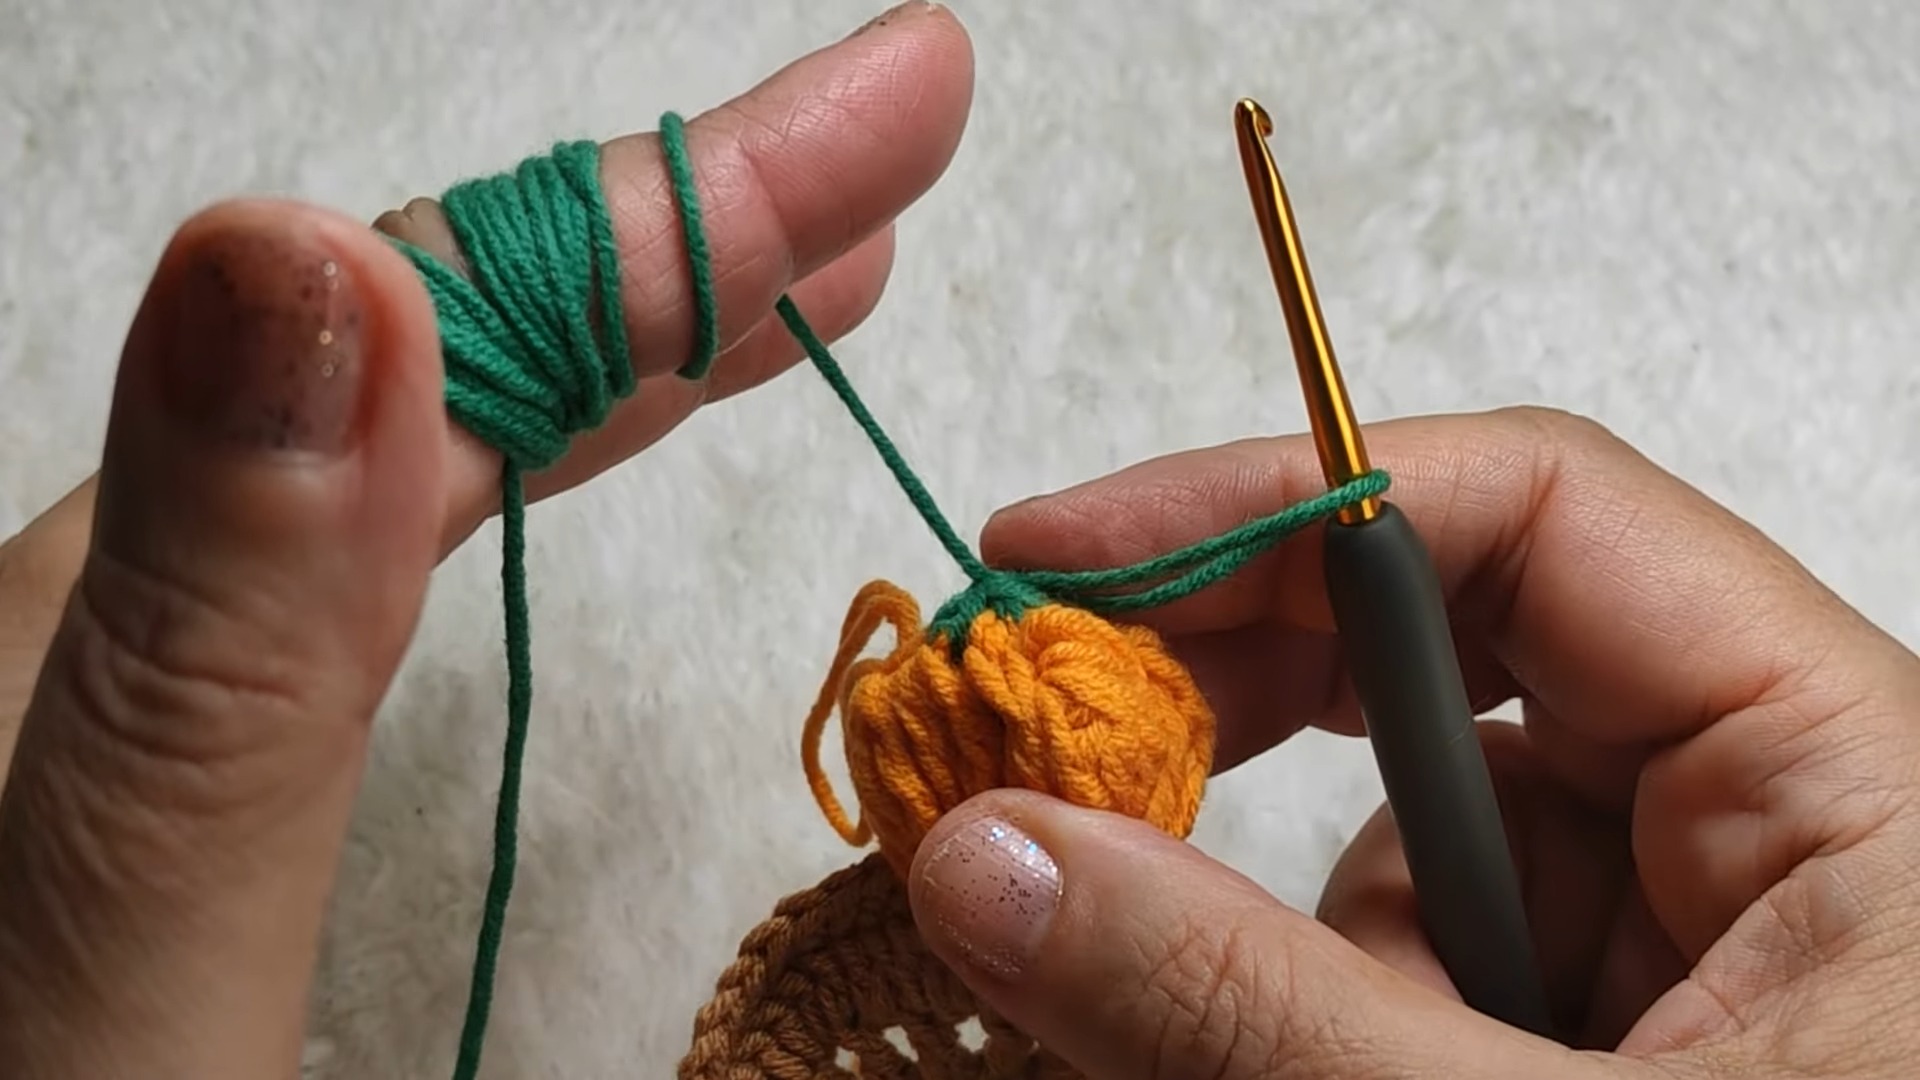
Creating the Pumpkin
Pumpkin Shape:
- CH 5. SK 3 stitches and SC into the 4th stitch. This creates the pumpkin space.
- Switch to orange yarn.
- Secure the orange yarn with a slip knot and begin working clusters of stitches.
- For each cluster: YO twice, pull through 2 loops at a time, until 6 loops remain on the hook (repeat for total 6 stitches).
- YO and pull through all loops on the hook.
- Repeat to form 8 clusters total.
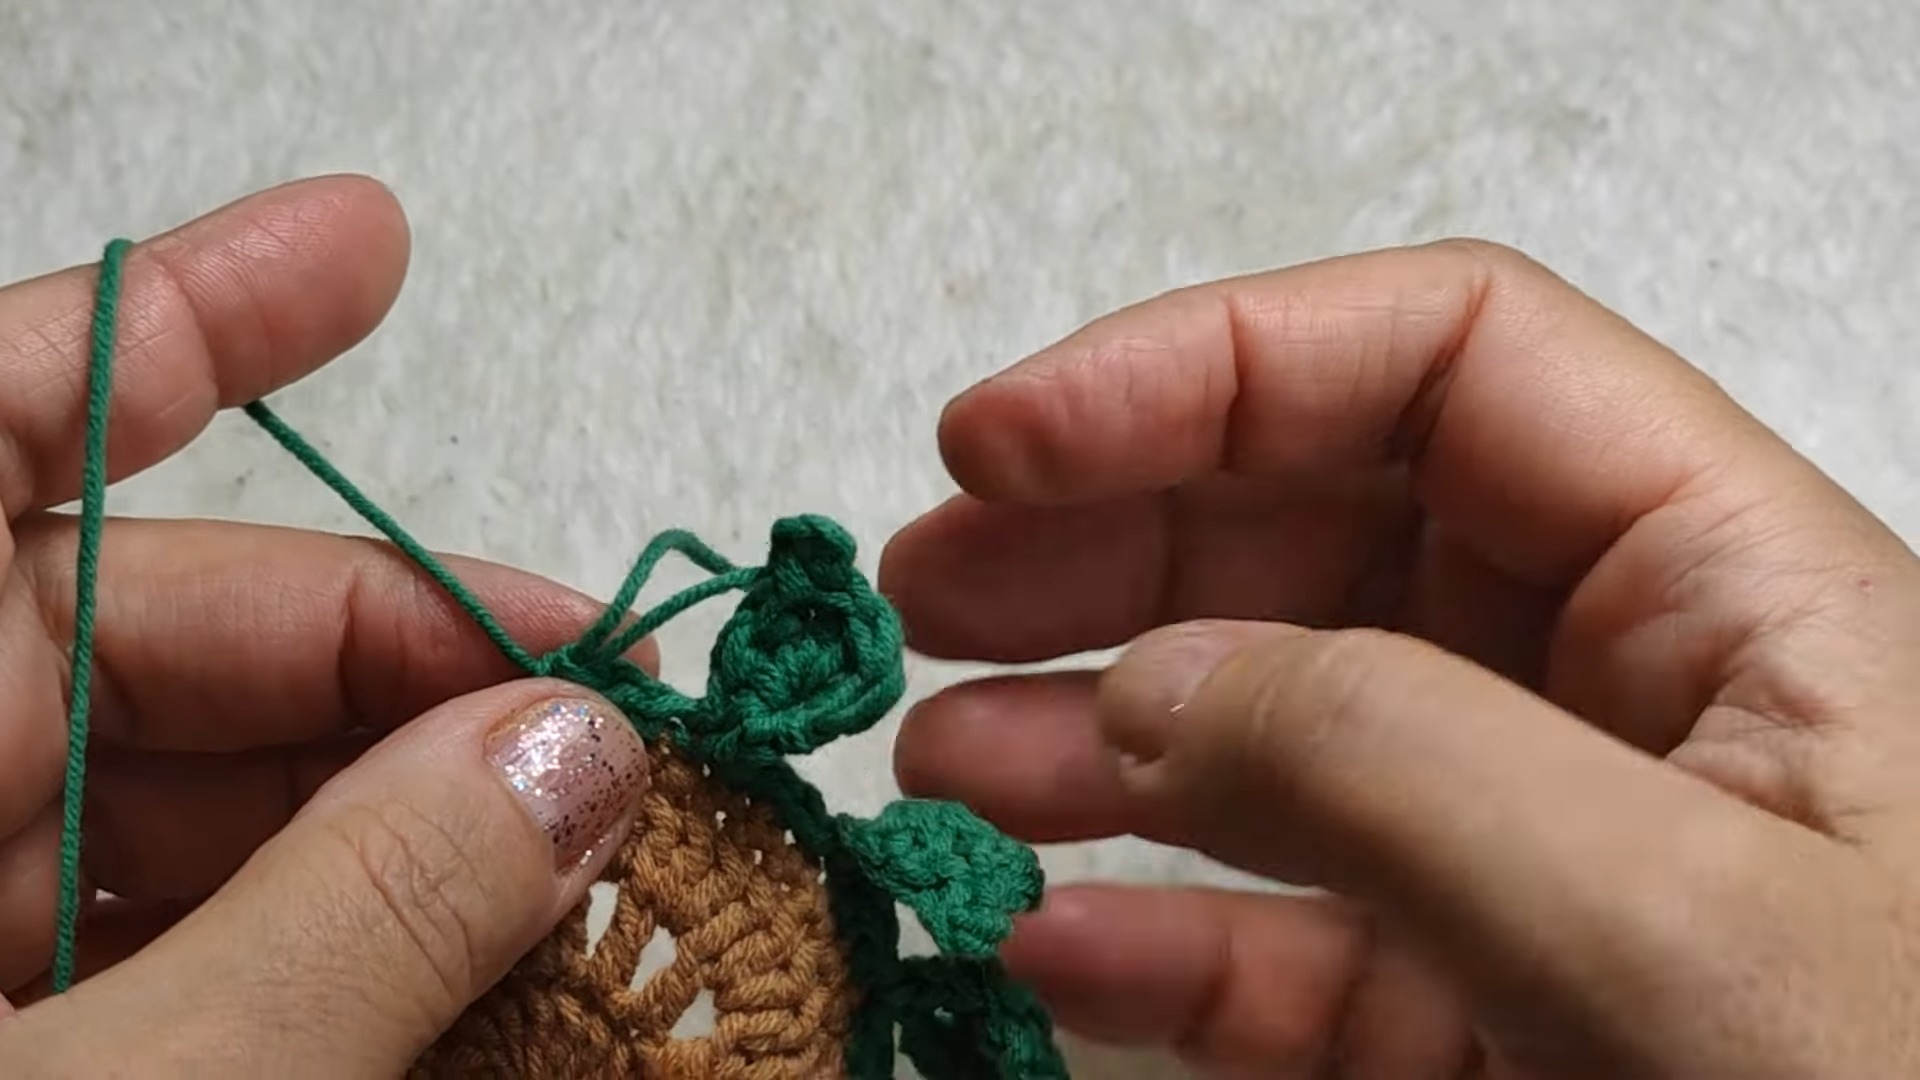
Pumpkin Leaves:
-
Switch to green yarn with a slip knot.
-
Work 5 CH. SL ST into the first CH to form a small circle.
-
Turn the work, and into the circle:
- SC once.
- DC 3 times.
- CH 3, SL ST into front loops of the DC stitches.
- DC 2 more times.
- SC to finish the leaf.
-
Repeat for the second leaf as detailed above.
Vine:
- Attach green yarn to pumpkin leaf edge.
- CH 6 to create a thin pumpkin vine.
- Cut and secure the yarn end.
Finishing Touches
Stalk:
- Switch to brown yarn.
- Work into the space between the two leaves. SL ST to secure yarn, then CH 4.
- SL ST back down (through CH-3, CH-2, CH-1).
- Cut yarn and sew in ends to tidy up.
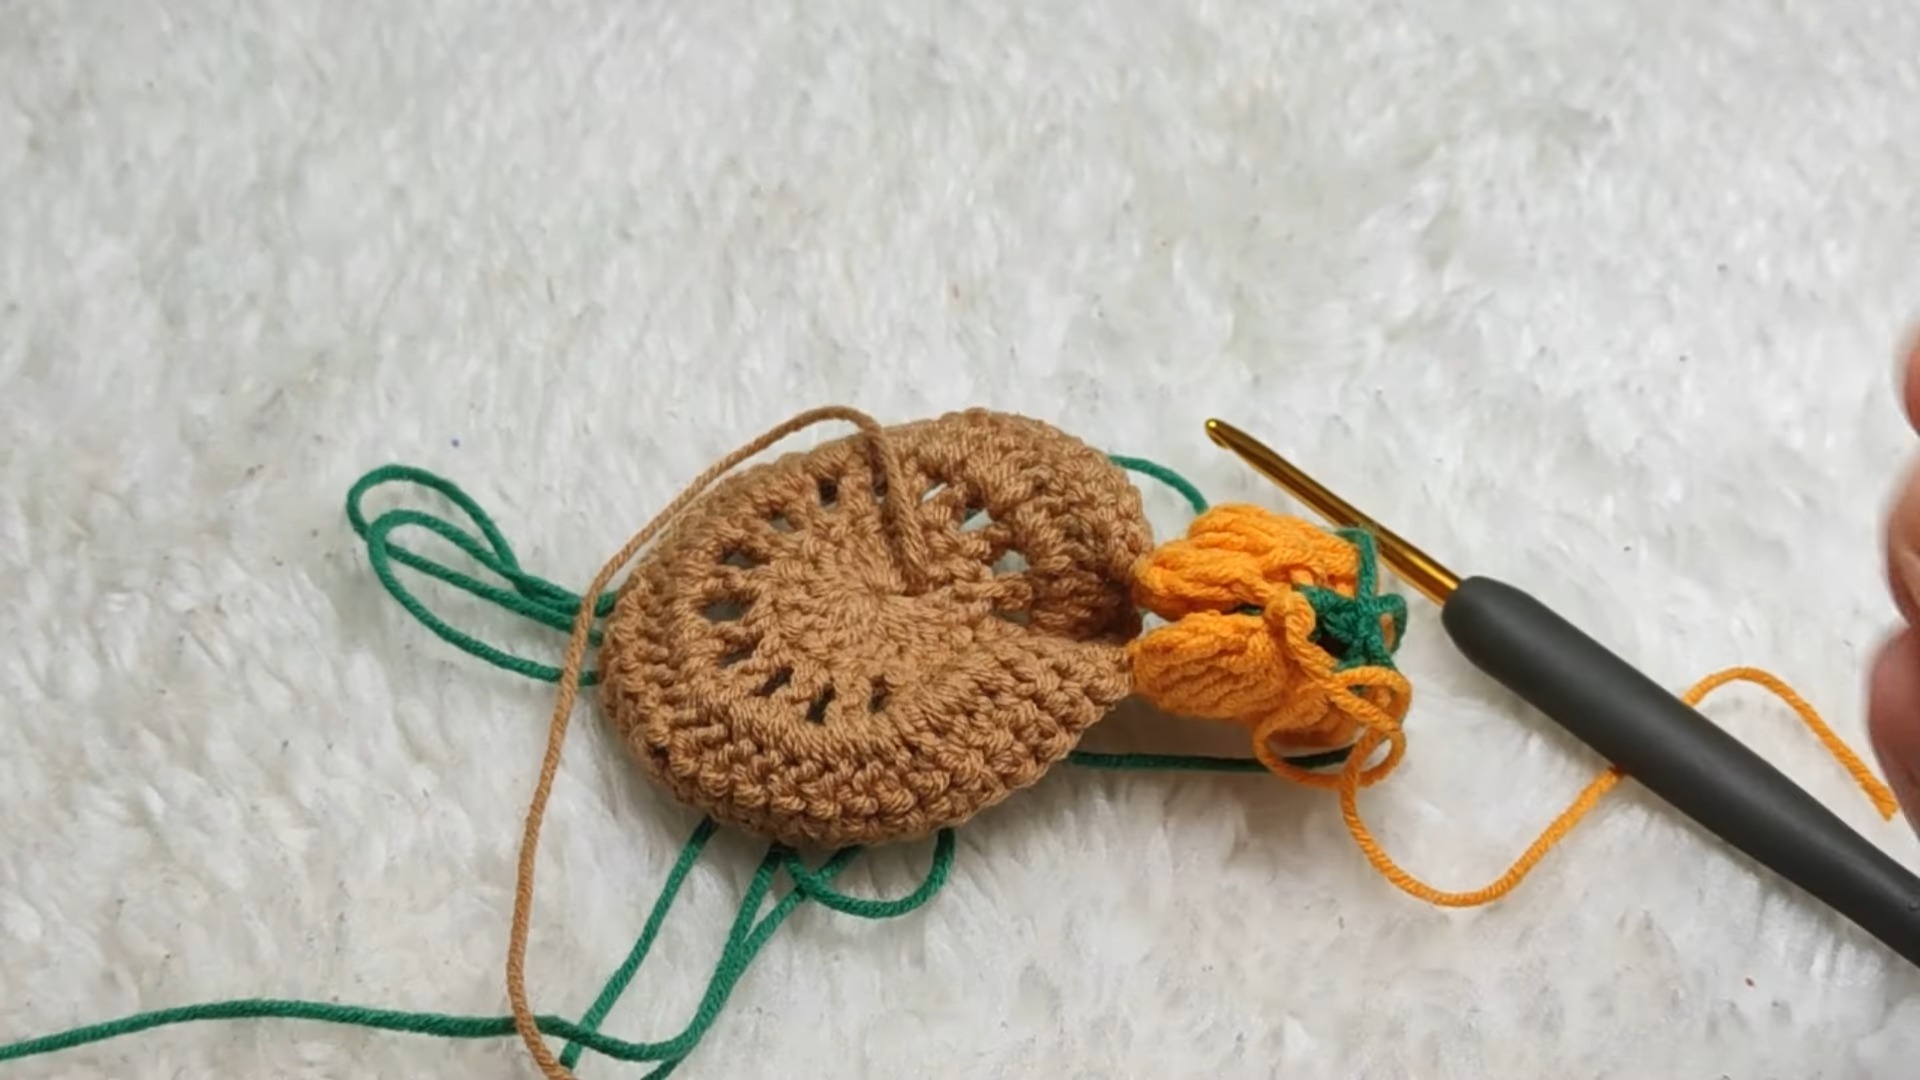
Shaping the Pumpkin:
- Push and pull clusters slightly to round the pumpkin.
- Attach the orange yarn tail to secure the pumpkin to the coaster base.
Border:
- Switch back to green yarn.
- CH 3, SC into the next stitch around the base. Repeat to create small leaves around the coaster edge.
Final Steps
- Use a darning needle or small hook to weave in all yarn ends neatly.
- Shape the coaster gently, fixing leaves and borders into place.
Pattern Question:
Q: How do I adjust the size of the coaster if I want it bigger or smaller?
A: To change the size, you can adjust the number of stitches and rounds in the base. Add or subtract rounds in the double-crochet pattern before moving on to the outer designs like leaves and pumpkins.
Conclusion:
These crochet pumpkin coasters are the perfect blend of craft, décor, and functionality. Whether for Halloween or autumn-themed décor, you’ll love how simple and satisfying this project is. The tutorial makes it easy to follow, ensuring a beautiful result you’ll be proud of.


